Maintaining the devic
e
40
3. If necessary, wipe the back of the flow cell or the surface of the
aluminum chuck with a dust-free cloth moistened with absolute
alcohol, and then let it air-dry.
Do not wipe the inlet holes and vacuum attachment slot, to prevent the
absolute alcohol from entering the holes and damaging the device.
4. Use a dust remover to carefully blow particulate matter and dust
from the surface of the silicon chip and aluminum chuck until they
are clean.
5. Place the flow cell on the flow cell stage. Ensure that the flow cell
and label are facing upward. Press the edges of the flow cell with
your hands to ensure that it is securely seated.
6. Press the flow cell attachment button on the flow cell stage.
Replacing the sealing ring
Use sealing rings that are supplied by the manufacturer for replacement.
Every three to six months, replace the sealing rings of the flow cell
stage.
When the sealing ring is evenly installed, but bubbles still exist in
the flow cell and liquid leakage occurs on the flow cell stage, we
recommended that you replace the sealing ring with a new one.
Perform the following steps:
1. Wear protective gloves.
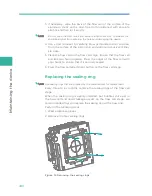
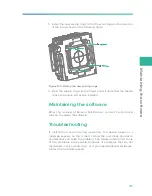
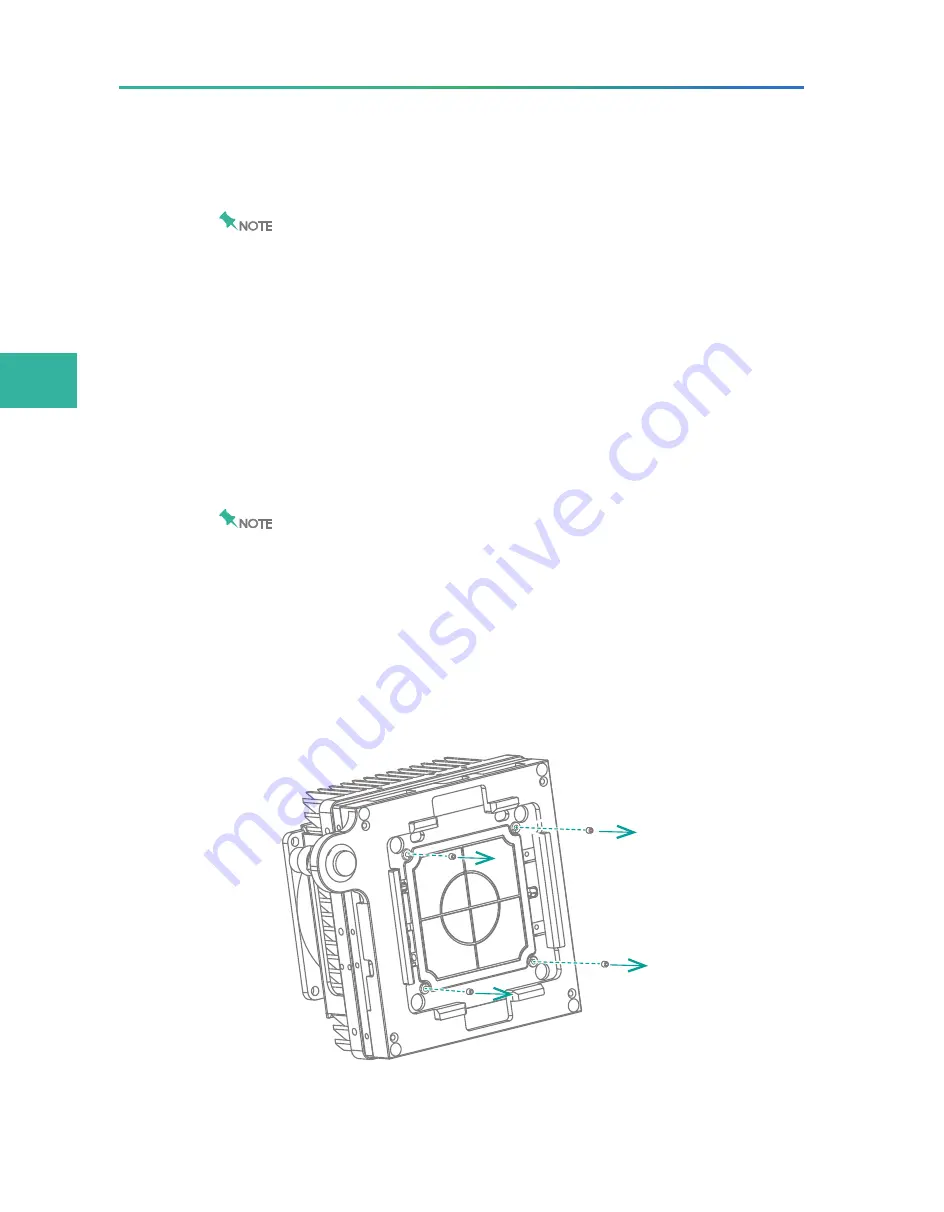
2. Remove the four sealing rings.
Figure 14 Removing the sealing rings
Summary of Contents for MGIDL-T7RS
Page 7: ... T h i s p a g e i s i n t e n t i o n a l l y l e f t b l a n k ...
Page 17: ... T h i s p a g e i s i n t e n t i o n a l l y l e f t b l a n k ...
Page 30: ...23 Getting started This chapter describes laboratory preparations and loading preparations ...
Page 55: ... T h i s p a g e i s i n t e n t i o n a l l y l e f t b l a n k ...
Page 57: ... T h i s p a g e i s i n t e n t i o n a l l y l e f t b l a n k ...
Page 59: ... T h i s p a g e i s i n t e n t i o n a l l y l e f t b l a n k ...


