27
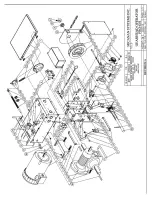
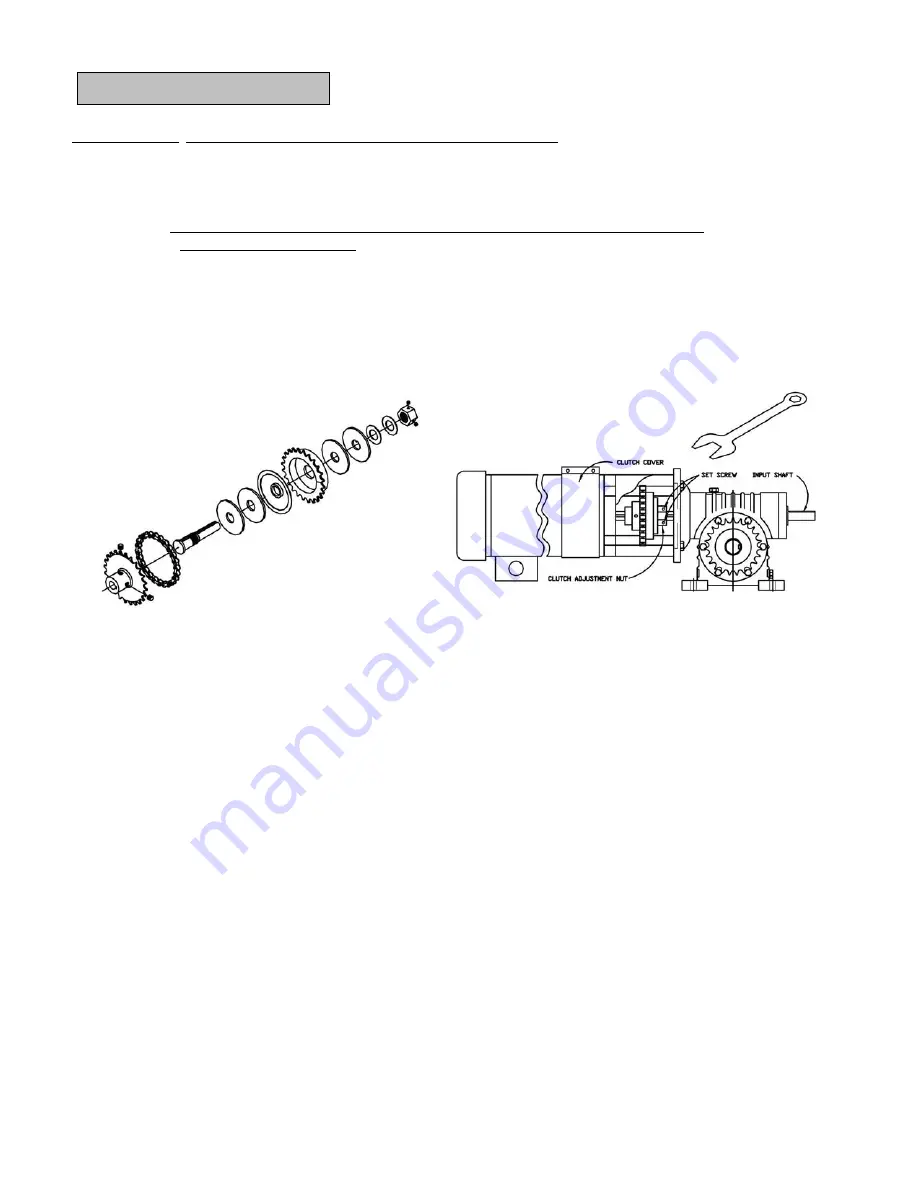
IN-LINE CLUTCH
: If an optional In-line Clutch was ordered with your operator:
1.
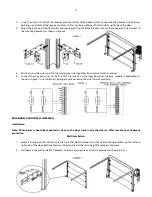
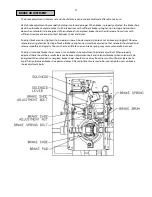
Loosen bolts on clutch cover and slide cover towards motor to access clutch.
2.
Loosen the two set screws on clutch adjustment nut.
3.
Rotate clutch nut counterclockwise (loosen) until there is insufficient tension to permit clutch to drive door.
NOTE
: When adjusting Nut, make sure to secure input shaft to not allow shaft to rotate when
tightening or loosening nut.
4.
Gradually tighten clutch nut until the tension is sufficient to permit clutch to drive door smoothly but will allow clutch
to slip if door is obstructed. It should be possible to stop moving door by hand if clutch is properly adjusted.
5.
Tighten the 2 set screws after each time the unit is tested for clutch adjustment. After adjustment is completed make
sure set screws are locked in place. Re-install clutch cover.
CLUTCH ADJUSTMENT
Summary of Contents for PRO-GH
Page 1: ...INSTALLATION AND INSTRUCTION MANUAL MODELS PRO GH PRO GHC AUG 2010...
Page 32: ...32...
Page 33: ...33 33...
Page 34: ...34...
Page 35: ...35 35...
Page 36: ...36 36...
Page 37: ...37...
Page 38: ...38...
Page 39: ...39...
Page 40: ...40...
Page 41: ...41...
Page 42: ...42...
Page 43: ...43...
Page 44: ...44...

