background image


What’s Required? 


#1 Phillips Screwdriver 

Cutting tool - such as scissors or diagonal cutter 

1.5 mm hex wrench 

2 mm hex wrench 


Let’s get started!  


Warning: Installation of this kit into a drone should be done by an experienced 
person, in adherence with all recommendations and guidelines of the Inspire 
manufacturer. Before assembling this kit, ensure the Inspire is not powered, has 
the battery removed, and the rotor blades removed. Failure to follow these 
instructions can result in injury and/or damage to the Inspire, RedEdge-M/MX, or 
Altum. 


Attaching DLS 2 mast assembly 


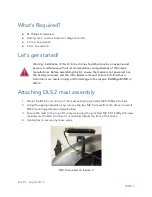
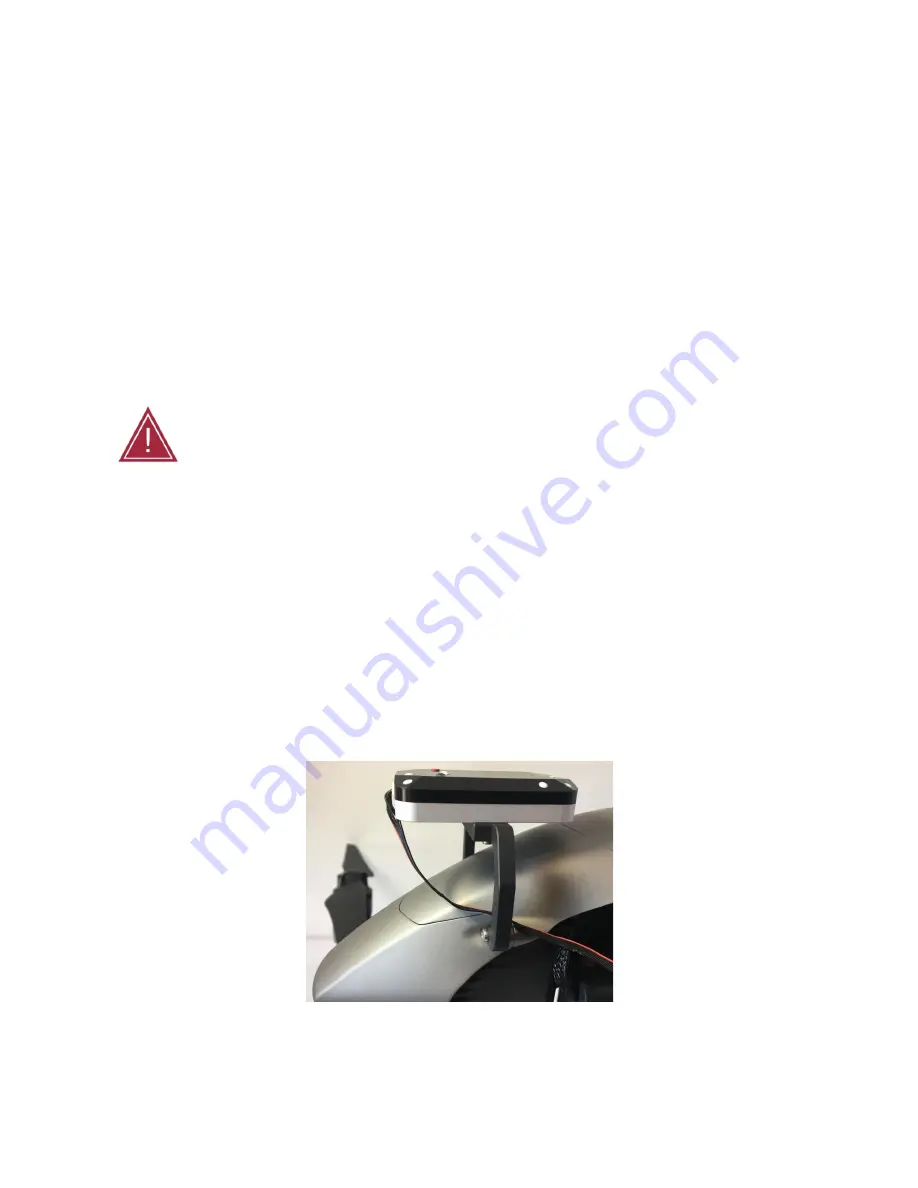
1. Mount the DLS 2 unit on top of the mast using the provided M2 X 8 (Qty 2) screws.  
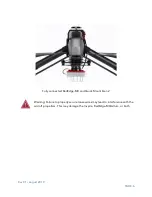
2. Using the appropriate Allen key, remove the two M2.5 screws from the drone to install 

DLS2 mounting plate (see image below) 

3. Secure the mast to the top of the Inspire 2 using the provided M2.5 X 16 (Qty 2) screws 

making sure the DLS 2 connector is oriented toward the front of the drone. 

4.

Use zip ties to secure any loose wires

.


DLS 2 mounted on Inspire 2 

 
Rev 01 - August 2019 

PAGE 3 


Summary of Contents for RedEdge-MX DJI Inspire 2 Quick Mount

Page 1: ...RedEdge MX Altum DJI Inspire 2 Quick Mount Gen 2 INTEGRATION GUIDE Rev 01 August 2019 P N 805 00056...

Page 2: ...ted 3 Attaching DLS 2 mast assembly 3 RedEdge MX Instructions 4 Attaching the RedEdge MX and the Mount 4 Attaching the RedEdge MX and DLS 2 to the Inspire 5 Altum Instructions 7 Attaching the Altum an...

Page 3: ...ther RedEdge models other than the RedEdge M MX or Altum Damage will occur if any other RedEdge model is connected What s inside 1 Quick Mount Gen 2 Adapter Qty 1 2 6 pin 60cm cable Qty 2 3 Altum to Q...

Page 4: ...es removed Failure to follow these instructions can result in injury and or damage to the Inspire RedEdge M MX or Altum Attaching DLS 2 mast assembly 1 Mount the DLS 2 unit on top of the mast using th...

Page 5: ...Inspire RedEdge MX Altum or both RedEdge MX Instructions Attaching the RedEdge MX and the Mount 1 Locate the two M3 x 6 mm socket head cap screws M3 lock washers and Quick Mount Gen 2 Adapter 2 Using...

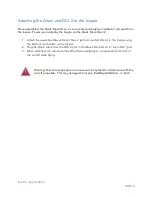
Page 6: ...Inspire Power is provided by the Inspire via the Quick Mount Gen 2 1 Attach the assembled Quick Mount Gen 2 with connected RedEdge MX to the Inspire using the DJI lock mechanism on the Inspire 2 Use t...

Page 7: ...d RedEdge MX and Quick Mount Gen 2 Warning Failure to properly secure loose wires may lead to interference with the aircraft propellers This may damage the Inspire RedEdge MX Altum or both Rev 01 Augu...

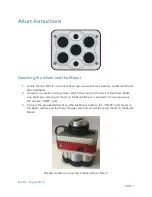
Page 8: ...ach the mount to the back of the Altum Make sure the 8 pin camera port found on the Quick Mount is located on the same side as the camera HOST port 3 Connect the provided Altum Gen 2 Quick Mount cable...

Page 9: ...onnected Altum to the Inspire using the DJI lock mechanism on the Inspire 2 Plug the DLS 2 cable from the DLS 2 port to the Quick Mount Gen 2 6 pin DLS port 3 When attached the camera will be tilted f...

Page 10: ...NO REPRESENTATION OR WARRANTY EXPRESS OR IMPLIED WITH RESPECT TO MICASENSE ACCESSORIES MICASENSE DISCLAIMS ANY LIABILITY FOR INDIRECT CONSEQUENTIAL PUNITIVE OR SPECIAL DAMAGES INCLUDING WITHOUT LIMITA...

Page 11: ...platform You can choose whichever platform is best for you your customer or your project ANYWHERE We know you need tools you can rely on That s why we built the sensors we wanted in the field predict...

Page 12: ...ated in Seattle Washington MicaSense delivers integrated solutions for data gathering processing and analytics across the global agriculture market With decades of expertise in widely varied UAV appli...

Page 13: ...Revision History Revision Description Date 01 Initial Release 13 Aug 2019 Rev 01 August 2019 PAGE 12...

Reviews: