8
4. CONNECTING THE BATTERY CONNECTOR
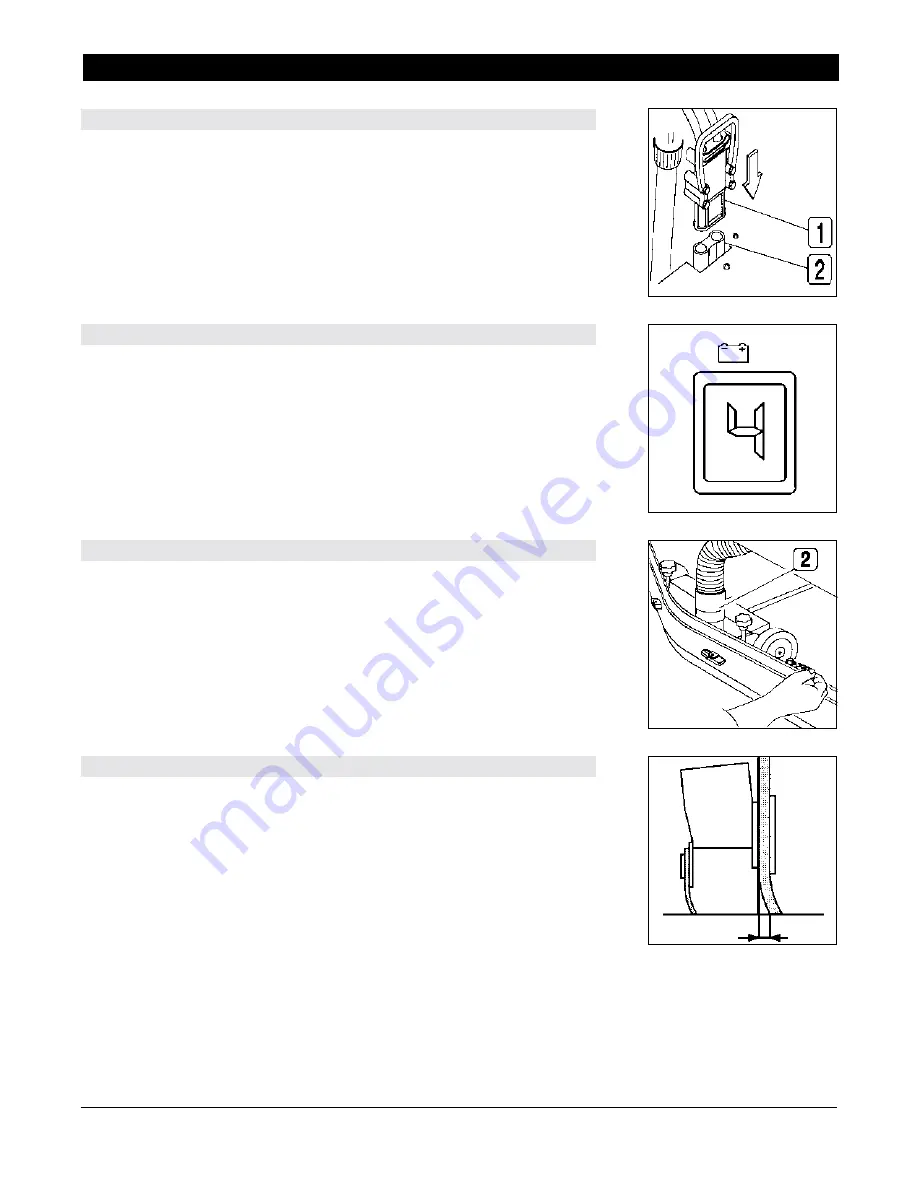
After charging the batteries, reconnect the battery connector (1) to the connector of
the machine (2).
5. BATTERY INDICATOR
The battery indicator is digital with 4 fixed positions and a blinking one. The numbers,
which appear on the display, show the approximate charge level.
4
= maximum charge,
3
= ¾ charge,
2
= ½ charge,
1
= ¼ charge,
0
= (blinking) discharged batteries
Note:
The brush motor will automatically stop a few seconds after the “0” blinks.
However, the vacuum motor will remain on in order to finish drying the floor before
recharging.
6. SQUEEGEE ASSEMBLY
Assemble the squeegee onto the machine as shown in the figure.
1.
Fit the holding pins into the squeegee stud bolts.
2.
Then fit the vacuum hose (2) into its coupling.
7. ADJUSTING THE SQUEEGEE INCLINATION
During operation, the rear squeegee blade is most efficient when tilted back about
3/16 inch (5mm) along its whole length. Reference item 8: To increase the blade
bending in the central part, tilt the squeegee body backward by turning the adjuster
counter-clockwise. Subsequently, turn the adjuster clockwise to increase the
bending at the sides of the squeegee blade.
MACHINE PREPARATION
Summary of Contents for ScrubMaster 30R
Page 24: ...NOTES 23...


