67
6.3 Cleaning the ventilation unit
Depending on the level of
contamination, we recommend:
annual
cleaning of the heat
exchanger
annual
internal cleaning
half-yearly
cleaning of the
condensation run-off and the siphon
6.3.1 Cleaning the heat exchanger and the
ventilation unit
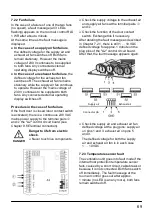
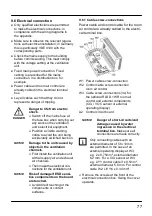
Switch off the mains fuse at the fuse box.
Position a visible warning notice at the fuse
box to avoid the unit being accidentally
switched back on.
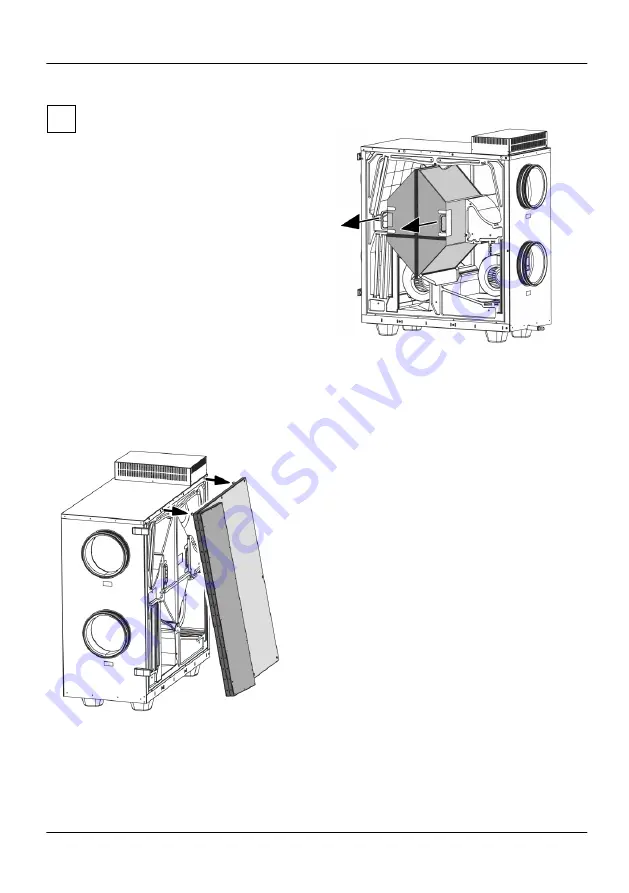
Release the 2 quick-release clips and open
the front door.
Remove the front cover (7 screws). To do
this, swing the front cover downwards and
then outwards a little. Raise the front cover
slightly and then remove it forwards.
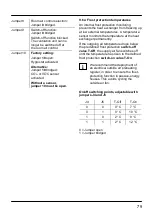
Pull the heat exchanger carefully out of the
ventilation unit, keeping it parallel by using
both handles.
NOTICE
Do not damage the sealing
strip when extracting/inser-
ting the heat exchanger.
Do not move the ventilation
unit.
Make sure that the heat
exchanger doesn’t twist as
it is pulled out/in.
Clean the heat exchanger carefully with
luke-warm water. Leave it to dry out
completely.
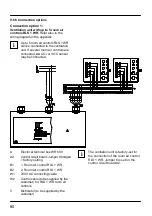
Wipe the inside walls of the ventilation unit
out with a cleaning cloth.
Push the completely dried heat exchanger
carefully into the housing as far as it will go
(see the sticker on the front side, that
indicates the position).
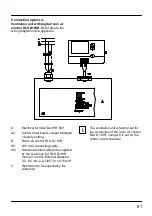
Fix the front cover in place (7 screws).
Close the front door. Lock it in place with
the two quick-release clips.
Switch the main fuse on and then switch on
the ventilation unit at the room air control.
i
Summary of Contents for aeronom WR 600
Page 6: ...4...
Page 50: ...48 15 Anhang Verdrahtungsplan...
Page 52: ...50...
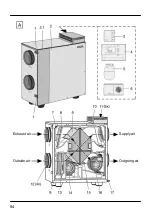
Page 56: ...54 Exhaust air Supply air Outgoing air Outside air...
Page 100: ...98 15 Appendix Wiring diagram...
Page 102: ...100...
Page 106: ...104 Air sortant Air entrant Air rejet Air ext rieur...


