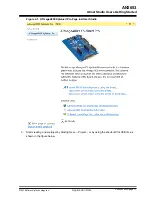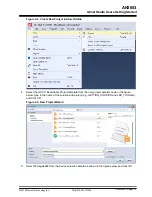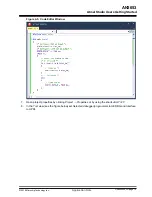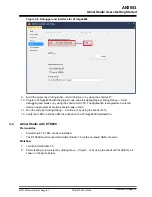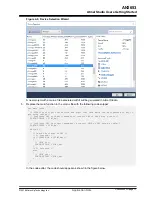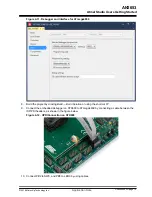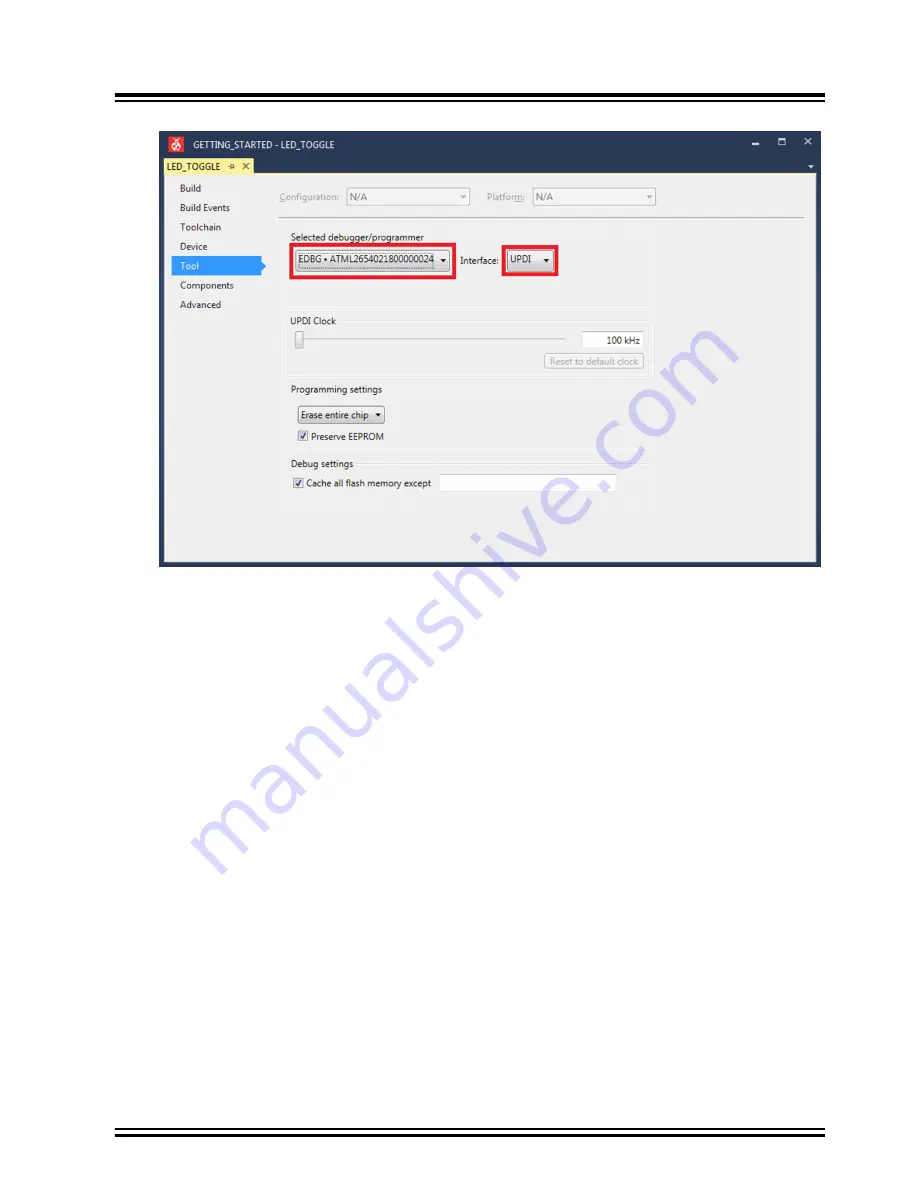
Figure 4-6. Debugger and Interface for ATmega4809
9.
Build the project by clicking
Build → Build Solution
or by using the shortcut
F7
.
10. Program ATmega4809 with the project code and start debugging by clicking
Debug → Start
debugging and break
or by using the shortcut
ALT+F5
. The application is programmed onto the
device and program execution should break in main.
11. Run the code by clicking
Debug → Continue
or by using the shortcut
F5
).
12. Verify that LED0 is lit when SW0 is pushed on the ATmega4809 Xplained Pro.
4.2
Atmel Studio with STK600
Prerequisites
•
Atmel Studio 7.0 1645 or above installed
•
The STK600 board connected to Atmel Studio 7.0 via the on-board USB connector.
Workflow
1.
Launch Atmel Studio 7.0.
2.
Start creating a new project by clicking
New → Project...
or by using the shortcut
Ctrl+Shift+N
, as
shown in the figure below.
AN2653
Atmel Studio Users Getting Started
©
2018 Microchip Technology Inc.
Application Note
DS00002653A-page 15


