


6
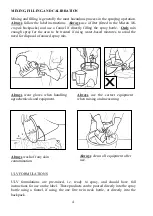
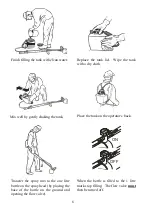
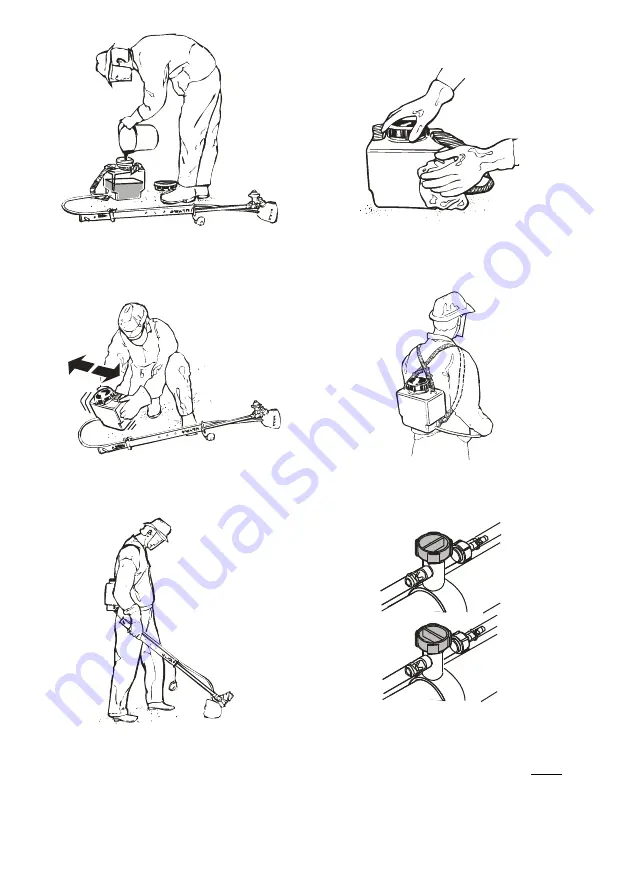
Finish filling the tank with clean water.
Replace the tank lid. Wipe the tank
with a dry cloth.
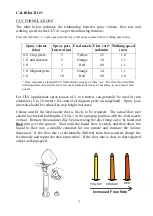
Mix well by gently shaking the tank.
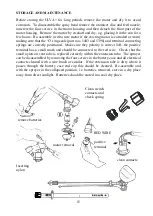
Place the tank on the operator‘s back.
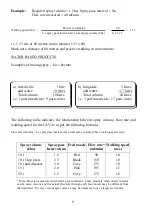
Transfer the spray mix to the one litre
bottle on the spray head (by placing the
base of the bottle on the ground and
opening the flow valve).
ON
OFF
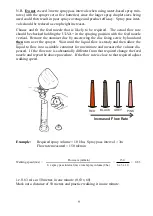
When the bottle is filled to the 1 litre
mark stop filling. The flow valve
must
then be turned off.


