Fused silica capillaries have a protective polyimide coating on the outside (see Figure 2.4).
A scratch can be made into the silica by cutting through the coating with a sharp blade
(Figure 2.5). When bending the capillary it will break at the scratch. This is an easy way to
cut the capillary to the required length. Note that the end of a capillary that is cut using the
above procedure generally is not completely straight (Figure 2.6), unlike the end of a pre-
cut and polished capillary. The latter are commercially available from various capillary
tubing suppliers.
2. Connecting the ferrules
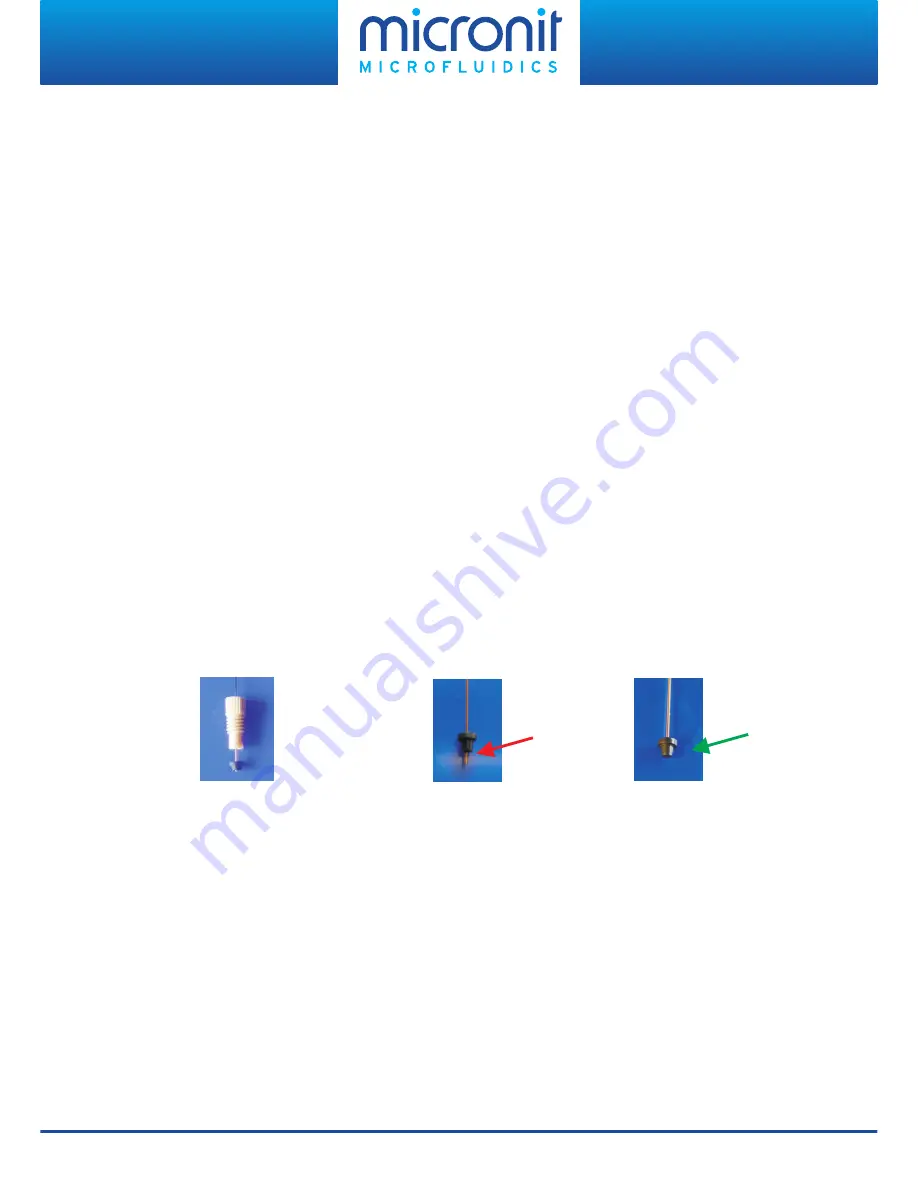
After cutting the capillaries to length, the ferrules need to be added. First slide the nut over
the capillary (Figure 2.7.1) followed by the sealing ferrule. Either the flat side or the
conical side of the ferrule should be flush with the tip of the capillary (Figure 2.7.3). The
capillary should not protrude (Figure 2.7.2).
The ferrule can be used in two different ways:
?
with the conical side down, pressed into the conical hole of the chip
(lowest dead volume)
?
with the conical side up, flat area of the ferrule will be pressed onto the glass
(for high pressure connections)
It is advised to use latex gloves during handling, in order to prevent contamination of the
ferrules. Also rinse the ferrules with deionized (DI) water to make sure they are clean. The
ferrules are made of PERLAST™. This material is chemically resistant to most solvents.
Figure 2.7.1. Fitting over cap Figure 2.7.2. Wrong
Figure 2.7.3. Like this
After fitting the ferrules onto the capillary, the capillary should be rinsed to remove any
glass particles resulting from cutting the capillary. Filtered deionized (DI) water is advised
for flushing the capillary.
3. Making fluidic connections
At this stage you can place the fittings in the appropriate fluidic ports (see Table 2.1). The
fittings can be tightened individually by hand using a special extender tool (Figure 2.8).
Fluidic Connect 4515 - User Manual V1.5
8


