background image

14


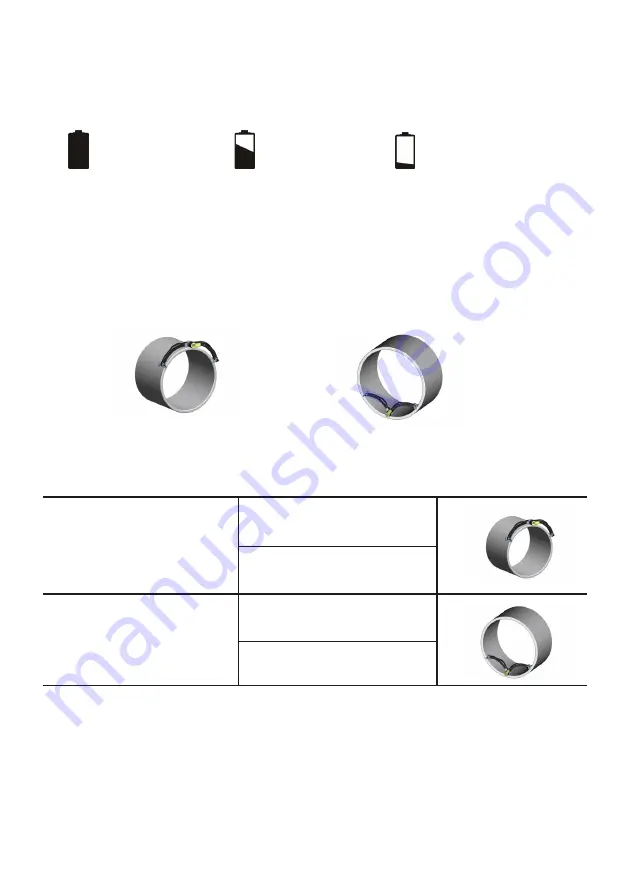
A small icon on the display, on the right; shows the battery charge status.


= full charge 


= half charge 


= low battery

When the battery is fully loaded, please disconnect it from the electrical power.

The maximum number of readings that can be stored is 

12

.

The instrument is able to recognize the angle between its arms and then arrange 

automatically  the measurement of an 

internal or an external diameter

. The display 

shows the mode of measurement with the two following written: 

Line 1


EXT   

or 


INT

Archimede 

measuring range

 is:


External diameters


minimum:   500 mm 


    maximum: 


6000 

mm

Internal diameters


minimum:   1000 mm 


maximum:   6000 mm

In case of reading 

out the measuring range

, the display shows the following text:

 OVER RANGE


Summary of Contents for ARCHIMEDE HR

Page 1: ...LARGE DIAMETER MEASURING INSTRUMENT USER MANUAL HR MODEL...

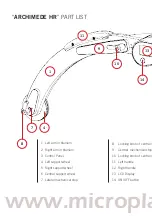
Page 2: ...in titanium 3 Control Panel 4 Left support wheel 5 Right support wheel 6 Central support wheel 7 Lateral mechanical stop 8 Locking knob of central m 9 Central mechanical stop 10 Locking knob of centr...

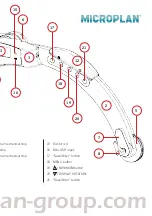
Page 3: ...6 3 13 7 20 21 15 16 17 ral mechanical stop stop ral mechanical stop 15 Bicolor led 16 Mini USB input 17 Save Enter button 18 MENU button 19 MINIMUM button 20 DISPLAY ROTATION 21 Save Enter button lan...

Page 4: ...IMEDE_HR_en indd Release 19 03 ARCHIMEDE Components and accessoires ARCHIMEDE Large diameters measuring instrument Battery charger USB key with ARCHIMEDE Software USB cable for battery charging and PC...

Page 5: ...de automatically shuts off to prevent malfunctions and inaccurate readings In this case it is necessary to leave the instrument connected to the electrical power at least 30 minutes in order to reach...

Page 6: ...vices inside the instrument Connect the supplied battery charger to the USB plug on the Archimede arm and let it charge for about 6 hours As an alternative to the power supply the device can also be c...

Page 7: ...s This type of measurement offers advantages in terms of 1 Possibility to measures outside diameters from 500 to 6000 mm with a single instrument and with a single person 2 Possibility to perform meas...

Page 8: ...imede an accurate measurement of a cylindrical piece with a 1000 mm diameter this must have a reduced circularity error Otherwise it becomes necessary to perform several measurements on the circumfere...

Page 9: ...of elliptical cylinders ellipses the calculation performed by Archimede for each measurement is related to the best fit circumference passing by the instrument support points This means that it is not...

Page 10: ...ter obtained with a two points measuring instrument that unlike Archimede cannot detect circularity errors due to a number of deformation lobes greater than 2 the case of an irregular ellipse When we...

Page 11: ...instrument as a caliper or an outside micrometer In fact when the measure of the cylinder shown above is taken with a caliper the diameter is obtained the diameter taking into account only one of the...

Page 12: ...e between the two staded above it is not to be performed although it is possible to proceed with the measurement of objects that are not well aligned with the floor the resulting measure would not be...

Page 13: ...of both external and internal diameters To make a new zero setting acces the MENU SETTINGS ZERO SETTING INDEX follow the instruction shown on the display and wait for the acoustic signal to confirm th...

Page 14: ...strument is able to recognize the angle between its arms and then arrange automatically the measurement of an internal or an external diameter The display shows the mode of measurement with the two fo...

Page 15: ...select INITIALIZE and then OT MODE the display will show the message Place Archimede at 180 within 10 seconds 3 After some seconds it will be displayed the CALIBRATION DONE message with an acoustic b...

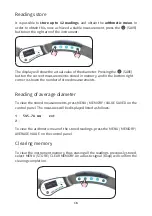
Page 16: ...he bottom right corner is shown the number of stored measurements Reading of average diameter To view the stored measurements press MENU MEMORY VALUE SAVED on the control panel The measures will be di...

Page 17: ...SETTINGS SIZES MEASUREMENT TYPE andchoosebetweendiametersandangles In the angular measure mode you cannot store any measurement To get again the saving measures displayed switch back to the DIAMETERS...

Page 18: ...it this fun ction press the button on the instrument arm MAINTENANCE AND PERIODIC CHECKS The Archimede instrument does not requires special maintenance operations It is recommended however to proceed...

Page 19: ...al arcs in order to obtain the averaged value of the diameters measured To perform a correct measurement it s very important the way how the instrument is used The two arms in titanium are the most st...

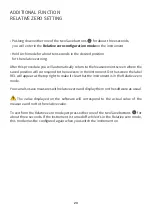
Page 20: ...new zero in the instrument On the screen the label REL will appear at the top right to make it clear that the instrument is in the Relative zero mode You can also save measures with relative zero and...

Page 21: ...PHONE 39 0163 54619 569084 FAX 39 0163 564081 EMAIL mpi microplan group com SKYPE microplan italia ITALIA MICROPLAN FRANCE SAS 2 LA GRAULE F 23360 LA FORET DU TEMPLE FRANCE PHONE 33 5 55806666 FAX 33...

Reviews: