4
13
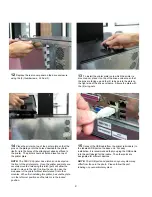
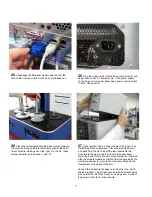
To install the printer plate (onto which the printer is
mounted on), place it on top of the drive enclosure so that
the pins are facing up and the (2) tabs go into the slots on
the right side of the drive enclosure. Secure the plate with
the (2) wing-nuts.
14
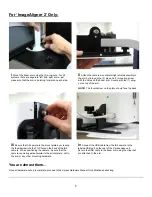
Place the printer on top of the printer plate so that the
pins on the plate go into the holes underneath the printer
itself or into the holes of the attachment already affixed to
the printer. The printer should sit flat and level on top of
the printer plate.
NOTE:
The TEAC K2 printer has a latch knob located on
the front of the printer plate. Once the printer and plate are
securely mounted, releasing this latch (pull) will allow the
printer to move to the right to allow the user to open the
side panel of the printer without interference from other
modules. When first installing this printer, be sure the plate
is in the left-most position and the latch is in the locked
position.
15
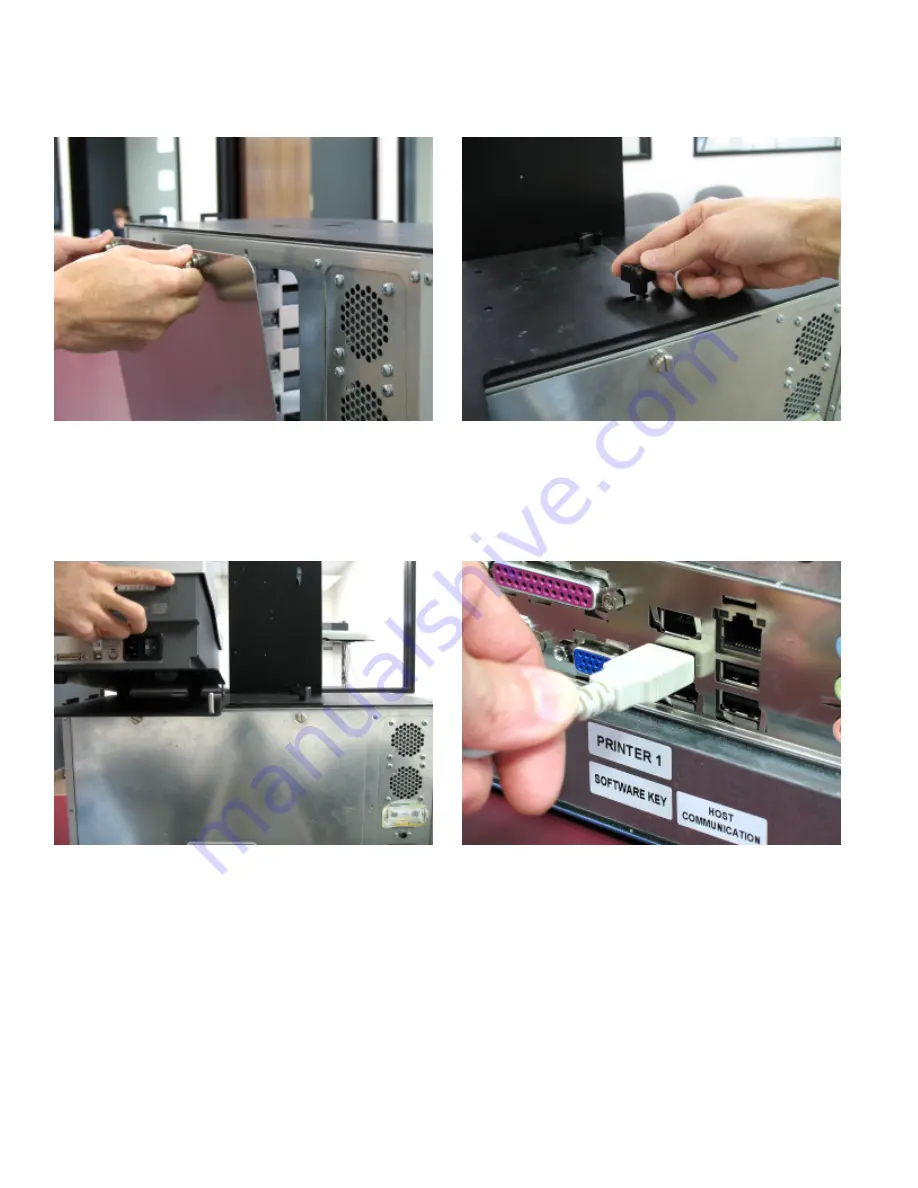
Connect the USB cable from the printer (all models ) to
the labeled USB port on the base unit. For easy
installation, it is recommended that you plug the USB cable
into the port labeled for that cable. The other ports are
designated for different devices.
NOTE:
The USB ports and positions on your system may
differ from those in the photo. Please follow the port
labeling on your particular system.
12
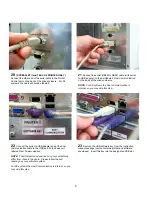
Replace the rear cover panel on the drive enclosure
using the (2) thumbscrews - XL has (3).


