7
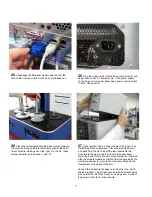
25
Plug the power cords into the base unit, printer(s), and
upper base unit on XL systems only. If the power supply
on the base unit (or upper base) has a power switch, switch
it to the ‘ON’ position.
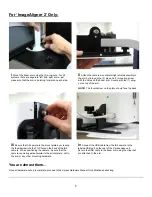
26
Place the tall spindles onto the base unit according to
the cut-outs. Each spindle is identical except for the short
‘reject’ spindle- which goes on the right. On the XL, these
smaller spindles go in spaces ‘L’ and ‘R’.
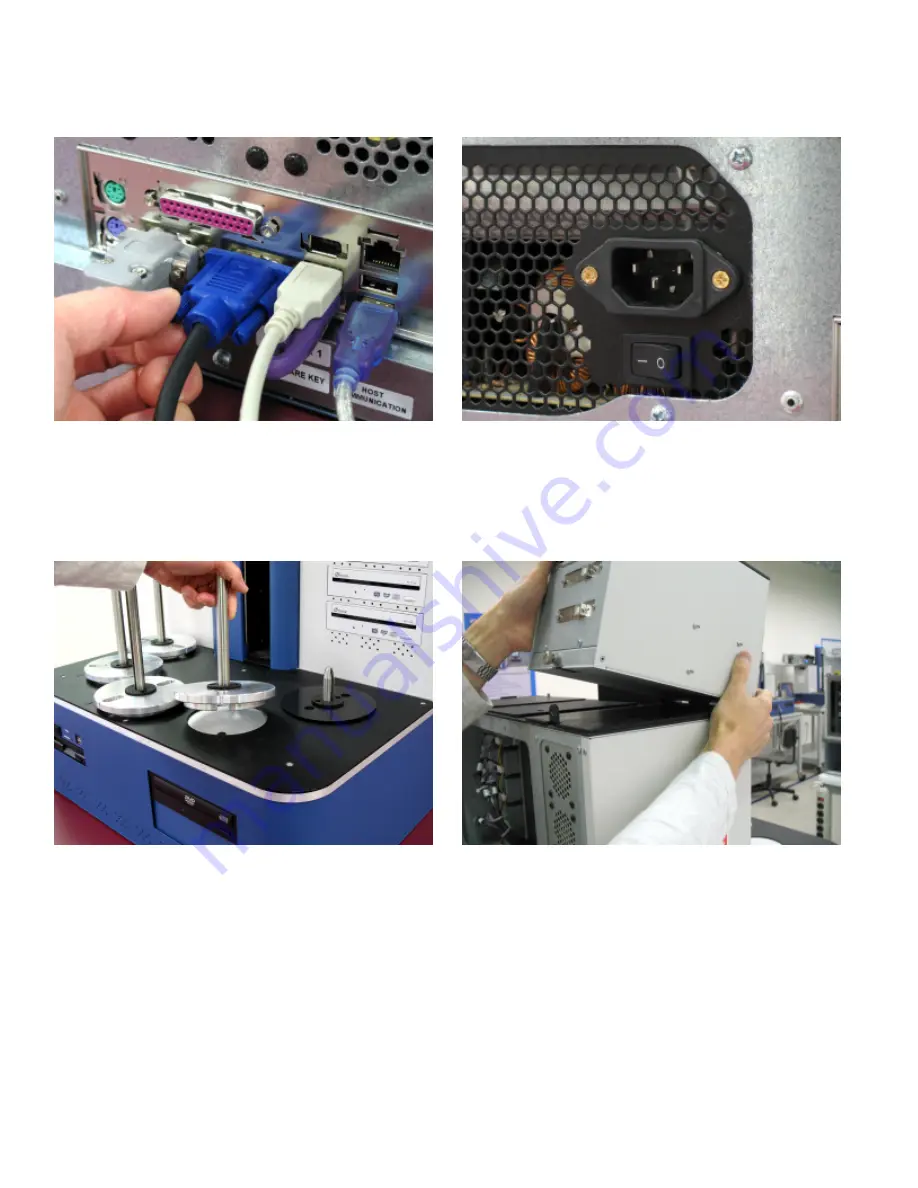
27
If your system has a 2-drive module (XP), mount it on
the left side of the upper base. Place the module about ½
inch back from the front, insert the tab underneath the
module into the slot on the top/ front of the upper base.
Lower the back of the 2-drive module onto the rear tab, and
slide the module forward so that the front is aligned with the
main drive enclosure. Secure the 2-drive module with the
thumbscrew on the back of the unit.
Connect the module to the base unit using the (2) e-SATA
cables supplied. The ports should be labeled on both sides
to show which e-SATA port each drive plugs into. Connect
the power cord to the 2-drive module.
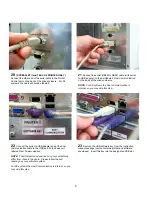
24
Unpackage the flat-panel monitor and connect the
VGA cable from the monitor to the back of the base unit.


