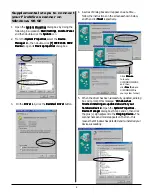
5
Scanning slides and filmstrips
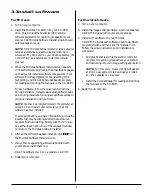
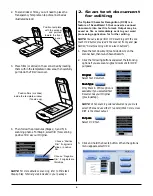
1. To help you select the appropriate slides or films to
scan, use the “FilmView” feature on top of the lid to
preview your films.
1. Scanning images
NOTE
:
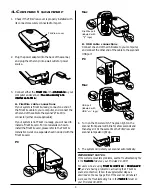
The FilmView cover should remain connected to the
accessory port all of the time regardless of which scan
material (reflective or transparency) is in use.
Scanning photos
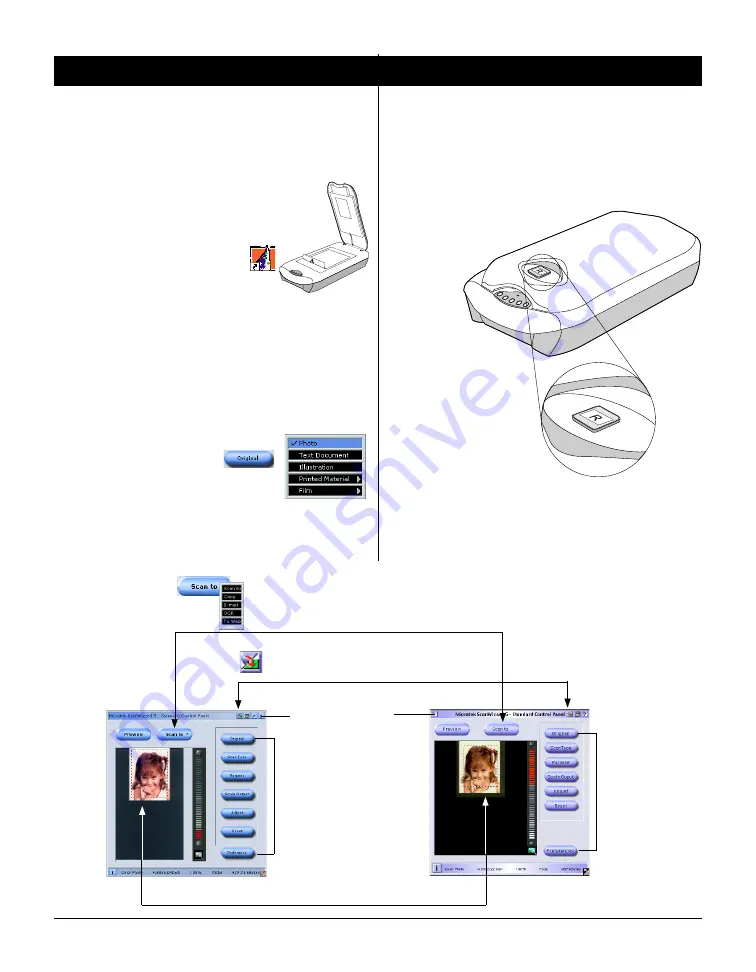
1. Position the photo to be scanned face
down on the scanner bed.
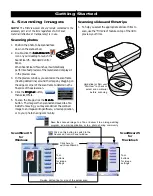
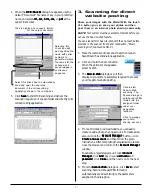
2. Double-click the ScanWizard 5
ScanWizard 5
ScanWizard 5
ScanWizard 5
ScanWizard 5
icon on your desktop to launch the
ScanWizard 5 - Standard Control
Panel.
When ScanWizard 5 launches, it automatically
performs a fast preview of the material and displays it
in the preview area.
3. In the preview window, you can resize the scan frame
(floating dotted line) around the image by dragging on
the edge or corner of the scan frame to determine the
final size of the actual scan.
4. Click the Original
Original
Original
Original
Original button,
then select
Photo
.
5. To scan the image, click the Scan to
Scan to
Scan to
Scan to
Scan to
button. The image is then scanned and saved to a file.
Aside from saving, you may also deliver the scanned
image to an image-editing software, e-mail application,
or to your photo sharing community.
Getting Started
Click here to
exit ScanWizard 5
Save the scanned image to a file, or deliver it to an image-editing
program, an e-mail application, or to a photo sharing community.
Re-size dotted line for size of the actual scan
Click on this button to switch to the
Advanced Control Panel window
Tool
buttons
for image
settings
Tool
buttons
for image
settings
ScanWizard 5
for
Windows
ScanWizard 5
for
Macintosh
Hold slide (or film) over
“FilmView” to check or
select scan material
before scanning


