18 ScanMaker i450 Supplement
E. Scanning Film (2)
This scenario uses the
ScanWizard EZ - Professional Mode
.
1. Raise the scanner lid, then follow the procedures in the “Positioning Transparent
Film” section to load the film and to place the film holder on the scanner glass
surface. Gently lower the scanner lid down onto the scanner scan bed.
2. Follow the procedures (step 2 and 3) in “Scanning Photos (3)” to activate the
ScanWizard EZ - Professional Mode
.
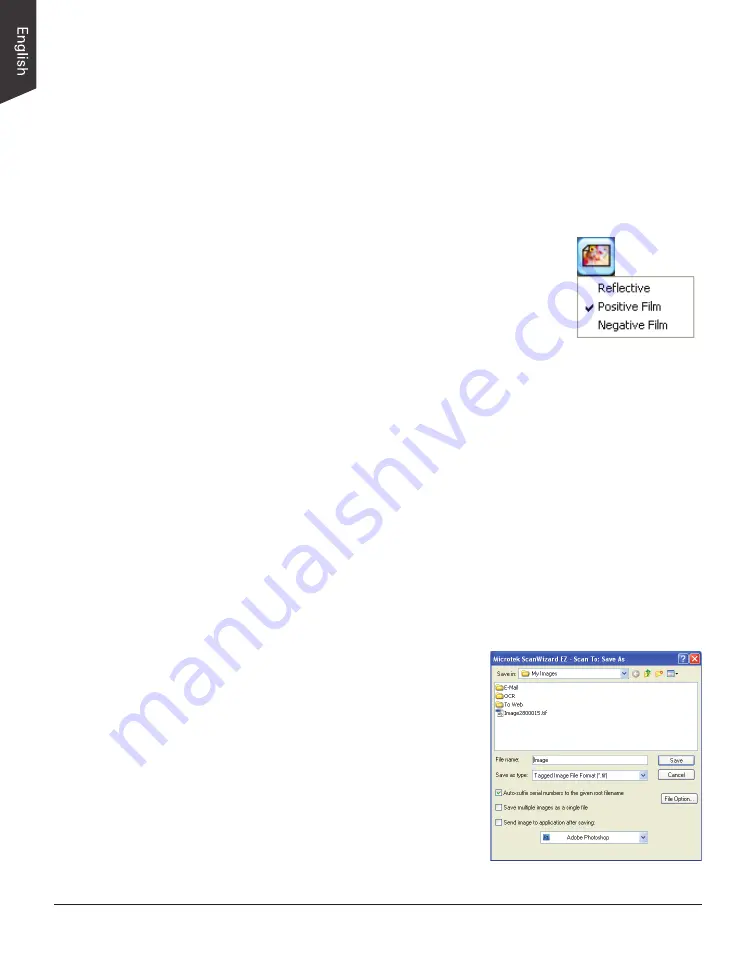
3. In the Preview window of the Professional Mode, click
the
Scan Material
button to choose
Negative Film
for
negatives; choose
Positive Film
for transparencies and
slides, depending on the film type you are using.
4. Click the
Overview
button to perform a preliminary scan
of the film loaded onto the scanner.
5. In the Preview window, you can resize the scan frame (floating dotted line)
around the image by dragging on the edge or corner of the scan frame to
determine the final size of the actual scan.
6 Specify your scanning requirements in the
Settings
window.
a) Select a desired image type.
b) Select a desired resolution.
c) Adjust the scan frame settings if necessary.
7 Adjust image quality if necessary, using the Advanced Image Correction (AIC)
tools.
8. If the colors in your film sample are faded and need restoring, check the
“Automatic Color Restoration” box in the Settings window.
9. Click the
Scan to
button in the Preview
window to scan all the checked jobs.
When the “Scan To: Save As” dialog box
appears, specify the folder location, a file
name, and the format for the output image,
then click
Save
. The image is scanned and
saved to the specified location.


