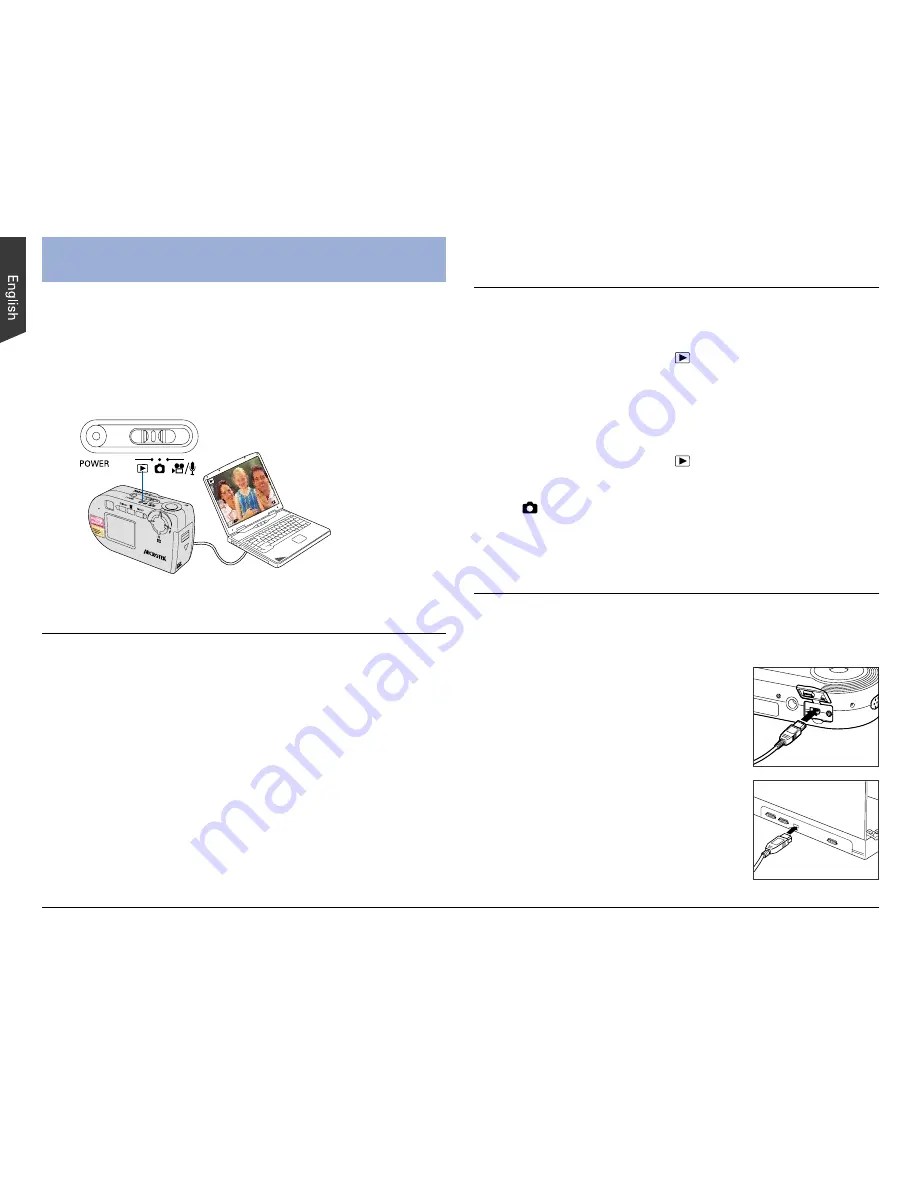
A. Installing the Camera Driver
Downloading Images
System Requirements
Color display with 24-bit color output capability
CD-ROM drive (for installing software)
128MB RAM or more recommended
PC
Windows 98/98SE/2000/Me/XP
Pentium PC or later with USB port
Mac
Mac OS 9.x; Mac OS X 10.1.3 or later
Apple Macintosh Series with built-in USB port
B. Getting the Camera Ready
Without an SD card installed:
Set the Mode switch to (Playback).
With an SD card installed:
Make sure the SD card containing the images you
want to download is inserted in the camera.
Set the Mode switch to (Playback).
NOTE
: If the Mode switch is set to the incorrect mode
(Photo ), the camera acts as a PC/Web Cam when you
connect the camera to your computer. For more details on
how to use PC/Web Cam, refer to the Take-it S1/D1 User
Guide in the Microtek CD-ROM.
C. Connecting the Camera
1. Make sure your computer is turned on.
(Only Window 98/98SE required)
1. Turn on your computer and insert the supplied
Microtek CD-ROM in the CD-ROM drive.
The Microtek Software Installer screen appears
automatically.
2. Click the Camera Driver button and follow the on-
screen instructions to install the driver.
3. Click the Exit button after the Microtek Software
Installer has successfully installed the camera driver.
4. Restart your computer.
The following steps should be followed in order to
download images from your camera to your computer:
2. Connect the camera to the
computer using the provided USB
cable.
Connect one end of the USB
cable to the cameras USB
connector.
Connect the other end of the
USB cable to a free USB
connector on your PC.
After a few moments your computer
will automatically detect the camera.
Summary of Contents for Take-it D1
Page 1: ......


