background image

5

5.  Click the 

Show Preview Window

 and 

Show Setting Window

 tabs in the Scan Setup 

interface to display other interfaces which are helpful for your scanning processing.

6.  Click the 

Preview

 button to perform a preliminary view of the entire image.  When 

done, a preview image appears in the Preview window.   

7.  Go to the “General” panel by clicking the 

General

 tab in the Settings window. Specify 

the settings for your requirements there.

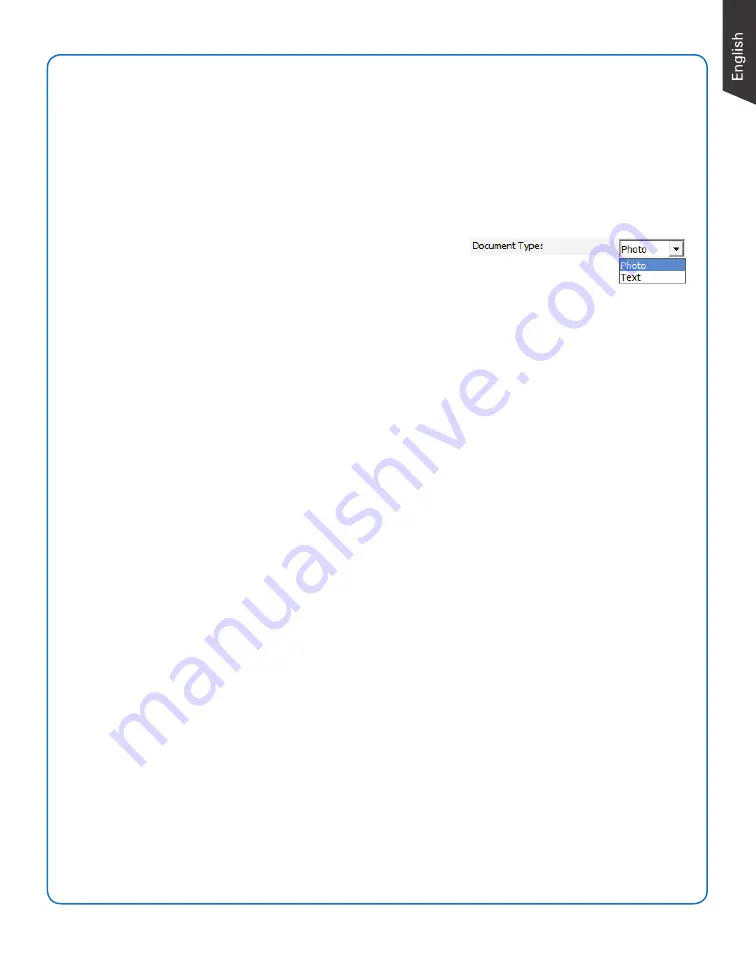
a)  Select the image type in the 

Document Type

 as your input image type.

–  Select 

Photo

 to scan color prints.

–  Select 

Text

 to scan text.

b)  If necessary, check “Remove Blank Page” and 

“Remove Punch Hole” to enhance the quality of the scanned images.

8.  If necessary, go to the “Image Process” panel by clicking the 

Image Process

 tab in the 

Settings window.  


Use the image correction tools presented there to enhance the image quality according 

to your specific requirements.

9.  Click the 

OK

 button to close the Scan Setup interface and return to the Main interface 

of ScanWizard DI.  

10. In the Main interface, click the 

File Format

 menu button to select a file format for the 

scanned images.

11. In the Main interface, click the 

File Name 

menu button to specify a file naming method 

for the scanned images.

12. In the Main interface, click the 

Normal Scan

 button to start scanning.


When done, the scanned images will be automatically saved into the folder defined in 

the File Location menu box.  At the same time, the scanned images will be displayed 

in thumbnail sizes in the Thumbnail View window and labeled with the file name and 

file format specified earlier.

13. Click the 

Open Folder

 button to locate the scanned images if you want to view.

NOTE:

 For more details on other scanning scenarios applicable to your scanner, refer to the scanner’s 

User’s Manual in the Microtek Software CD/DVD.

Summary of Contents for XT5750 HS

Page 1: ...nti virus utilities before installing software Copyright 2021 Microtek International Inc https www microtek com I49 005389 A March 2021 A Turn on your computer B Place the Microtek Software CD DVD into a drive and follow the on screen instructions to install the scanner driver and software C Restart your computer at the end of all software installation NOTE If the Microtek Software Installer scree...

Page 2: ...nto a wall outlet or other power source To the Hi Speed USB cable C Connect one end of the Hi Speed USB cable to your computer D Connect the other end of the Hi Speed USB cable to the scanner s USB port A B E C D E Press and hold the Power button until the POWER indicator becomes blue Once the system detects the scanner the scanner is ready to scan ...

Page 3: ...ns Positioning Documents 1 Raise the scanner lid 2 Pplace the document to be scanned face down on the glass surface of the scanner 3 Lower the scanner lid Position a book or a bound document Align the spine or inner edge of the book with the arrow icon located at the lower right corner of the scan bed and along the dotted line shown as picture If necessary lift the scanner lid straight up or remov...

Page 4: ... the Color Mode as your image output type c Select a dimension in the Paper Size as your preview image size d Select a desired resolution in the Resolution for your image output resolution e If necessary select Text Orientation Recognition in the Rotate to ensure the scanned images in a readable orientation When it is selected you can select the preferred language used as an identification in the ...

Page 5: ...ools presented there to enhance the image quality according to your specific requirements 9 Click the OK button to close the Scan Setup interface and return to the Main interface of ScanWizard DI 10 In the Main interface click the File Format menu button to select a file format for the scanned images 11 In the Main interface click the File Name menu button to specify a file naming method for the s...

Page 6: ...AP control panel Main interface File Location menu box Click on a thumbnail image to enlarge it in the Image View Window at the right side of the interface TWAIN driver control panel Scan Setup interface ...

Page 7: ...ton and close the ScanWizard DI software Disconnect the USB cable from your computer and refer to the installation instructions in this guide or the scanner s User s Manual 3 When trying to scan an error message appears on your screen that reads Can t Find Scanners Make sure your scanner is connected to your computer and plugged in to a power source Uninstall and reinstall the ScanWizard DI softwa...

Page 8: ...computer system properly later please go to the Microtek Download Service site at microtek com en download to download and install any updates you may require For additional information about Microtek products please visit our website at www microtek com Copyright 2021 Microtek Microtek ScanMaker ArtixScan ScanWizard and ColoRescue are trademarks or registered trademarks of Microtek International ...

Reviews: