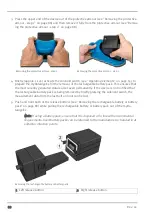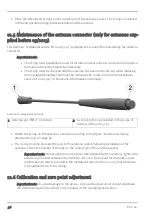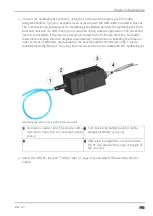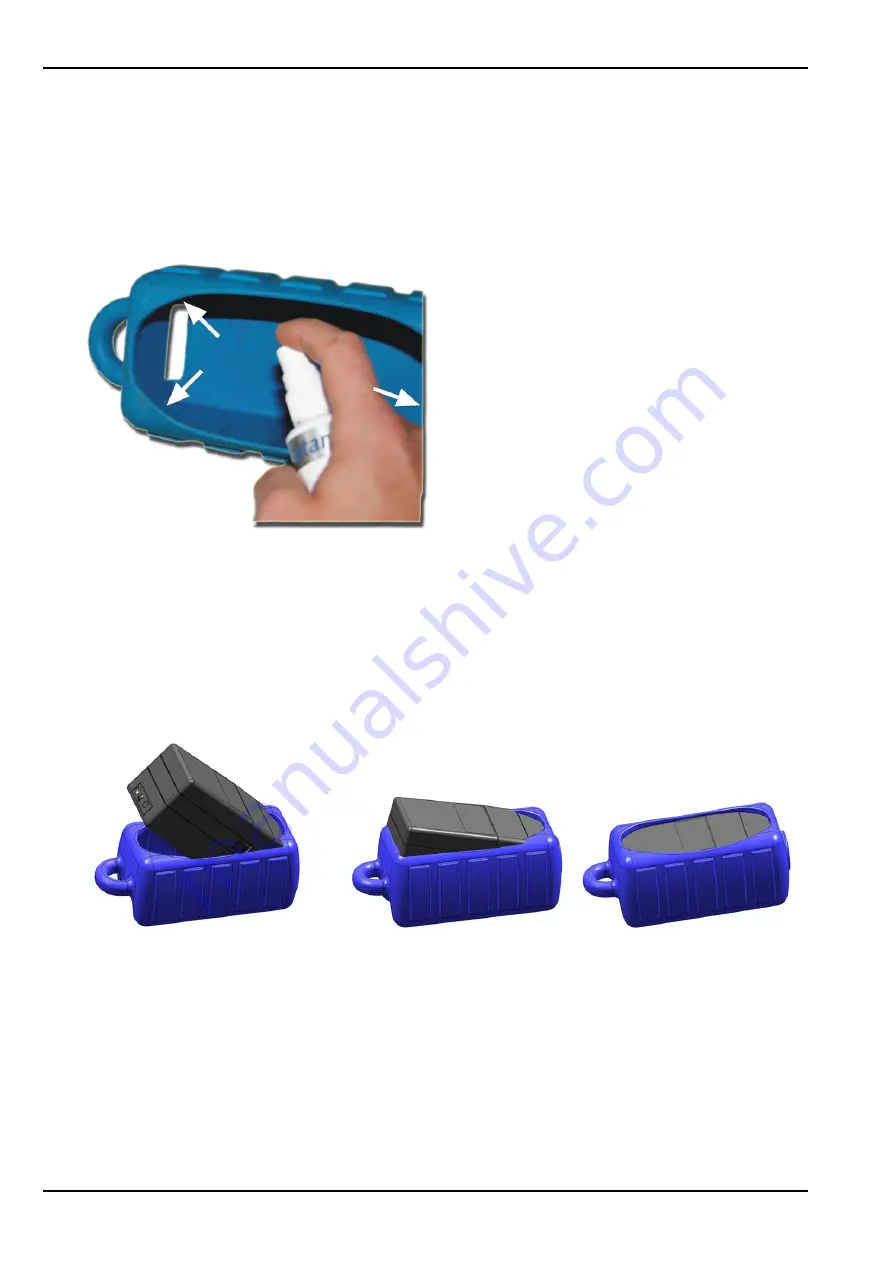
11. Clean the protective armour before assembly. It is also recommended to lightly spray the corn-
ers and surfaces in accordance with Figure "Oiling the protective armour" on page 90 using
the paraffin oil spray included in the myDatanet service kit (206.324 ). This facilitates
assembly and the subsequent removal of the protective armour during the next service.
l
The protective armour must only be cleaned with mild cleaning agents.
l
The protective armour must not be rubbed with cloths in the Ex zone.
Oiling the protective armour
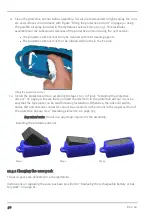
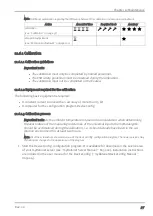
12. Install the protective armour according to steps 1 to 3 in Figure "Installing the protective
armour" on page 90. Ensure that you insert the device in to the protective armour in such a
way that the type plate can be read following installation. Otherwise, the solenoid switch,
status LED and antenna connector cannot be accessed via the cut-out in the upper section of
the protective armour (see "Operating elements" on page 65).
Important note: Do not use any sharp objects for the assembly.
Installing the protective armour
Step 1
Step 2
Step 3
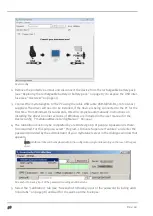
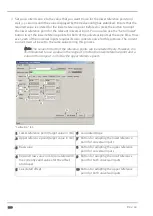
12.3.1 Charging the accu pack
The accu packs are delivered in a charged state.
Instructions on replacing the accu pack are provided in "Replacing the rechargeable battery or bat-
tery pack" on page 87.
90
Rev. 02
Summary of Contents for 305001
Page 2: ......
Page 8: ......
Page 9: ...Chapter 2 Declaration of conformity Chapter 2 Declaration of conformity Rev 02 9 ...
Page 10: ......
Page 11: ...Chapter 3 Ex certification Chapter 3 Ex certification Rev 02 11 ...
Page 12: ...12 Rev 02 ...
Page 13: ...Chapter 3 Ex certification Rev 02 13 ...
Page 14: ......
Page 26: ......
Page 38: ......
Page 64: ......
Page 84: ......
Page 106: ......
Page 108: ......
Page 126: ......

