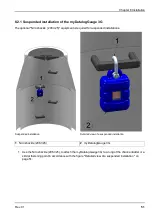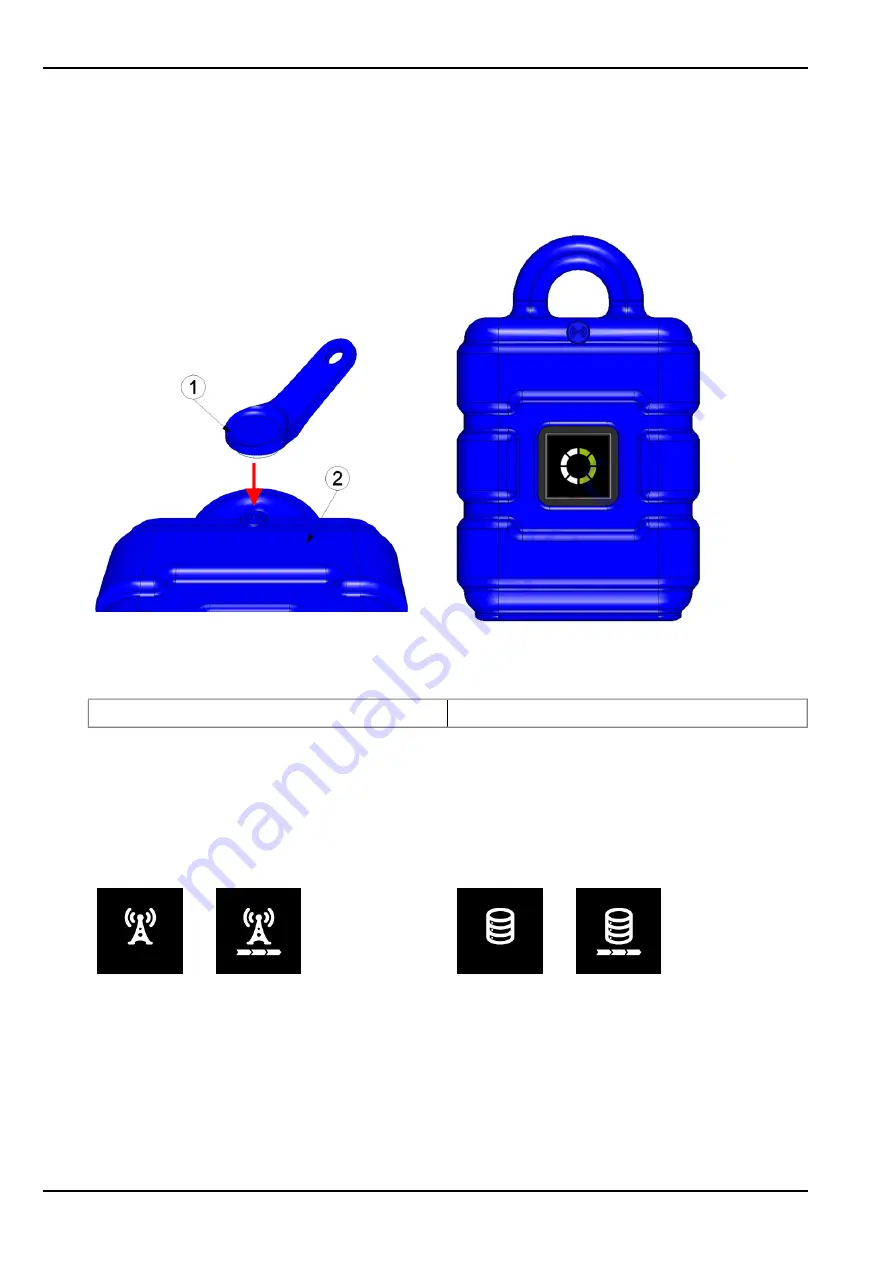
1. Place the device and the antenna in the final installation position (with the shaft lid open).
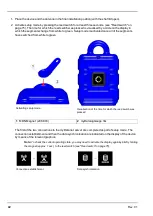
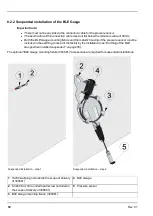
2. Activate setup mode by pressing the reed switch for at least three seconds. (see "Reed switch" on
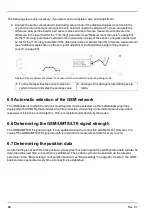
page 75). The time for which the reed switch was pressed is visualised by a circle on the display in
which the segments change from white to green. Setup mode is activated once all of the segments
have switched from white to green.
Activating setup mode
Visualisation of the time for which the reed switch was
pressed
1
MDN Magnet (206.803)
2
myDatalogGauge 3G
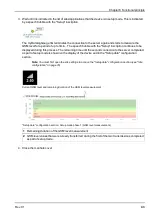
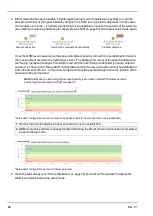
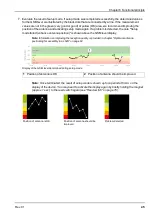
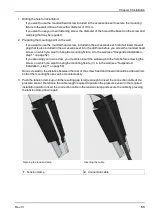
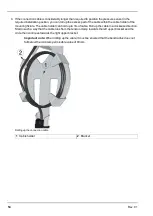
The first of the two connections to the myDatanet server are completed as part of setup mode. The
connection establishment and then the data synchronisation are indicated on the display of the device
by means of the relevant graphics.
Note:
To check the current operating state, you may need to activate the display again by briefly holding
the magnet (approx. 1 sec.) to the reed switch (see "Reed switch" on page 75).
...
Connection establishment
...
Data synchronisation
42
Rev. 01
Summary of Contents for myDatalogGauge 3G
Page 2: ......
Page 10: ...2 2 BLE Gauge 10 Rev 01 ...
Page 11: ...Chapter 2 Declaration of conformity Rev 01 11 ...
Page 12: ......
Page 13: ...Chapter 3 Ex certification Chapter 3 Ex certification 3 1 BLE 3G Gateway ATEX Rev 01 13 ...
Page 14: ...14 Rev 01 ...
Page 15: ...Chapter 3 Ex certification Rev 01 15 ...
Page 16: ...16 Rev 01 ...
Page 17: ...Chapter 3 Ex certification 3 2 BLE Gauge Rev 01 17 ...
Page 18: ...18 Rev 01 ...
Page 19: ...Chapter 3 Ex certification Rev 01 19 ...
Page 20: ...20 Rev 01 ...
Page 134: ......
Page 140: ......
Page 152: ......
Page 154: ......


