Chapter 3: Using the Web Interface
35
3.
Use the checkboxes to select one or multiple outlets.
•
To select ALL outlets, select the topmost checkbox in the header row.
4.
Click Edit Thresholds.
5.
Make changes as needed.
•
To enable any threshold, select the corresponding checkbox.
•
Type a new value in the accompanying text box.
For concepts of thresholds, deassertion hysteresis and assertion timeout, see
(on page 50).
6.
Click Save.
Sequence Setup
By default, outlets are sequentially powered on in the ascending order from outlet 1 to the final when turning ON or power
cycling all outlets on the PDU. You can change the order in which the outlets power ON. This is useful when there is a
specific order in which equipment should be powered up first.
In addition, you can make a delay occur between two outlets that are turned on consecutively. For example, if the power-on
sequence is Outlet 1 through Outlet 8, and you want the PDU to wait for 5 seconds after turning on Outlet 3 before turning
on Outlet 4, assign a delay of 5 seconds to Outlet 3.
Setting Outlet Power-On Sequence
To set the outlet power-on sequence:
1.
Click the ellipsis
and select Sequence Setup.
2.
Select one or multiple outlets by clicking them one by one in the 'Outlet' column.
3.
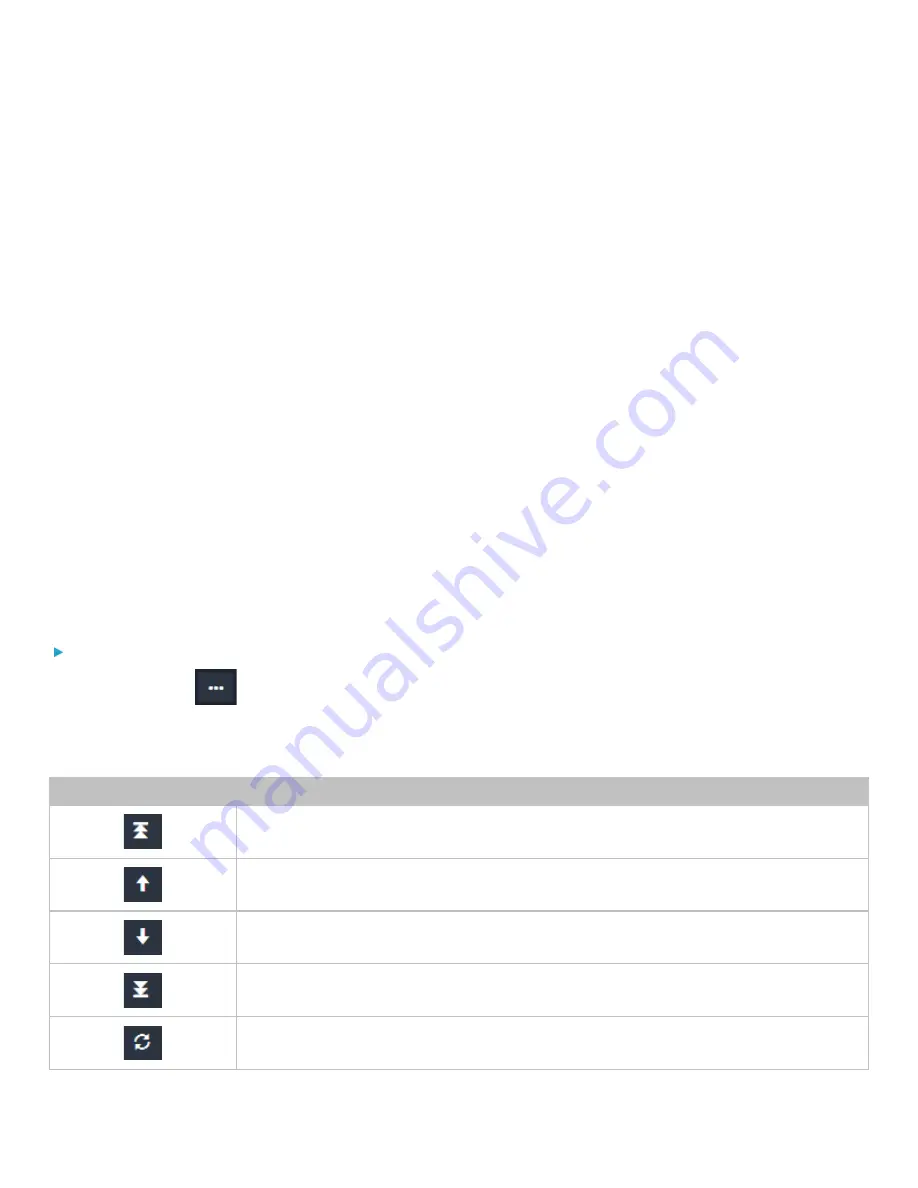
Click the arrow buttons to change the outlet positions.
Button
Function
Top
Up
Down
Bottom
Restores to the default sequence


