Service Manual
, 2016-12
26
/
46
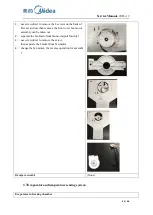
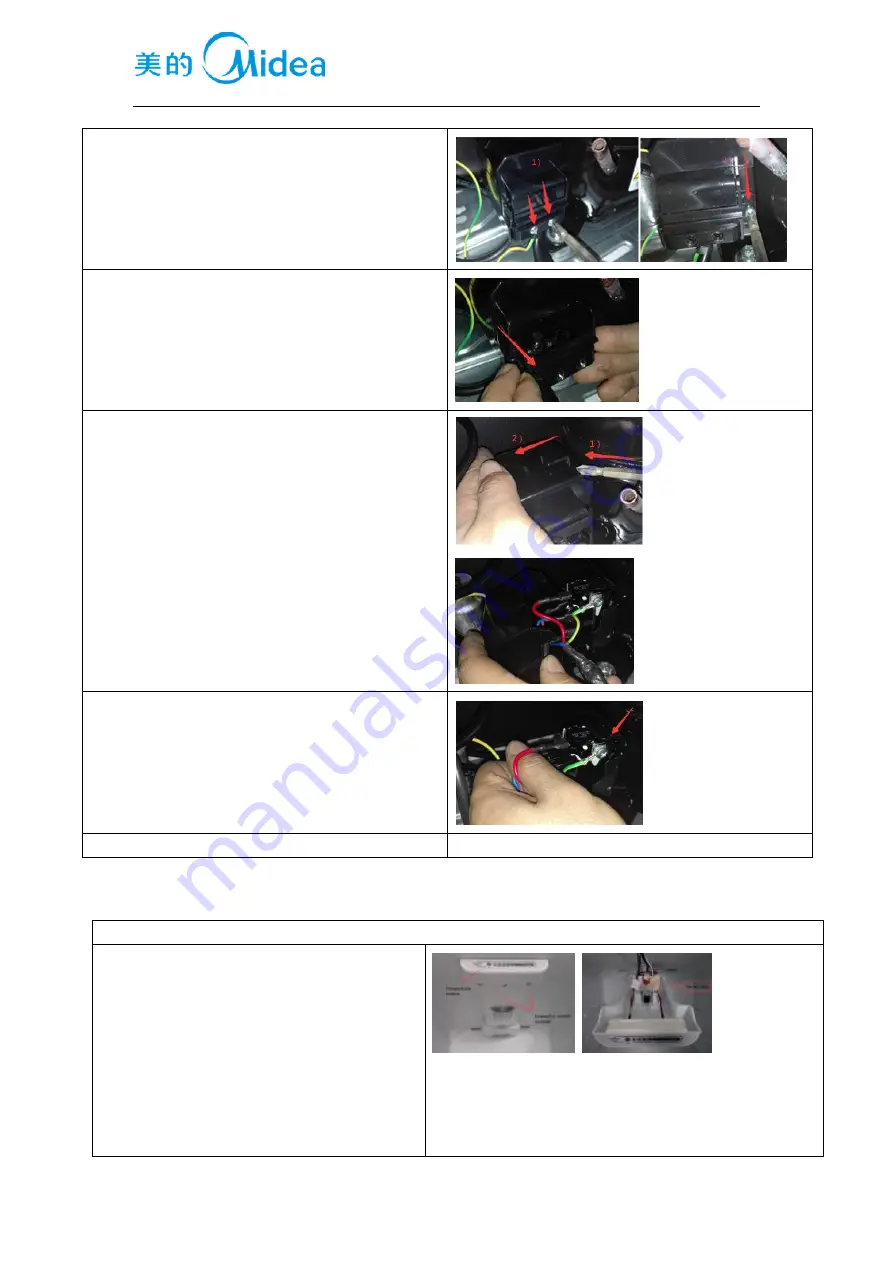
1.
Remove the screws
1
)
Two screws outside
2
)
One screw inside
2.
Remove the clipping strip
Slowly pull it out
3.
Remove the protective cover
1
)
Pry the protective cover slowly from the upper part,
2
)
Pull it out and remove it.
4.
Remove the starter and protector
Unplug the starter and protector (you can use a
screwdriver to pry it slowly)
5.
The reverse process can complete installation.
/
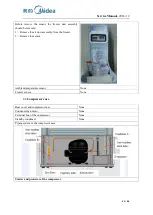
8.7
Display and main control panel
Display control board
1
)
Remove two screws from the refrigerating
air duct with a cross screwdriver;
2
)
Pull all connector terminals out of the
refrigerating air duct to remove its
components;
3
)
Uncover the temperature control indication
sticker on the cover plate of the air duct;
4
)
Gently pry out the PCB installation box
with a straight screwdriver to get the
Summary of Contents for 22031020000145
Page 5: ...Service Manual 2016 12 5 46 1 Safety Warning Code 1 1Warning for operation safety...
Page 6: ...Service Manual 2016 12 6 46...
Page 7: ...Service Manual 2016 12 7 46...
Page 8: ...Service Manual 2016 12 8 46 1 2Safety instruction for refrigerant...
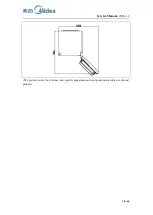
Page 17: ...Service Manual 2016 12 17 46 Down view Open Door Maximum open angle of door 135o...
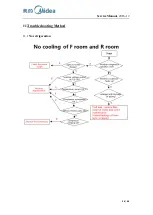
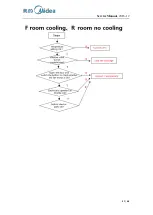
Page 36: ...Service Manual 2016 12 36 46 11 Troubleshooting Method 11 1 No refrigeration...
Page 37: ...Service Manual 2016 12 37 46...
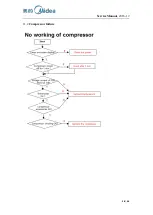
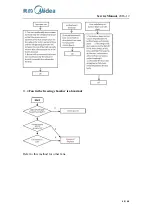
Page 38: ...Service Manual 2016 12 38 46 11 2 Compressor failure...
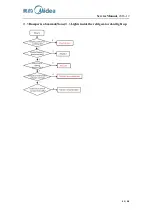
Page 39: ...Service Manual 2016 12 39 46 11 3 Defrosting is not working...


