30
INSTALLATION OF THE INDOOR AND OUTDOOR UNITS
Read these step-by-step installation instRuctions caRefully
· Read these installation instructions prior to installation to perform the installation properly
· All illustrations are drawings. In the event of variances between the illustrations in these instructions and the actual air
conditioner, the actual appliance takes precedence.
· No moisture or dirt may enter the adapter pipes and connections during the installation of coolant lines. Always install
the outdoor lines in dry weather. Do not remove the sealing caps and plugs until immediately prior to installation. The in-
stallation must be performed in the sequence outlined below.
· Non-compliance with the individual installation steps according to these instructions and subsequent damage to the air
conditioner will void any liability and warranty.
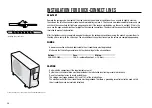
caution
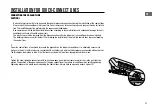
The coolant lines should not be disconnected again after opening the stop valves on the outdoor air conditioner because this
may cause the coolant to leak and the operation of the air conditioner will no longer be warranted.
indooR unit
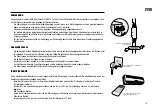
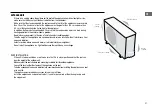
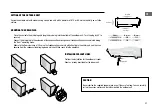
· Do not set up the indoor unit subject to heat or steam.
· Select a location without obstructions in front of and around the appliance.
· Make sure that the water is drained downward.
· Do not install the appliance at a door entrance.
· Make sure that the left and right clearances are greater than 10 cm.
· The distance of the indoor appliance from the ceiling should be at least 10 cm.
· When the pipe connection is extended, the coolant quantity must be adjusted
accordingly.
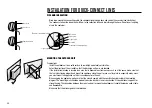
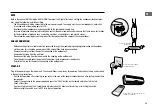
· The pipe must be installed to the left of the indoor unit.
12 cm
or more
15 cm or more
20 cm or more
12 cm
or more


