background image

Note: The Rear View and Side View as well as the performance of above styles are same as that of base style.

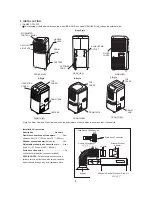
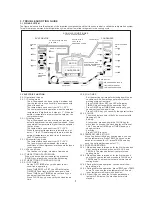
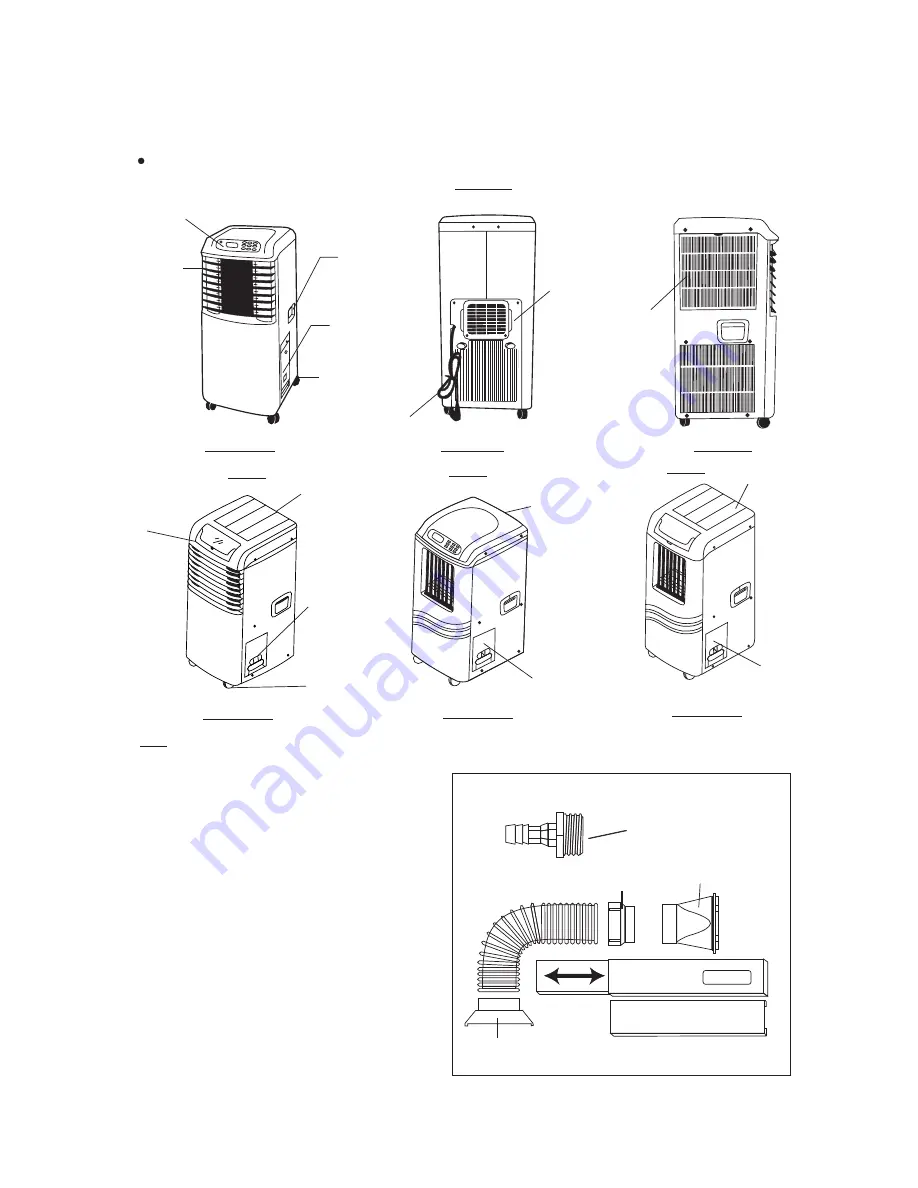
2.1 NAMES OF PARTS

The following models all are based on the model MPA-08CE and model MPA-O8EE Only change the external style.

FRONT VIEW

FRONT VIEW

FRONT VIEW

B Style

TOP
COVER

DRAIN TANK

FRONT VIEW

REAR VIEW

Base Style

ILLUMINATED

CONTROL  PANEL

OSCILLATING

AIR VENTS

HANDLE

RECESS

DRAIN

TANK

CASTERS

AC POWER

CORD

EXHAUST AIR

OUTLET

SIDE VIEW

FILTER

COVER

A Style

TOP
COVER

OPERATION
COVER

DRAIN TANK

CASTERS

C Style

TOP
COVER

DRAIN
TANK

2. INSTALLATION

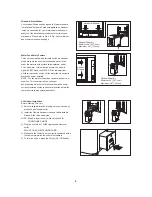
Installation Accessories


Description                                         Quantity

Flexible exhaust hose with adapters

..............3/set

1

3

stretches from 19 / " (50cm) up to 78 / " (200cm)

2

4

Window exhaust adapter

(flat mouth)...............1Pc

Adjustable window/patio door slider kit

.........2/set

5

3

from26 / " (67.5cm) up to 48 / "(203cm) 

8

8

Drain hose connector

.......................................1 Pc

continuous drain option (hose not included)

SPECIAL NOTE:

 Exterior drain hose extension

(direct drain) is not included with this unit and can 

be purchased through any local Hardware Store.

Installation Accessories

Drain Hose Connector 

Window Exhaust 
       Adapter

Adapter

Adapter

Adjustable Window/Patio Door Slider Kit

5

3

                                          26 / "  -  48 /

8

8

Flexible Exhaust Hose

1

3

        19 /  - 78 /

2

4

"

Adjustable Window/Patio Door Slider Kit

5

3

                                26 /  - 48 /

8

8

"

"

"

5

Summary of Contents for MPA-08CE

Page 1: ...Service Manual Mobile type GD Midea Refrigeration Equipment Co Ltd Model applied MPA 08CE MPA 08CR MPA 08EE MPA 08ER...

Page 2: ...m The refrigerant is charged at the factory Be sure to read the safety precautions prior to servicing the unit 1 1 SAFETY PRECAUTIONS 1 When servicing the unit set the POWER SWITCH to OFF and unplug t...

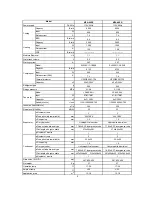
Page 3: ...luminium Hydrophilic aluminium e Tube outside dia and type mm 7 94x0 35 innergroove tube 7 94x0 35 innergroove tube f Coil length x height x width mm 274x264x38 1 274x264x38 1 g Number of circuits 1 1...

Page 4: ...Fin type code Hydrophilic aluminium Hydrophilic aluminium e Tube outside dia and type mm 7 94x0 35 innergroove tube 7 94x0 35 innergroove tube f Coil length x height x width mm 274x264x38 1 274x264x38...

Page 5: ...I 6 Remote display 7 Mode button 8 9 Fan button A B C Swing button D Up button E Clock button F Reset button G Lock button H I Timer on button Timer off button Display the situation of operation setti...

Page 6: ...COVER DRAIN TANK 2 INSTALLATION Installation Accessories Description Quantity Flexible exhaust hose with adapters 3 set 1 3 stretches from 19 50cm up to 78 200cm 2 4 Window exhaust adapter flat mouth...

Page 7: ...nside the cabinet otherwise the unit will not operate 5 To turn the unit on press the I O key On Off Switch Water Tank Safety Feature This unit is equipped with a fail safe switch mechanism which prev...

Page 8: ...2 1 THE SETTING OF AUTO SWING When the air conditioner is operating press the SWING key at any mode to start the auto swing 3 2 2 OFF TIMER Set the OFF TIMER at any mode when the air condition is oper...

Page 9: ...minutes re starting the machine after the compressor is stopped needs to wait for 3 minutes 3 2 5 5 CURRENT PROTECTION FOR COMPRESSOR During operation if over current lasts for 3 seconds the compresso...

Page 10: ...Check fan motor capacitor Is the voltage of CN11 on main board correct Replace main board Yes No Replace fan motor Yes Check Whether the evaporator or condenser is blocked Check compressor capacitor C...

Page 11: ...eck fan speed Yes No Replace main board Check air filter Is temperature of suction pipe on compressor higher o than 19 C No Replace compressor Check leakage repair and recharge refrigerant Yes Check r...

Page 12: ...f knocking sounds continue when running or loose or the motor hums or noise appears to be internal while running Copper tubing Remove the cabinet and carefully rearrange tubing not to contact cabinet...

Page 13: ...maged Water depth controller switch Check whether the water tank is in correct postiong Replace the water depth controller switch if checked failure Main board Check and replace the main board after c...

Page 14: ...13 4 SCHEMATIC DIAGRAM 4 1 CIRCUIT DIAGRAM For Model MPA 08CE and MPA 08CR For Model MPA 08EE and MPA 08ER...

Reviews: