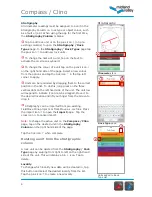
Notes & Images
12
Edit and Delete
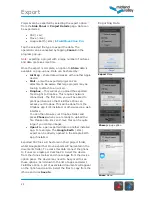
Example of
Delete
Edit Locality
page
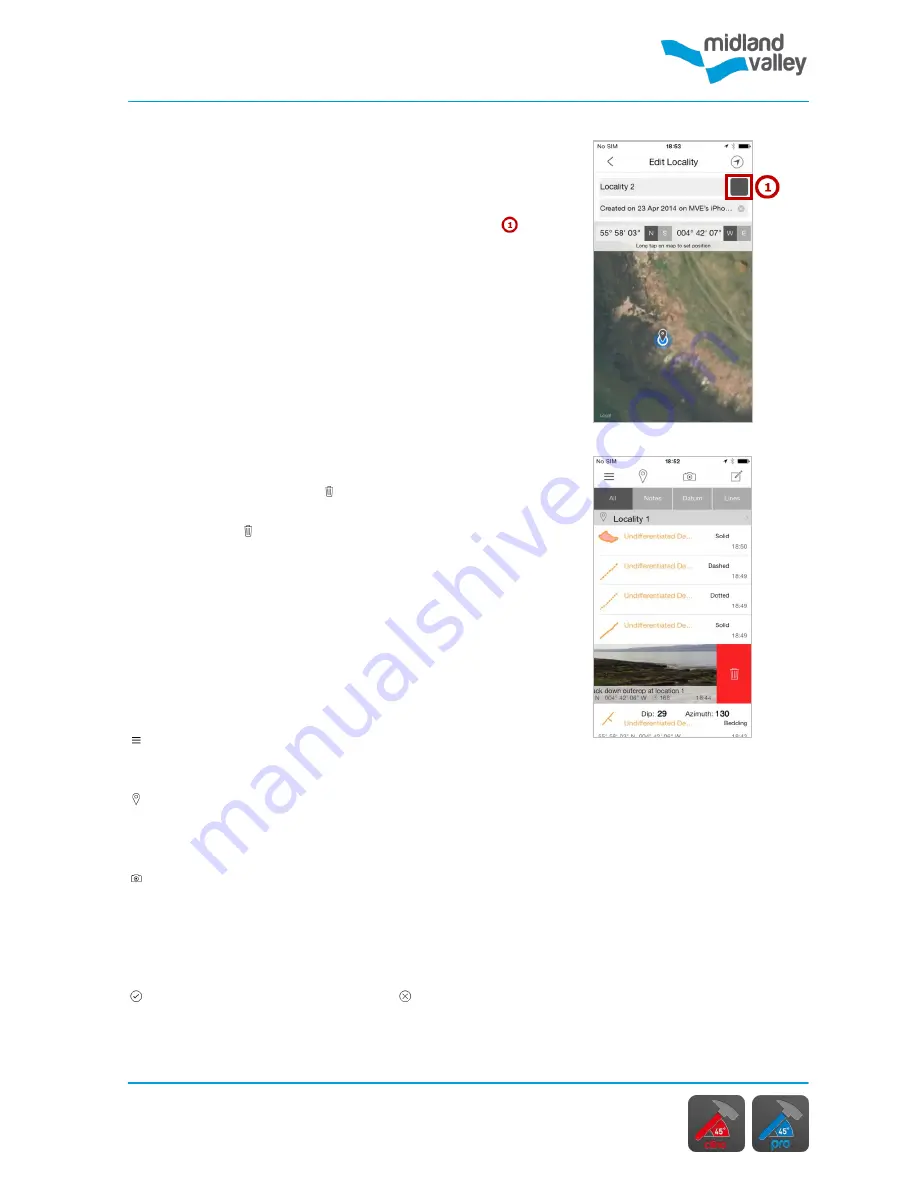
Editing localities
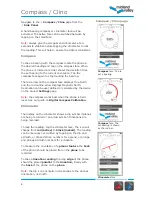
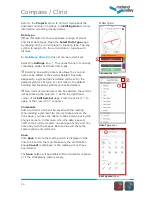
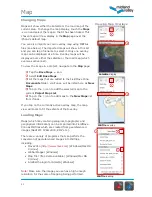
When editing a locality, the user can change the name,
description, colour and location. The colour of localities
defaults to grey, and has no association to rock units. The
colour can by selected by tapping the colour square
next to the locality name.
The location of a locality can be changed by long pressing
at the new location on the map, or by entering the latitude
and longitude manually. Refer to the
Setting location
manually
section for more information.
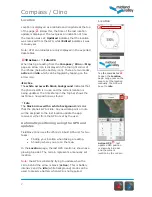
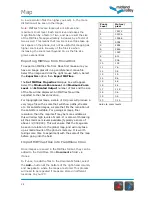
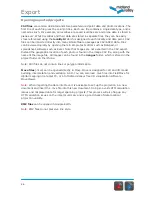
Deleting note book entries
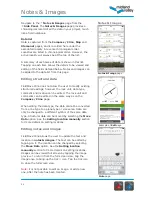
In the
Notes & Images
page, orientation data, notes,
photographs, line or polygon objects can be deleted by
swiping from right to left on the right hand side of the
unit. This will display a bin icon. Tap the icon to delete
the chosen object. When editing note book entries,
tapping the bin icon will also delete the entry.
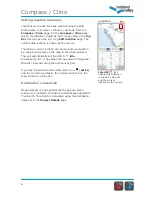
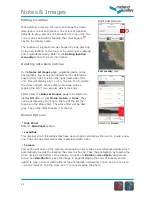
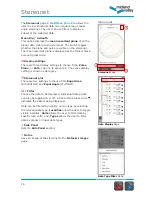
Filters allow the
Notes & Images
page to be filtered to
display
All
data, or just
Notes
,
Datum
or
Lines
. They
can be accessed by scrolling to the top of the list (by
tapping in the status bar). The active filter will be dark
grey. Tap on the filter to apply it to the list.
Screen Options
Side Panel
Refer to
Side Panel
section.
Localities
This displays a list of localities that have been created, and allows the user to create a new
one. The currently selected locality is displayed with a tick.
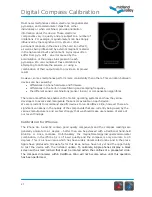
Camera
This option will open up the camera, allowing the user to take a georeferenced photo which
automatically records the bearing the camera is facing. Take the photograph by tapping the
white circle at the bottom of the display. An option to
Retake
or
Use
Photo
will become
active. Tap
Use Photo
to keep the image. A page displaying the current location and an
option to type a note or description of the photograph will become active. Tap the tick icon
when complete. Tap the cross icon to cancel saving the photo.
Summary of Contents for FieldMove Clino
Page 1: ......


