11 |
P a g e 1 0 - 3 3 1 - 2 R E V A
MNChinook 200M Instructions
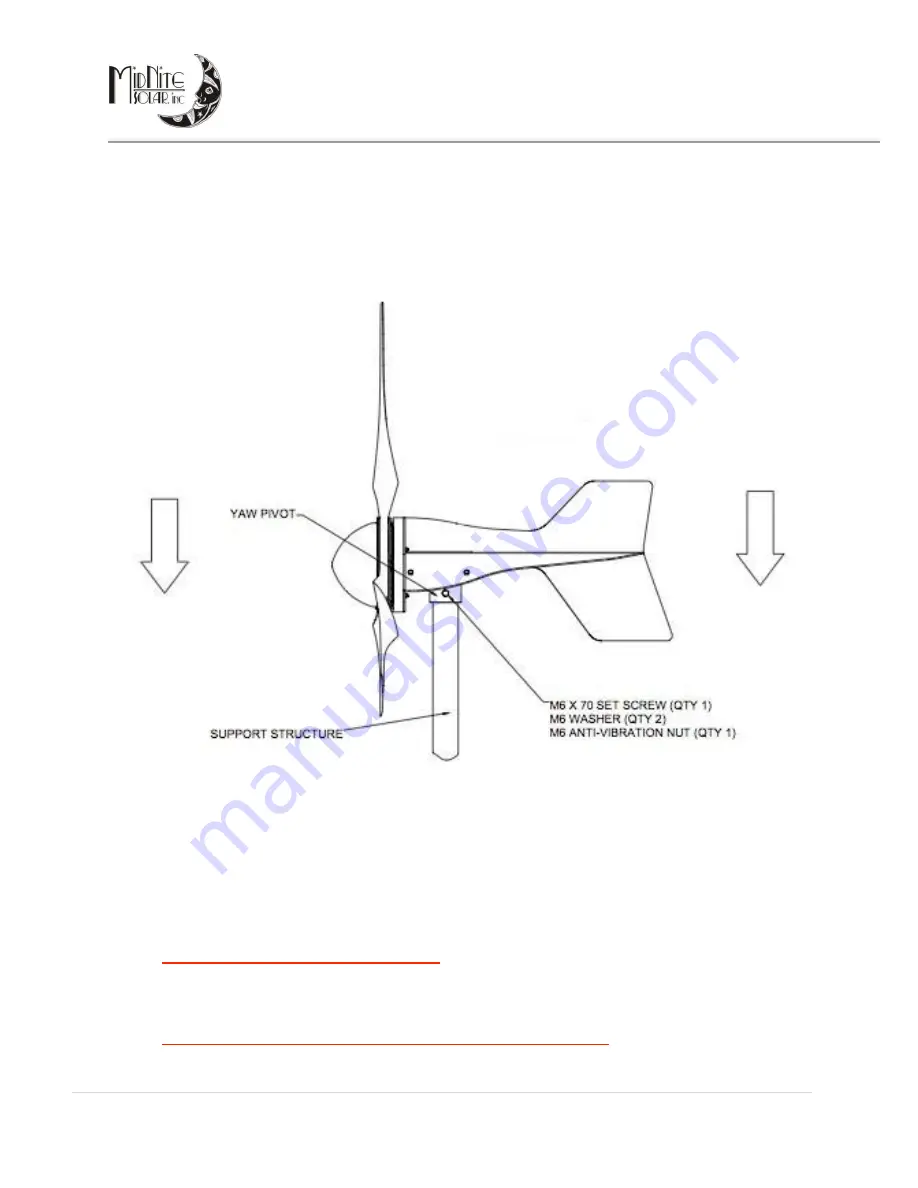
turbine up to the support structure and push the turbine body onto it. Ensure that no wires are snagged. Use
the M6 x 70 fully threaded cap screw, along with two washers and a Nylock nut to secure the turbine to the
mount using the hole in the yaw pivot. Ensure that all hardware is securely fastened.
Electrical Installation
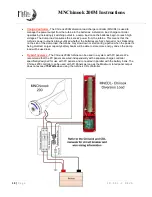
Please refer to the generic wiring diagram
(page 13)
for a battery charging renewable energy systems,
as there may be different ways of wiring small wind turbines, photovoltaic panels, charge controllers and
batteries together. This type of system will often expand ‘organically’, but the following guidelines should
be adhered to:
Follow the appropriate electrical code -
The electrical wiring of your Chinook 200M turbine
and associated electrical systems must be done in accordance with national and local electrical
codes and regulations.
Do not connect the turbine or batteries during the installation -
Ensure that the turbine is not
running or connected to the batteries during the installation or wiring process. Connect the output
wires of the turbine together to prevent the rotor from starting up.

