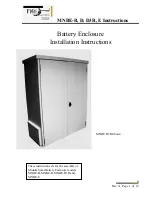
MNBE-B, D, D3R, E Instructions
(continued)
Rev: A Page 4 of 10
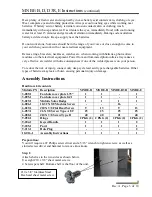
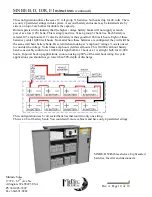
Install eight #10 x 3/8” Flat head Philips SS sheet metal screws front and back to attach sides to
shelves. Additional shelves may be purchased to accommodate other configurations (Outdoor
units see step 4B).
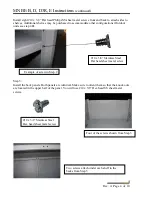
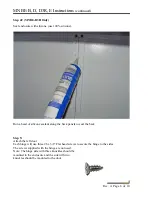
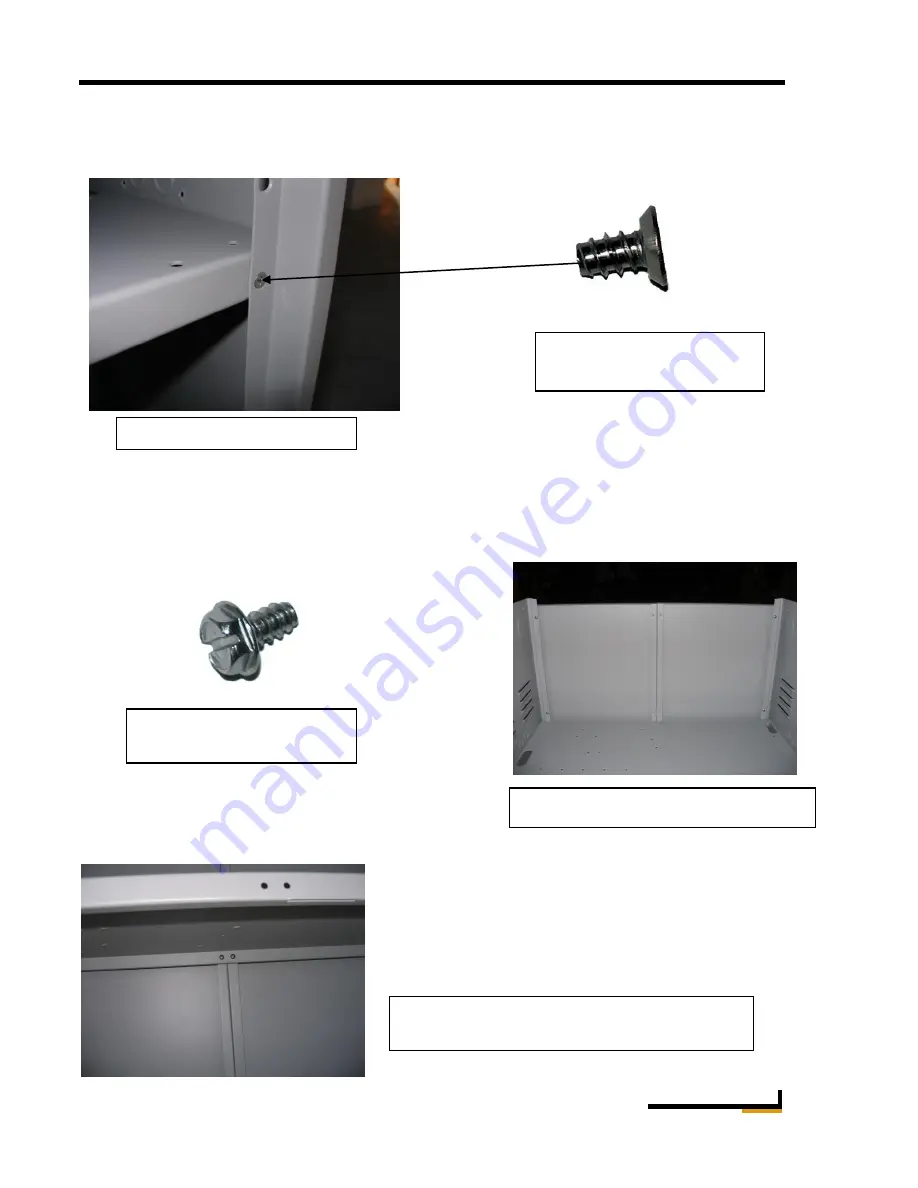
Step 3:
Install the back panels. Both panels are identical. Make sure to orient them so that the knock outs
are located in the upper half of the panel. You will use #10 x 3/8” Hex head SS sheet metal
screws.
#10 x 3/8” Stainless Steel
Flat head sheet metal screw
Example of screw in Step 2
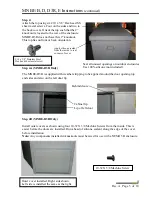
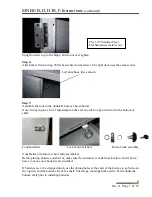
#10 x 3/8” Stainless Steel
Hex head sheet metal screw
Four of the screws shown from Step 3
Two screws attach under each shelf to the
backs from Step 3