background image

 4 

 

You are now ready to add your perlite!  

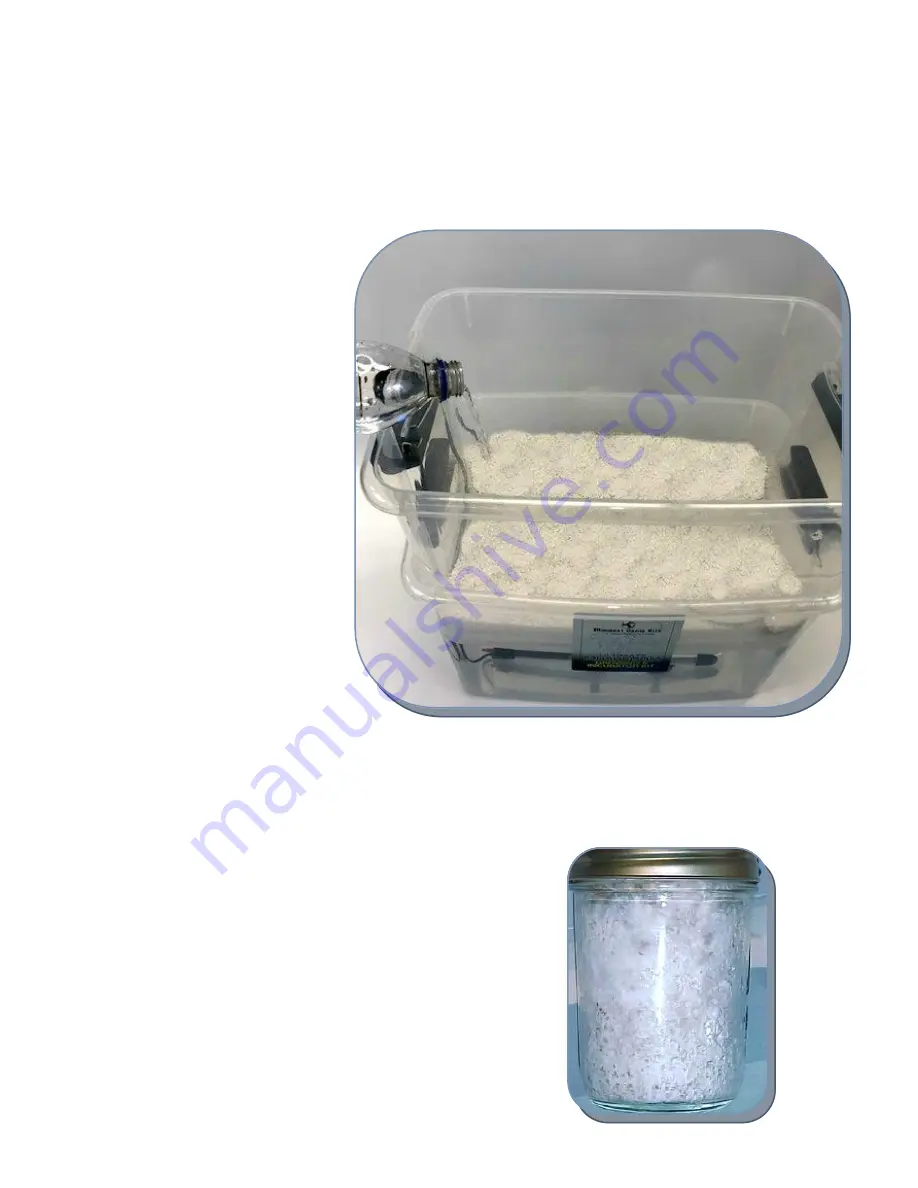
The perlite goes on the bottom of the inner chamber after you birth the jars.  Per-

lite evaporates water and this is what creates the high humidity levels needed.  


 

Mix with filtered water to get a moist mix. 
Don’t over saturate either. This provides 
the humidity needed.  You want it wet 
enough so it’s moist when you push down 
on it, but you don’t want to see any 
standing or pooling water.  You can simp-
ly add water like shown here or use the 
wetting instructions in the grow guide, 
either method works fine.  


**TIP**  

You can add hydrogen peroxide to 

the perlite to help keep it clean. You may add 
a cup of regular over the counter peroxide to 
the perlite every week if desired. Peroxide 
breaks down into water & oxygen after 48 
hours, so it is very safe to use.  This can also 
be added to the outer tub as well to keep the 
water from becoming stagnate.  Do not use 
any other chemicals, as they may corrode the 
heater. 


**Tip**  During this stage do not leave your Thermometer/Humidity Gauge in the fruiting chamber for extended periods of 
time.  The high humidity can cause failure over time.  We advise placing it in the fruiting chamber when you are making ad-
justments and let it dry out first to improve the accuracy and extend the life of the unit.  You can safely remove the lid any-
time to check on your growing mushrooms during this time.  As long as you see water droplets on the side or lid when you 
open it, you are over 90% humidity!  


It’s time to  remove your cakes from the jars! 

We recommend waiting an extra 2-3 days after they appear 

fully colonized  to make sure the center is 100% colonized. 

Summary of Contents for Ultimate Kit

Page 1: ...because it allows growing in any environment even the dirtiest attic closet or basement while providing optimal air exchange This kit can be used for both incubation period and for fruiting Follow these simple setup instructions Items not included Extension cord and water Start by placing your fully submersible aquarium heater on the bottom and use the suction cups to secure it The aquari um heate...

Page 2: ...t just simply turn back the knob to lower the temperature Once you have achieved your de sired incubation temperature the heater will maintain that and you are ready to add your inoculated jars to the tub www midwestgrowkits com 800 921 4717 Once you get the temp set correctly and steady add your inoculated jars and close the lid That s all that is needed for the first 3 4 weeks or until fully col...

Page 3: ... To speed this up you can flip the jar upside down and gently tap the bottom of the jar to dislodge the cake from the glass Leave the jar upside down until it finishes colonizing These next steps should be done after the jars are 100 colonized and are ready to start the fruiting process Connect the hose to the air pump Make sure the side with the white HEPA filter particle inside the hose is close...

Page 4: ...d Peroxide breaks down into water oxygen after 48 hours so it is very safe to use This can also be added to the outer tub as well to keep the water from becoming stagnate Do not use any other chemicals as they may corrode the heater Tip During this stage do not leave your Thermometer Humidity Gauge in the fruiting chamber for extended periods of time The high humidity can cause failure over time W...

Page 5: ... bottom of the jars to dislodge any stubborn cakes Here is an example of jars on top of the perlite The top row have been dunked and rolled See Mushroom Grow Guide The bottom row have been double end cased which is adding moist vermiculite to just the top and bottom The two jars on the right side have been dunked but no extra vermiculite added In our experi ence there isn t one particular method t...

Page 6: ...grees less than 1 2 pint Jars Follow the Spawn Bag Guide and allow them to become fully colonized Next cut a black trash bag and line the bottom of the fruiting chamber to block any light from entering on the bottom See picture on the right Follow the Bulk Casing Guide on adding your colonized grain and Casing Mix Run the Air Pump system for 1 hour on 4 times per day during this stage Place a blan...

Reviews: