

Summary of Contents for EGW 2060
Page 17: ...Possible combinations Coffee machine Steam oven Installation 17 ...
Page 22: ...22 ...
Page 23: ...23 ...
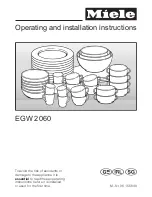
The Miele EGW 2060 is a top-quality kitchen appliance equipped with advanced features and functions. To ensure a seamless experience, it comes with comprehensive Operating And Installation Instructions. You can easily download the manual for free from our 88.208.23.73:8080, which offers a wide range of user manuals for various appliances.
Page 17: ...Possible combinations Coffee machine Steam oven Installation 17 ...
Page 22: ...22 ...
Page 23: ...23 ...


