^
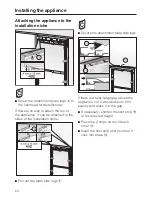
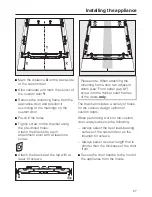
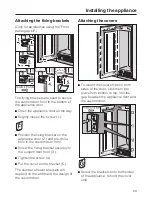
Mark the distance
X
on the back-side
of the custom door.
^
Also calculate and mark the center of
the custom door
Y
.
^
Remove the mounting frame from the
appliance door and position it
according to the markings on the
custom door.
^
Pre-drill the holes.
^
Tightly screw on the bracket using
the pre-drilled holes:
Attach the bracket to each
attachment point with at least one
screw.
^
Attach the bracket at the top with at
least 10 screws.
Please note: When attaching the
mounting frame onto two adjacent
doors (see "Front panel gap kit")
screw into the thicker outer frames
of the doors
only
.
The bracket includes a variety of holes
for the various design options of
custom doors.
When performing work on the custom
door, always observe the following:
– Always select the best load-bearing
surface of the custom door as the
location for screws.
– Always select a screw length that is
shorter than the thickness of the door
front.
^
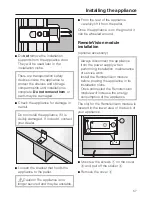
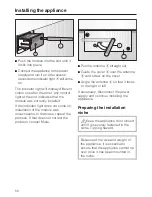
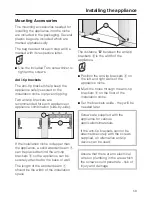
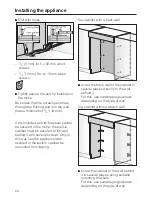
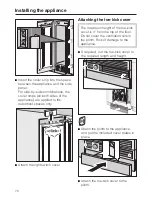
Secure the door handle to the front of
the appliance from the inside.
Installing the appliance
67
Summary of Contents for F 1811 Vi
Page 44: ...44 ...
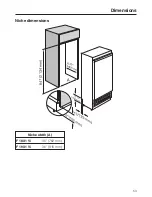
Page 53: ...Niche dimensions Niche width A F 18X1 Vi 30 762 mm F 19X1 Vi 36 915 mm Dimensions 53 ...
Page 79: ...79 ...

