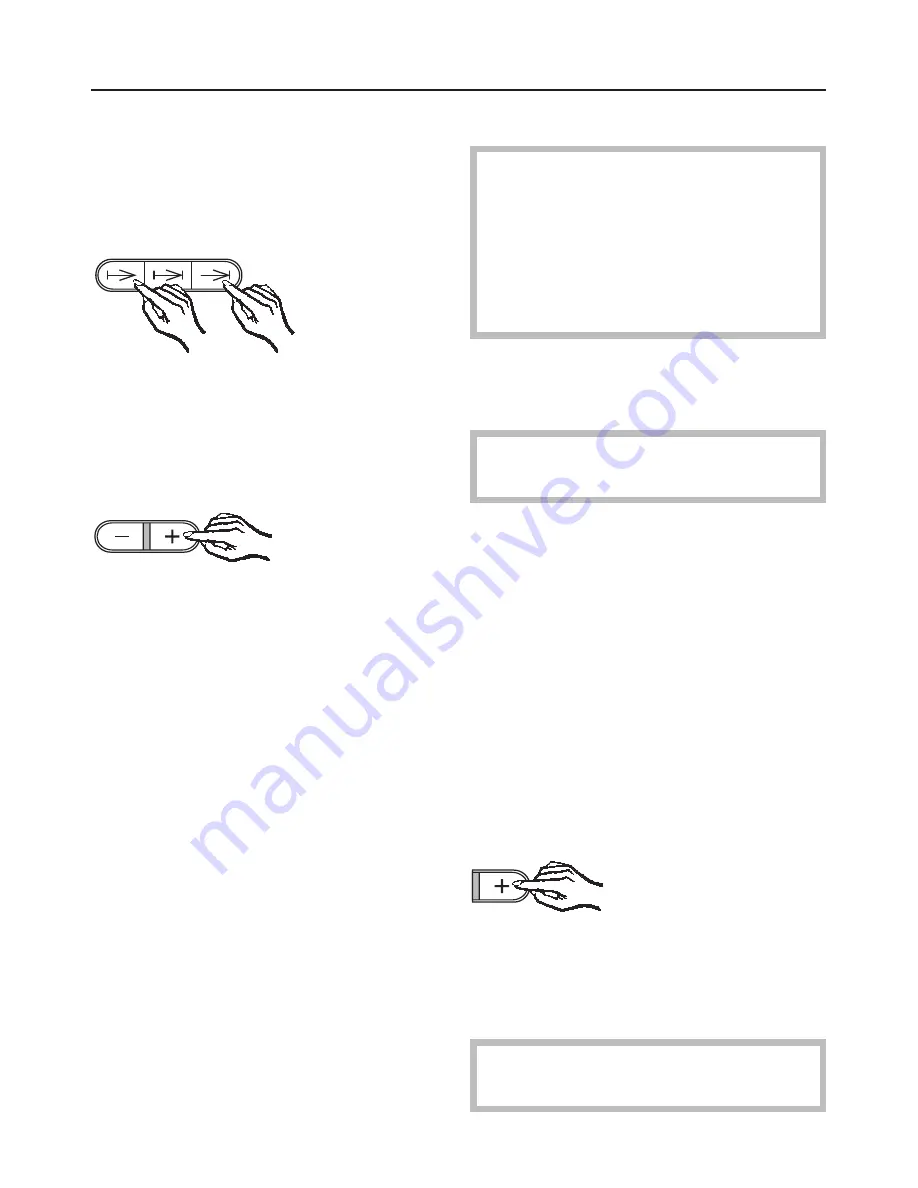
Setting the clock
When the appliance is first connected
to the power supply, or after a power
cut "12:00" and the symbols "
f
" and
"
)
" flash in the display.
^
Press buttons "
f
" and "
)
" once at
the same time.
The following light up:
– "12:00" in the display,
– the "+/–" button indicator light.
^
While the indicator light between the
"+" and "–" button is lit up, enter the
time of day in hours:minutes using
the "+" or "–" buttons.
When the indicator light for the "+/–"
button goes out, the time of day has
been set and the display will change at
one-minute intervals. The colon flashes.
Cleaning the appliance
Before use, please remove
-
any stickers from the floor of the
oven, baking trays, grill pan etc.
-
any cork spacers at the sides
above the oven cavity.
-
any protective foil from the
oven front.
^
Wipe out the
oven interior
using
warm water and a little washing up
liquid. Polish dry with a soft cloth.
Do not close the oven door until the
oven interior is dry.
^
Rinse the
accessories
.
New appliances
have a slight smell on
first use. Running the oven empty for at
least an hour at a high temperature will
dissipate this more quickly.
^
Turn the oven function selector to
"Fan Heat
D
" (top oven) or to
"Conventional (Top and bottom
heat)
A
" (bottom oven).
While the indicator light for the "+/–"
button is still on, alter the oven
temperature.
^
Select the highest temperature using
the "+/–" button.
The timer can also be used to set the
finish time.
Ensure the room is well ventilated
during this process.
Before using for the first time
14


