Installation
Please note the following:
– The machine should never be oper-
ated without the front panel firmly in
place.
– The electrical outlet and water
faucets should be close to the ma-
chine and easily accessible.
– The slides provided with the ma-
chine will prevent damage to the
floor while moving the washer into
position.
– For installation under countertops
that are 35
7
/
16
" (900 mm) or more
above the floor, one or more 2"
spacer frames, Part # 1542631, may
be required.
– Spacer frames (with installation in-
structions) can be purchased from
your Miele dealer or the Miele Parts
Department.
Matching the control panel to
the adjacent washer fronts
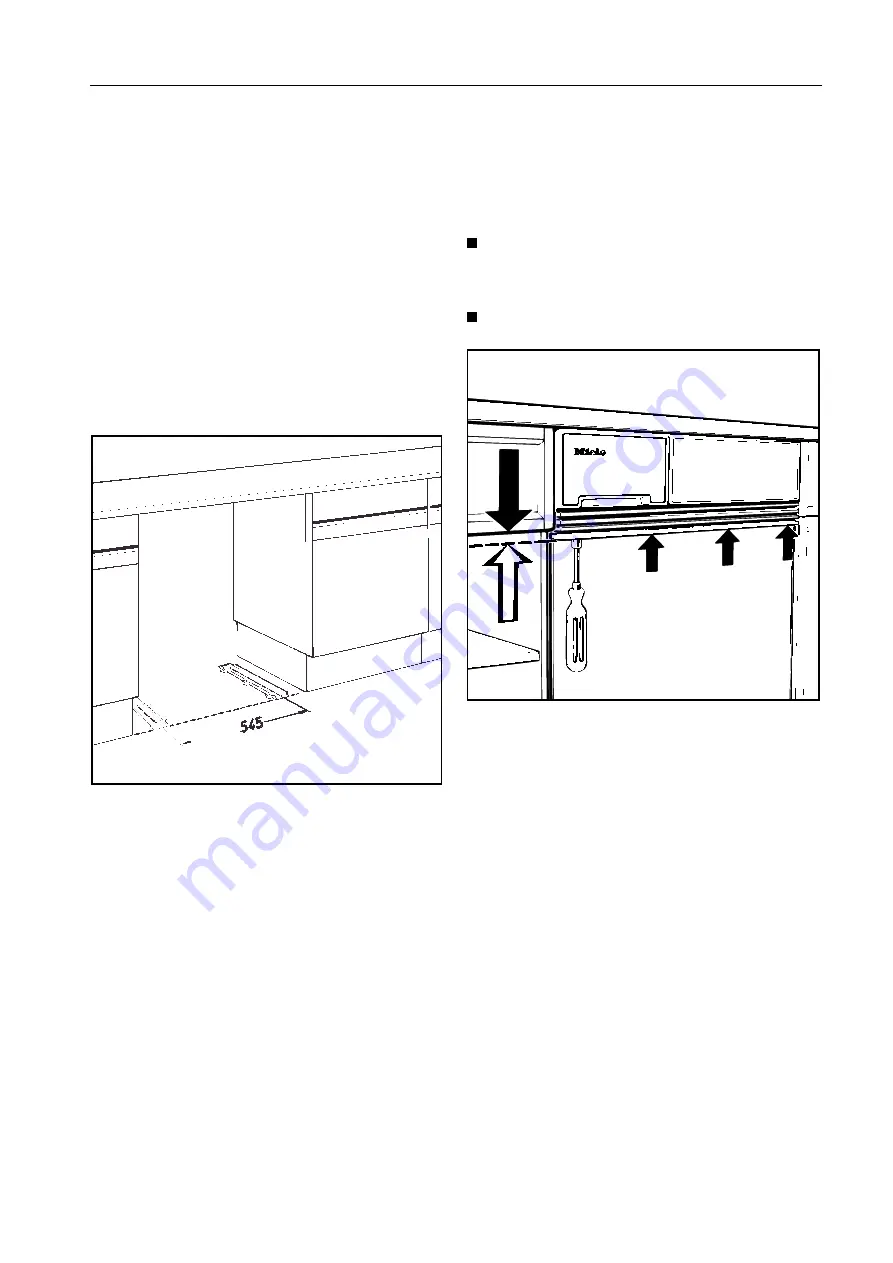
The height of the control panel can be
adjusted in one of two ways:
by tightening or loosening the nuts to
raise or lower the adapter strips as
needed, or
by adding or removing adaper strips.
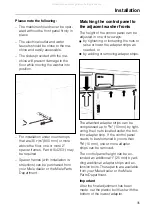
The attached adapter strips can be
compressed up to
3
/
8
" (10 mm) by tight-
ening the 4 nuts located under the bot-
tom adapter strip. If the control panel
needs to be shortened by more than
3
/
8
" (10 mm), one or more adapter
strips can be removed.
The control panel height can be ex-
tended an additional 1" (25 mm) by ad-
ding additional adapter strips and ex-
tension bolts. These parts are available
from your Miele dealer or the Miele
Parts Department.
Important
After the final adjustment has been
made, cut the plastic bolt flush with the
bottom of the lowest adapter.
Installation
35
All manuals and user guides at all-guides.com

