background image

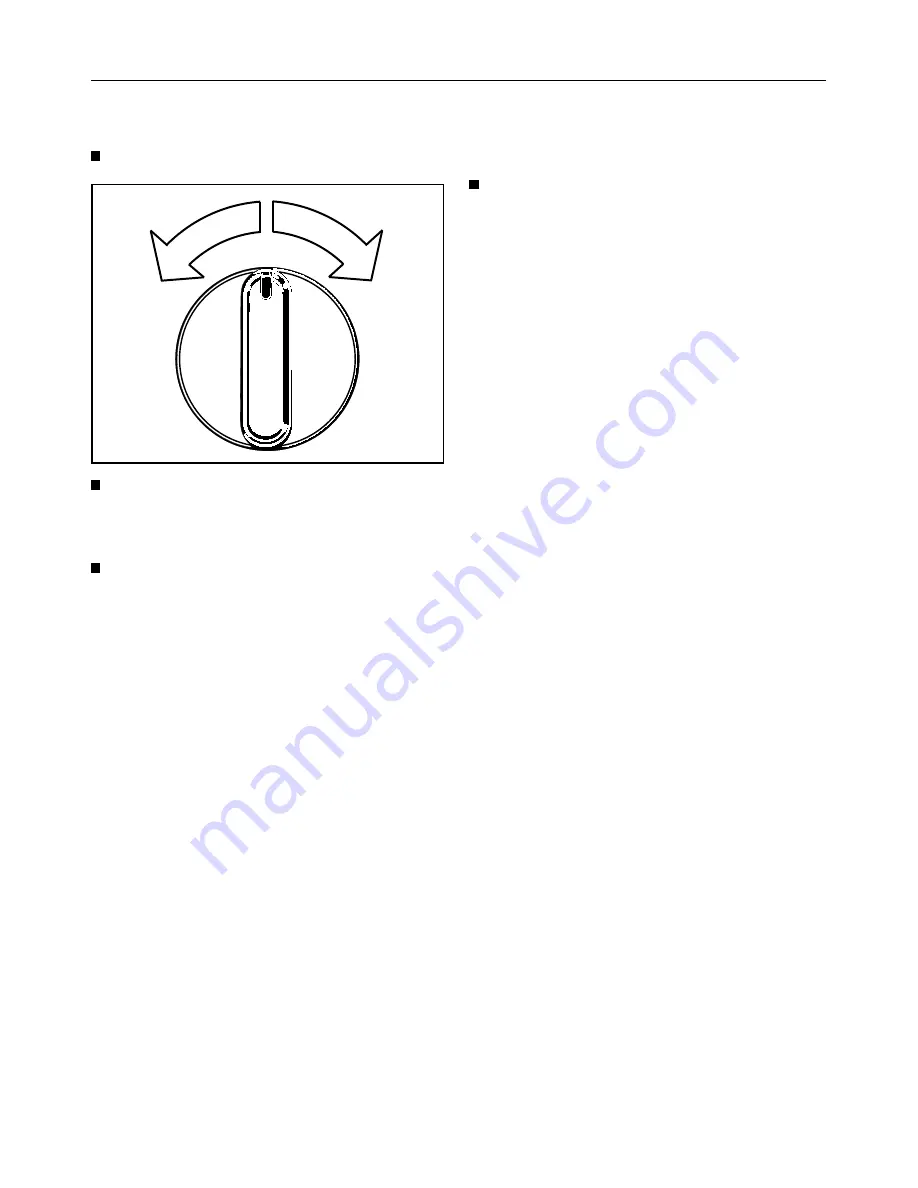
To select a program

Press the "On/Off" button.

Set the desired program by turning
the program selector either clock-
wise or counterclockwise.

Press the "Start" button.

The program status will be stored for
30 minutes in the event of a power
failure.

The program is canceled if:

– There is a power failure lasting more

than 30 minutes.

– The door is opened after the ma-

chine has entered the "Cooling
down" or "Anti-crease" stage.

To change a program during
drying

Set the program selector to the
desired program.

The new program will start from the be-
ginning.

The tables on the following pages list
the range of applications for the differ-
ent programs.

Correct procedure

1

Press the "On/Off" button.

2

Press the "Door" button.

3

Open the door and load the machine.

4

Close the door with a firm swing - do
not push it shut.

5

If drying delicate fabrics, press the
"Low temp." button.

6

Select the "Buzzer" if so desired.

7

Select a program.

8

Press the "Start" button.

After the program has finished

1

Set the program selector to "Finish".

2

Remove the laundry.

3

Clean the lint filter.

4

Turn off the machine.

Program selection

11

Summary of Contents for T 1526

Page 1: ...rations Manual for the T 1526 Vented Dryer It is essential to read these operating instructions before installing or using the machine to avoid the risk of accident or damage to the machine M Nr 05 017 940 ...

Page 2: ...ion Functional description 10 To select a program 11 To change a program during drying 11 Correct procedure 11 After the program has finished 11 Programs 12 Cleaning and care 14 Problem solving guide 15 After sales service 18 INSTALLATION INSTRUCTIONS Grounding and Electrical connection 19 Installation 20 Installation venting 21 Technical data 26 Consumption data 27 Contents 2 ...

Page 3: ...Guide to the machine 1 Supply cable with plug 2 Control panel 3 Drum door 4 Exhaust connection left or rear 5 Four height adjustable legs Guide to the machine 3 ...

Page 4: ...cted program does not stay pushed in Indicator lamps PROGRAM SEQUENCE The program sequence indicator lamps show the current state of the drying program DRYING STAGE REACHED These indicator lamps show which drying stage the program has reached For program stages Nor mal and Extra dry the indicator lamp remains at the Normal posi tion PROGRAM SETTING SELECTOR Set the required program by turning the ...

Page 5: ...llowing fabrics pose a fire ha zard Items which contain foam rubber rubber or rubberlike components Items which have been treated with inflammable cleaning agents such as gasoline or dry cleaning solvents Items containing hair lacquer hair spray nail polish remover or similar substances 7 Clean the lint filter before and after each load 8 Do not dry articles that have been previously cleaned in wa...

Page 6: ...d washed Machine drying hardly causes any lint to form and as has been estab lished by reseach institutes has no effect on the lifetime of fabrics 18 Warning Do not use fabric sof tener anti static dryer sheets Residues from these products block up clog the lint filter causing prema ture failure of the dryer Miele dryers are designed to dry laundry without static cling How ever should fabric softe...

Page 7: ... foil transparent untreated wood fiber board Please check local environmental regu lations before disposing of packing ma terials and discarding the appliance Disposal of your old machine Old machines contain materials which can be recycled Please contact your recycling center or scrap merchant and render the machine inoperative as per the Important Safety Instructions before disposing of the appl...

Page 8: ...se damage to the fabric If the wash is not removed at the end of the drying program the machine will automatically enter the anti crease cycle for 60 minutes This en tails the drum being rotated at short intervals in order to reduce the forma tion of creases Once the laundry has been removed check that the drum is empty Any items left in the drum could be damaged through over drying during the nex...

Page 9: ...erior of the dryer Over time this coating may lead to per formance reductions in the dryer If fabric softening is desired it is more convenient economical and beneficial to the clothing if a liquid softener is auto matically dispensed while the clothes are in the washing machine Please see the washing machine operating instructions for directions on how to automatically dis pense a liquid softener...

Page 10: ...epressed the buzzer will sound as the drum rotates during the anticrease cycle Low temp When selected the machines lower drying temperatures for delicate fab rics e g acrylics nylon Start Starts the selected program PROGRAM SEQUENCE indicators The program sequence indicator lamps show the current status of the drying program DRYING STAGE REACHED indicators This indicator shows which drying stage t...

Page 11: ...ing drying Set the program selector to the desired program The new program will start from the be ginning The tables on the following pages list the range of applications for the differ ent programs Correct procedure 1Press the On Off button 2Press the Door button 3Open the door and load the machine 4Close the door with a firm swing do not push it shut 5If drying delicate fabrics press the Low tem...

Page 12: ...p select the Extra dry program Normal Knitted cotton fabrics susceptible to shrinkage e g jersey wear or lightweight cotton fabrics 6 kg If items are still damp select the Normal program Hand iron r Hand iron rr Cotton or linen fabrics to be left damp for easier ironing 6 kg Moisture can be increased or decreased by using Hand iron rr or Hand iron r respectively Machine iron Cotton or linen fabric...

Page 13: ...rer s instructions as the wool component may cause the fabric to matt and shrink Normal Permanent press shirts table cloths bedding etc made of blended woven or knitted fabrics e g cotton synthetic 3 kg Hand iron Permanent press shirts table cloths pillowcases etc cotton synthetics which are to be pressed 3 kg TIMED DRYING warm Individual items e g comforters or very small loads This cycle will ru...

Page 14: ...ith water if necessary Dry the lint filter before putting it back in place Cleaning the dryer Before cleaning the tumble dryer disconnect the machine from the power supply The dryer can be cleaned using soapy water or a mild detergent not scouring powder and dried with a soft cloth The drum may be cleaned using a suitable stainless steel cleaner follow ing the manufacturer s instructions The machi...

Page 15: ...hine is plugged in and the fuse or circuit breaker has not tripped the laundry is not suffi ciently dry The load consists of dissimilar items size and fabrics Select a longer drying program Small loads or individual items may cause the program to terminate the cycle prematurely Small loads can be time dried the drying times are too long The lint filter is clogged Clean the lint filter in the door ...

Page 16: ...dow vent wall vent is blocked Before restarting the program proceed as follows Release the ON OFF button Clean the affected part of the machine Turn on the machine again Reselect the terminated program Press the Start button If the drum door opens again the Miele Service Dept should be contacted the interior drum light fails to function It only lights up when the machine is switched on The bulb ma...

Page 17: ...ration The light bulb must not exceed the maximum wattage quoted on the data plate Replace the bulb and the plastic cover The cover must be correctly installed and tightened otherwise moisture may seep in and cause the socket to cor rode This is a temperature resistant bulb and should only be ordered from your Miele Service Dept To open the door in the event of a power failure Pull forward on the ...

Page 18: ...ur Miele Dealer The nearest Miele Service Depart ment see back cover for the adress When contacting the Service Depart ment please quote the Model and Se rial numbers of your appliance both of which can be found on the right side after the door is opened Specimen After sales service 18 ...

Page 19: ...qualified person in most cases a licensed electrician in ac cordance with local codes and regula tions This dryer is supplied with a 1 5 m power cord with a 3 pole 4 wire grounding plug 14 30P regular Canadian dryer plug This plug has to be plugged into a 3 pole 4 wire grounding receptacle 14 30R regular Canadian dryer receptacle The receptacle has to be connected to Line 1 Line 2 Neutral and Grou...

Page 20: ...ne and the floor This gap must not be blocked by deep pile carpet plinths etc as this will prevent a suf ficient intake of cold air Where to install the machine The space required by the vent duct should be taken into consider ation when calculating the distance between the machine and a wall or other appliances The tumble dryer can also be placed on top of a Miele washing machine ca pacity 6 kg f...

Page 21: ...is included with the machine It should be pressed into the vent outlet and will simplify the connec tion of the exhaust pipe Before installation disconnect the tumble dryer from the electrical sup ply unplug from the wall socket or turn off the circuit breaker Installation at the rear The machine comes supplied with the connector installed on the rear exhaust port Installing the connector on the l...

Page 22: ...he actual duct length Establish the number of elbows or bends necessary noting the type of bend angle and radius involved see Table I Add the additional length factor as specified in Table I to the actual duct length to give the effective duct length The necessary duct diameter should then be found in Table II Note Drying times and energy consumption remain unaltered for 100 mm duct up to a total ...

Page 23: ...sed for the following example Example Exhaust connection left 4 9 m Length L 1 2 m Lower radius R 400 mm 0 5 m Height H 1 2 m Upper radius R 0 5 m Wall pipe with louvred vent 3 6 m Effective duct length 11 9 m Result A duct diameter of 110 mm is adequ ate since the effective length is less than 12 m as specified in Table II INSTALLATION INSTRUCTIONS 23 ...

Page 24: ...l pipe 2 Flexible foam gasket A flexible foam gasket must be used if the tumble dryer is directly connected to the wall vent Window vent kit example 1 Louvred window vent frame 4 Louvred window vent 5 Flap 8 Clips 4 pcs 9 Raised head screws 4 pcs Dryer side view 1 Window vent kit 2 Adapter for vent duct The window vent kit is installed into in a plexi glass pane If using an existing glass pane cut...

Page 25: ...sulated against damp Fig 2 Ducting side view with plastic piping to a wall vent kit 1 Wall vent kit 2 Adapter 3 Drain pipe outer dia 110 mm Fig 3 Connection of piping to the tumble dryer 1 Drain pipe 2 Adapter for vent duct between tumble dryer and plastic drain pipe Fig 4 Height of vent outlet for washer dryer stack INSTALLATION INSTRUCTIONS 25 ...

Page 26: ...ta Height Width Depth incl distance from wall Weight Drum volume Capacity Rated load Fuse rating 85 cm adjustable 1 0 5 cm 59 5 cm 70 cm 57 kg 126 l 6 kg dry laundry See Data Plate See Data Plate Technical data 26 ...

Page 27: ...ture 1200 1400 1600 3 10 2 25 2 10 1 80 82 63 59 52 Machine iron 6 1200 1400 1600 1 80 1 65 1 35 52 48 41 Permanent Press Normal 3 1000 1 49 44 Normal 3 1000 50 residual moisture 1 40 41 Hand iron 3 1000 1 20 37 The specified program running times and electrical consumption values were established under stand ard conditions EN 61121 A11 Different types of fabrics load size and residual moisture af...

Page 28: ...All rights reserved 001 3498 This paper is made from 100 chlorine free bleached cellulose and therefore protects the environment ...

Reviews: