E a s y M x
P R O
v 7 a
U s e r M a n u a l
P A G E 13
In order to start using CODEGRIP and program your microcontroller,
you just have to follow two simple steps:
1. Install the necessary software
∫ Install USB drivers
∫ Install CODEGRIP Suite software
2. Power up the board, and you are ready to go!
∫ Plug in the programmer USB cable
∫ LINK LED should light up.
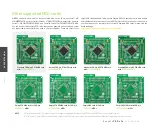
"ETH" (Ethernet) - Empty MCU cards with single-chip Ethernet PHY layer transceiver which provides additional Ethernet functionality to microcontrollers
ON BOARD PROGRAMMER
PROGRAMMING
WHAT IS CODEGRIP?
WHERE TO START?
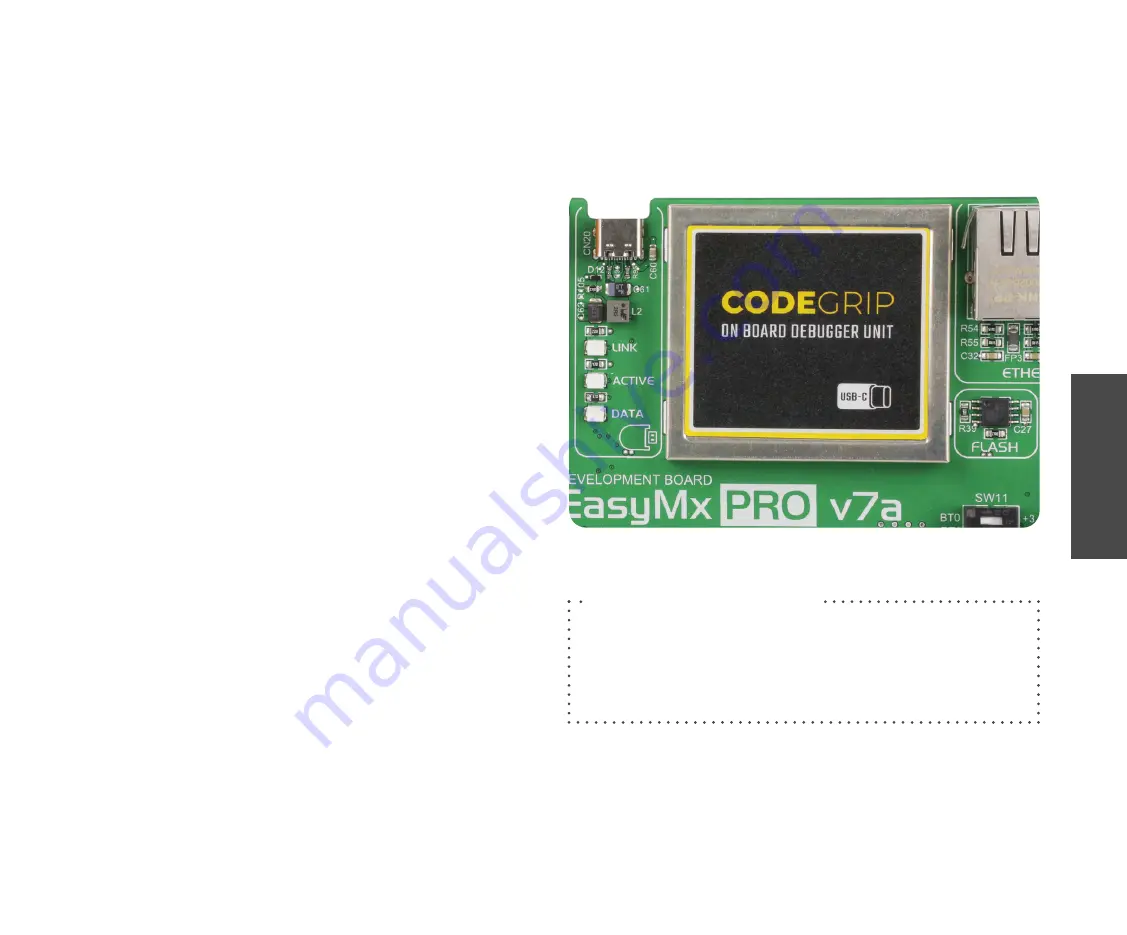
CODEGRIP is a unified solution, designed to perform programming and
debugging tasks on a range of different microcontroller devices (MCUs) based
on the Microchip PIC architecture. The USB-C connector offers improved
performance and reliability, compared to traditionally used USB Type A/B
connectors.
EasyMx PRO v7a development board is supported by a powerful CODEGRIP
Suite, offering complete control over the development board. It is used to
intelligently manage programming and debugging tasks, and to configure
various other options and settings, providing visual feedback through its clean
and comprehensive Graphical User Interface (GUI).
To better understand how to operate and configure EasyMx PRO v7a development
board and its integrated CODEGRIP module, check out the CODEGRIP Suite quick
start guide on the
http://www.mikroe.com/easymx-pro-v7a-for-stm32
Why so many LEDs?
Three LEDs indicate specific programmer operation.
Link
LED lights up when
USB link is established with your PC,
Active
LED lights up when programmer is
active.
Data
is on when data is being transferred between the programmer and
PC software. (Compiler or CODEGRIP).
CODEGRIP on board programmer

