2
3
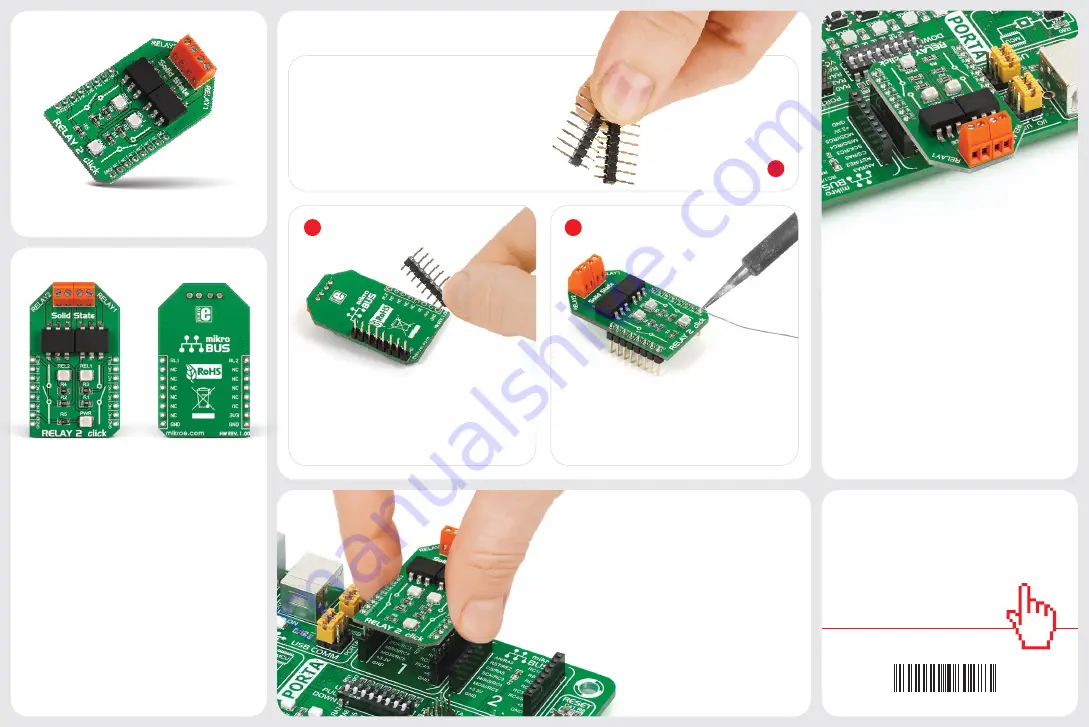
2. Soldering the headers
3. Plugging the board in
Once you have soldered the headers your
board is ready to be placed into the desired
mikroBUS
™
socket. Make sure to align the cut
in the lower-right part of the board with the
markings on the silkscreen at the mikroBUS
™
socket. If all the pins are aligned
correctly, push the board all
the way into the socket.
Turn the board upward again. Make sure
to align the headers so that they are
perpendicular to the board, then solder the
pins carefully.
Turn the board upside down so that
the bottom side is facing you upwards.
Place shorter pins of the header into the
appropriate soldering pads.
Before using your click board
™
, make sure
to solder 1x8 male headers to both left and
right side of the board. Two 1x8 male headers
are included with the board in the package.
4. Essential features
Relay is an electrical switch used to terminate
or establish circuit using a low power signal
from a microcontroller. Relay provides
complete electrical isolation between the
microcontroller and controlled circuits. The
LCA717 have optically coupled outputs that
use the patented OptoMOS technology. Solid
state relays enable fast, silent and bounce-
free switching. On this click board™, each
relay has a corresponding onboard signal
LED to indicate whether it’s on or off.
1
Relay 2 click carries two
LCA717
single-pole,
OptoMOS® solid state relays and two screw
terminals for connecting the wiring. These
relays have a load current of 2A, low maximum
on-resistance of just 0.15 Ohms, and a
blocking Voltage of 30V. They are controlled
by the microcontroller through RL1 and RL2
pins, which are in place of default mikroBUS
™
AN and PWM pins. The board is designed to
use a 3.3V power supply only.
1. Introduction
RELAY 2 click manual
ver 1.00
0100000080283
click
BOARD
™
www.mikroe.com
RELAY 2
click


