7
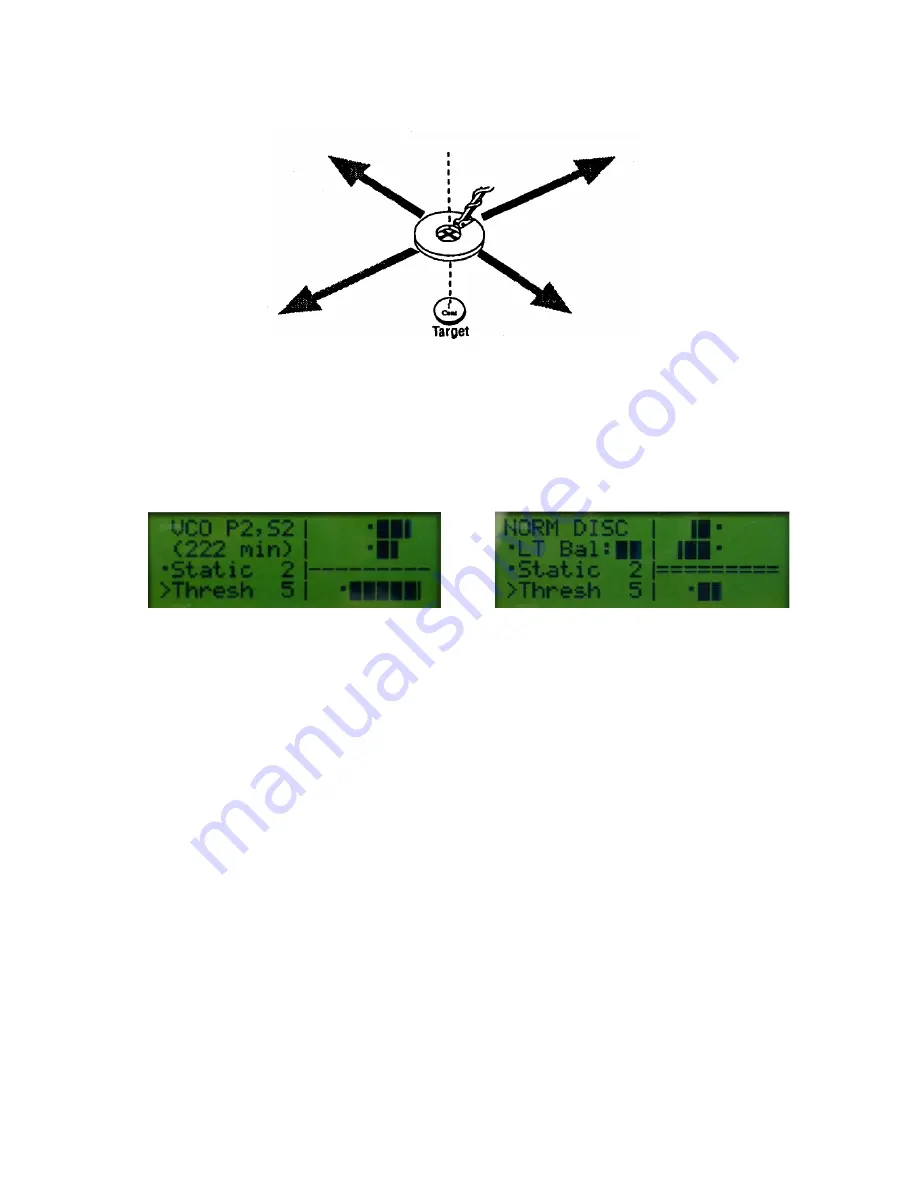
shorten the sweeps until you just barely get a response at one spot. The target will be directly
below the coil center at this response time – fig.3
fig.3
Upon short pressing of the
„MODE“
button, the indications of the discrimination
ID1
and
ID2
turn on, as well as the intensity of the signal located, in digital or in graphic appearance. In
graphic form the indicators may show positive or negative levels, respectively, increasing to the
right or to the left from the dividing zero point of each of them.
Continuous pressing of
„MODE“
(for more than 3 sec.) switches between „
Dynamic“
or
„Static“
mode of searching, as this is also accompanied by sound signal.
One has to also take into consideration that when using the fast modes 1 and 2, whether
„
Dynamic“
or
„Static“,
the
consumption of the device is greater than in slow modes
, i. e., in
slow modes the device is more economic and can work longer with one charging of the
accumulators. Fast modes of searching are suitable for searching in polluted sites and when using
the smaller searching coils. It's preferred you to operate in modes 3 and 4, but if you wish to
operate with the high speeds it is recommended that you decrease the power emitted to
„P1“
and
the sensitivity to be increased to
„S3“.
In this way, the consumption of the device will be
decreased, without sensibly decreasing the depth of searching.
By pressing of
„SELECT“
you enter a menu where the following settings can be made:
Coil –
(1, 2, 3, 4) – choice of a program for searching coil. 4 different programs can be
memorized for 4 different types of coils.
Power
– (1, 2) – choice of power of emission: 1 is decreased power, and 2 is normal
Sens –
(1, 2, 3) – choice of sensitivity of the device. Choice among 10bit, 11bit or 12bit
А
DC.


