13
Hitching Sprayer To Tractor
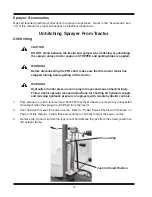
CAUTION
DO NOT stand between the tractor and sprayer when hitching or unhitching
the sprayer unless tractor engine is STOPPED and parking brake is applied.
Hitching
1.
Align the tractor drawbar with the sprayer clevis hitch.
2.
Shut down and lockout the power source. Refer to “Power Source Shutdown Procedure” on
Page 3 of this manual. Follow these procedures to correctly lockout the power source.
3.
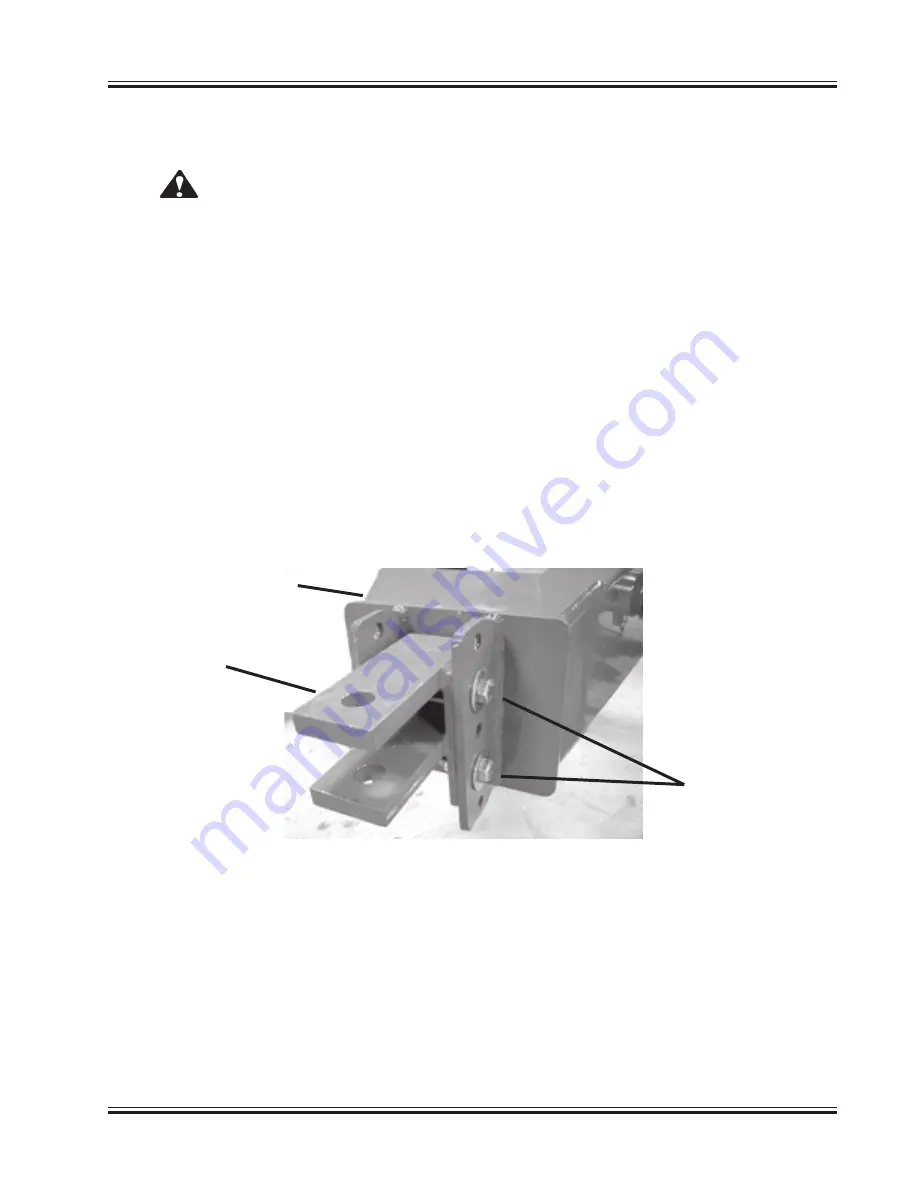
If necessary, adjust the position of the hitch so that the sprayer is as level as possible when
hitched to the tractor. Adjust the hitch as follows:
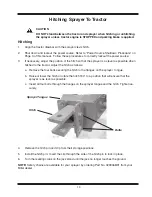
a. Remove the four bolts securing the hitch to the flanges on the sprayer tongue.
b. Raise or lower the hitch or rotate the hitch 180° to a position that will ensure that the
sprayer is as level as possible.
c. Insert all four bolts through the flanges on the sprayer tongue and the hitch. Tighten se-
curely.
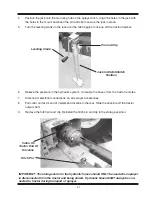
4.
Remove the hitch pin and clip from their storage positions.
5.
Install the hitch pin. Insert the clip through the side of the hitch pin to lock in place.
6.
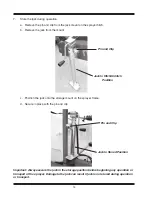
Turn the leveling crank on the jack stand until the jack no longer touches the ground.
NOTE:
Safety chains are available for your sprayer by ordering Part No. 329946B91 from your
Miller dealer.
Bolts
Hitch
Sprayer Tongue
Summary of Contents for 500 BW
Page 6: ......
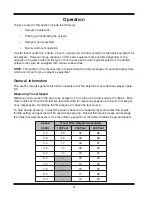
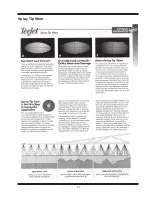
Page 31: ...27 Spray Tip Wear...
Page 38: ...34 TeeJet Air Induction Spray Tips At Various Speeds And Pressures 20 Inch Tip Spacing...
Page 94: ......
Page 96: ...2007 by Miller St Nazianz Inc...

