47
Filling The Product Tank
NOTE:
All poly tanks are not identical in capacity due to different tank molds, heat and/or cold.
Tank sizes can and do vary. It is recommended that you measure by an independent means the
amount of liquid being loaded.
The sprayer can be equipped in one of three ways:
•
No fast fill attachment - Standard configuration
•
2" Fast Fill via transfer pump - Optional (Group A)
•
2" Fast Fill via transfer pump or sprayer pump - Optional (Group C)
NOTE:
If Group C is ordered, you have the option of Manual or Electric controls for the rinse sys-
tem. Refer to the appropriate set of instructions that follows, depending on your sprayers configura-
tion.
Fill Through Top Lid (Standard Configuration)
1.
Remove the lid from the top of the product tank. Fill the tank using a garden hose or similiar
means.
2.
Replace the lid when complete.
Filling With Transfer Pump
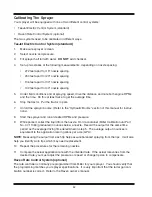
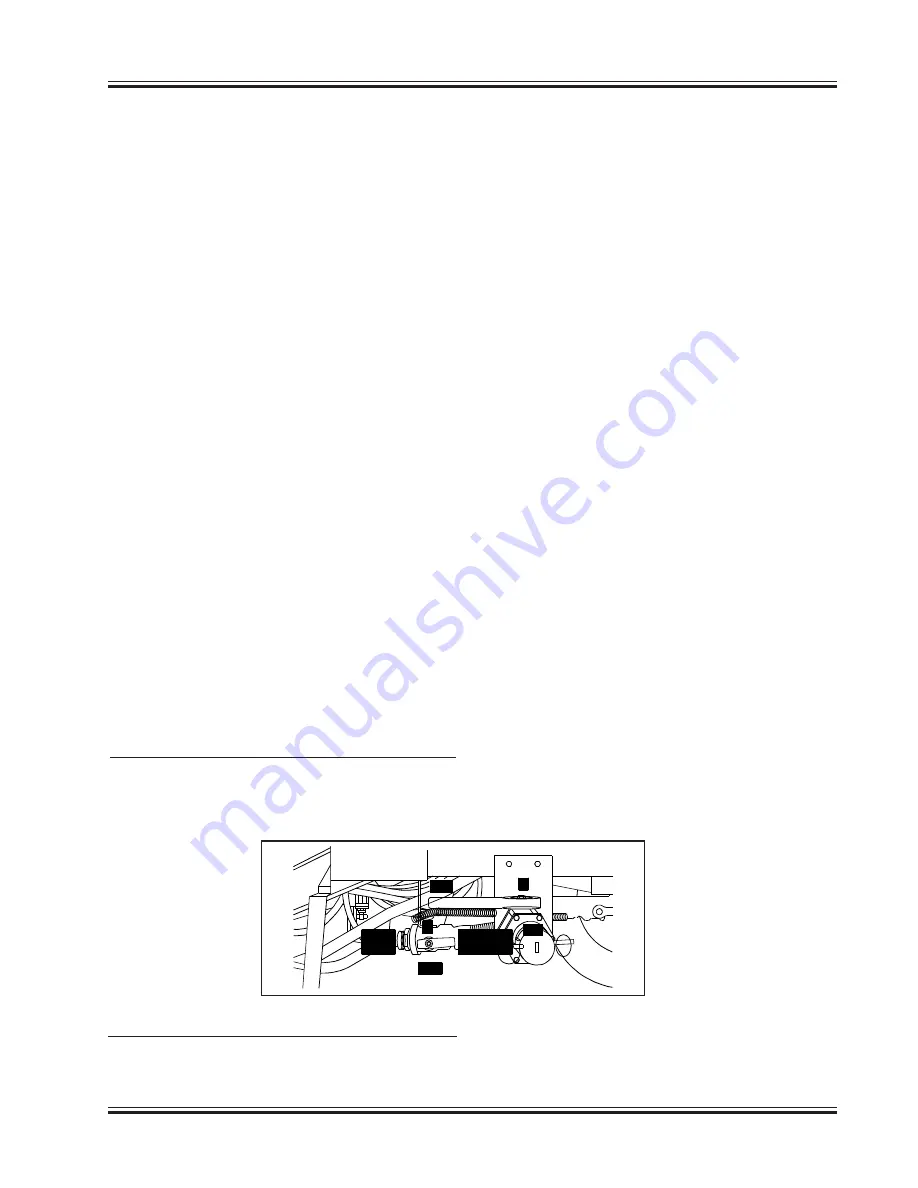
Your sprayer is equipped with a 2" male fast fill connector and a ON/OFF valve (identified as “Valve
F”) located on the left side of the sprayer, directly behind the step.
Fill as follows:
1.
Connect the fill hose to the 2" connector.
2.
Charge the fill hose with water using the transfer pump.
If Equipped With Manual Control Rinse System:
•
Turn the manual three way ball valve identified as “Valve E” (located under the platform on
left side of sprayer) to “Product Tank” (handle pointed toward rear of sprayer).
If Equipped With Electric Control Rinse System:
•
Locate the electric rinse control switch on the tractor control box and move the switch to
the “Product Tank” position.
PRODUCT
TANK
OFF
ON
RINSE
TANK
E
F
OFF
Summary of Contents for 500 BW
Page 6: ......
Page 31: ...27 Spray Tip Wear...
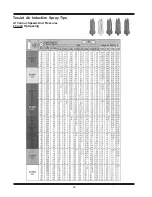
Page 38: ...34 TeeJet Air Induction Spray Tips At Various Speeds And Pressures 20 Inch Tip Spacing...
Page 94: ......
Page 96: ...2007 by Miller St Nazianz Inc...

