Ê
Setting Clearances
NOTE: This procedure is required only when a major bearing housing component is replaced. See “Removing
and Re-installing the Shell and Bearing Housing” below.
1. Remove all shims from the rear seal/bearing holder. Install the rear seal/bearing holder. Leave a small gap
between the bearing housing and the rear seal/bearing holder.
2. Insert a lead wire (e.g., soldering wire) in the gap between flanges. Tighten each bolt slowly while turning the
shaft. Stop tightening when the shaft just begins to drag or bind. Remove the rear seal/bearing holder, being
careful not to mark or damage the lead wire.
3. Using a micrometer, measure the thickness of the lead wire. Add .002" (.050 millimeters) to the thickness of
the lead wire and install the rear seal/bearing holder using this amount of shims. The shaft should turn in the
housing.
Ê
Removing and Re-installing the Shell and Bearing Housing
Replacing the entire bearing housing assembly or a major bearing housing component requires removal of
the shell.
Ë
Removing the Shell
NOTE 1: 30015 front bearing housing bolts are provided with self-locking nuts.
NOTE 2: 30020 and 30022 shell back clamp rings have
three push-off holes to aid in removal. Replace the three
plastic set screws with three bolts then tighten evenly to
separate the ring from the shell.
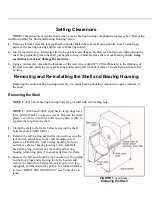
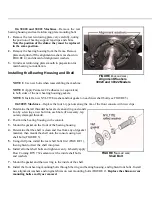
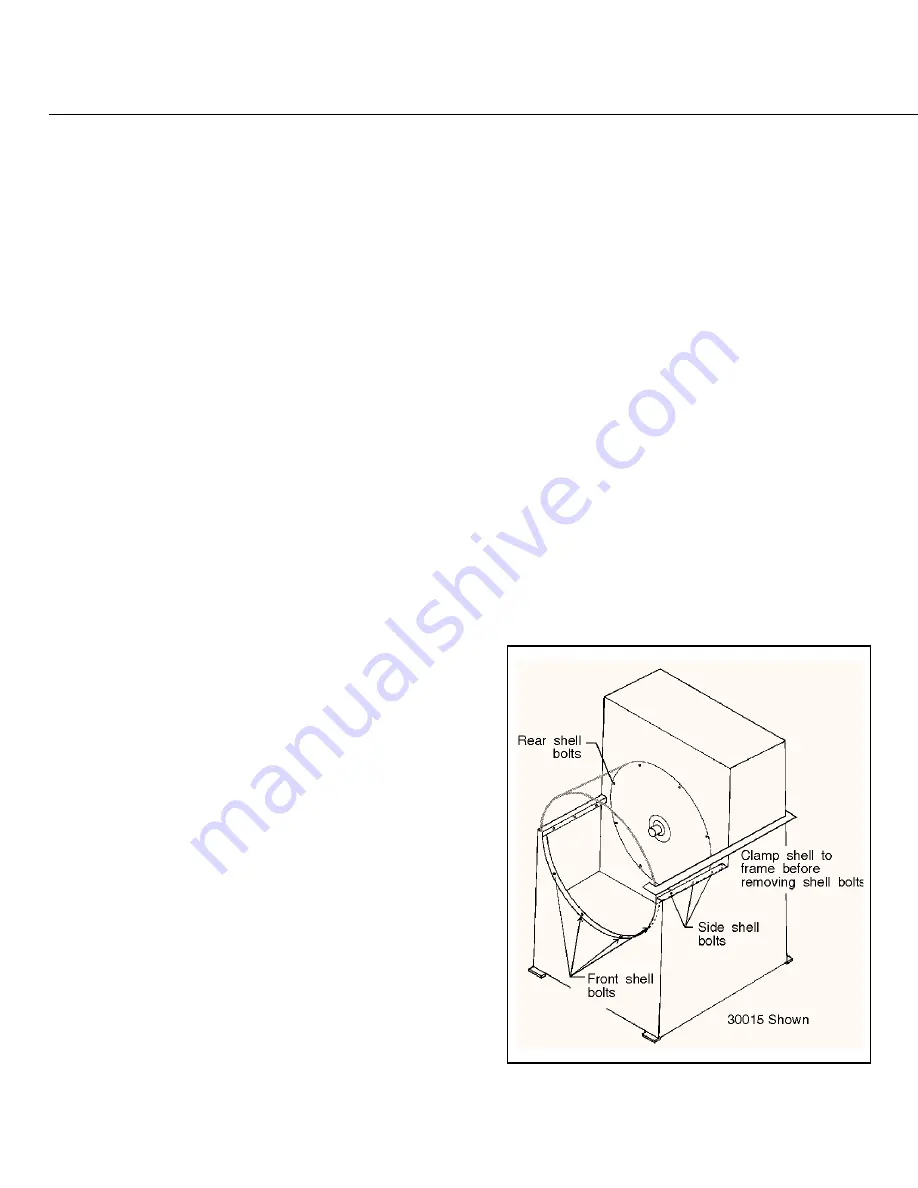
1. Clamp the shell to the frame before removing the shell
bolts (as shown in FIGURE 1).
2. Remove the self-locking nut and clamp used to secure the
level switch sensor hose to the shell mounting screw.
Remove all shell bolts, front bearing housing bolts (do
not remove the rear bearing housing bolts), and shell
back clamp ring, then remove the shell (and bearing
housing reinforcing plate if so equipped) from the frame.
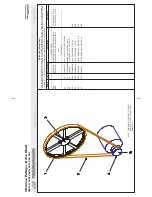
3. Remove the belt guard and the top console cover by prying
out the four plugs and removing the bolts. Loosen and
remove the main drive belts (and centrifugal switch if so
equipped), and the main drive pulley. For further informa-
tion see “DRIVE TRAIN SERVICE” (see Table of Con-
tents).
Ë
Removing the Bearing Housing
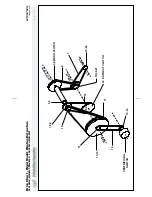
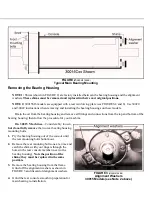
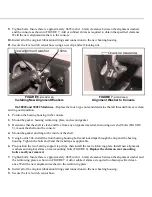
NOTE 1: Shims (shown in FIGURE 2) are factory installed between the bearing housing and the alignment
washers. These shims must be removed and replaced in their exact original positions.
NOTE 2: 30015M6 models are equipped with a rear reinforcing plate (see FIGURES 4 and 6). Use 30020
and 30022 instructions when removing and installing the bearing housings on these models.
Drain the oil from the bearing housing and remove all fittings and connections from the top and bottom of the
bearing housing; then follow the procedure for your machine.
On 30015 Machines—Considerably loosen,
but do not fully remove the two rear bearing housing
mounting bolts.
1. Pry the bearing housing out of the console until
the rear mounting bolts bottom out.
2. Remove the rear mounting bolts one at a time and
catch the shims with your fingers through the
holes in the rear console member (next to the
bearing housing). Note the position of the
shims; they must be replaced in the same
position.
3. Remove the bearing housing from the frame.
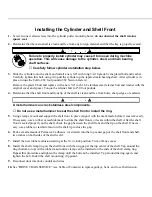
Grind off the alignment washers as shown in
FIGURE 3 and discard old alignment washers.
4. Grind the rear console smooth in preparation for
main bearing re-installation.
Î
FIGURE 1
(MSSM0708BE)
Î
Clamping the Shell
Î
FIGURE 2
(MSSM0708BE)
Î
Typical Main Bearing Mounting
Î
FIGURE 3
(MSSM0708BE)
Î
Alignment Washers
30015 Models (see Note 2 above)
Summary of Contents for 30015
Page 6: ......
Page 8: ......
Page 10: ......
Page 19: ...Section 1 Service and Maintenance ...
Page 51: ...Section 2 Drive Assemblies ...
Page 59: ...BMP950003 95107V Page 1 MOTOR MOUNT 30015 30020 S4A S4G S4J S4T ...
Page 68: ......
Page 69: ...Section 3 Bearing Assemblies ...
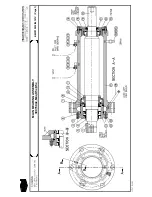
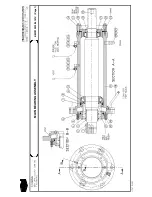
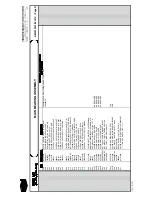
Page 72: ...BMP910032 96141V Page 1 MAIN BEARING ASSEMBLY 30015C4x M4x K5x S5x ...
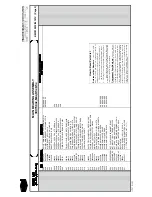
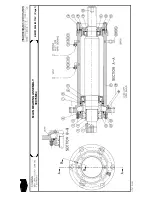
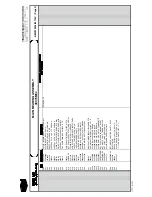
Page 74: ...BMP910033 96141V Page 1 MAIN BEARING ASSEMBLY ...
Page 76: ...BMP910034 95116V Page 1 MAIN BEARING ASSEMBLY 30015M6x ...
Page 80: ...BMP910035 93251V Page 1 JACKSHAFT ASSEMBLY 30015 30020 30022 RIGID MOUNT WASHER EXTRACTORS ...
Page 82: ......
Page 83: ...Section 4 Shell and Door Assemblies ...
Page 86: ...BMP920009 94491V Page 1 DOOR ASSEMBLY 30015 30020 RIGID MOUNT WASHER EXTRACTORS ...
Page 90: ......
Page 91: ...Section 5 Control and Sensing Devices ...
Page 100: ...BMP920010 97281V Page 1 COIN ASSEMBLY INSTALLATION 240V 30015 30020 30022 COIN MACHINES ...
Page 105: ...Section 6 Chemical Supply Devices ...
Page 113: ...Section 7 Water and Steam Piping and Assemblies ...
Page 114: ...ISOMETRIC SYMBOLS STANDARD SYMBOLS BMP920008 93027V Page 1 SCHEMATIC SYMBOLS KEY ...
Page 132: ...BMP920021 93251V Page 1 STEAM INSTALLATION 30015 30020 30022 RIGID MOUNT WASHER EXTRACTORS ...
Page 138: ...BMP920017 93251V Page 1 ELECTRIC DRAIN VALVE 30015 30020 30022 RIGID MOUNT WASHER EXTRACTORS ...

