141
7
M
AINTENANCE
7.3.4 Exchange of tubing system
If there is any leakage in the tubing system, try to tighten all connections first (refer
to section 9.2.2 for details). However, if leaking persists, an exchange of tubing
might be required. Please note that each tube has a specific length and should be
exchanged with the corresponding spare part only.
1 Switch off and unplug the instrument.
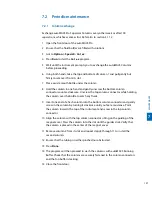
2 Remove the affected tubing by loosening the tube connectors using the black
wrench.
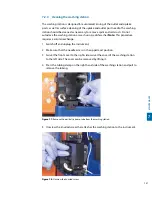
3 Replace the tubing with the correct part.
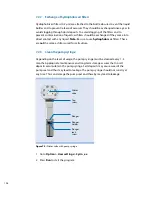
4 Pull back the connector from the tubing, so that the tubing can be easily
inserted into the appropriate port.
5 Insert the connector cautiously and precisely and fasten it by hand. Make sure
not to overtighten the screw.
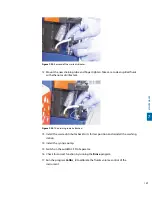
6 Plug in and switch on the instrument. Run the program Rinse and check for
leakage.
7 Run the Calibr_2 program to calibrate the volume control of the instrument.
For details, refer to section 5.
8 If there is still any leakage, refer to to section 9.2.
7.3.5 Exchange of fuses
If the instrument fails to start upon switching it on or if operation suddenly stops
and the screen turns dark, an exchange of the fuses might be required.
CAUTION! Fuse specifications are given on the marking plate on the rear of the
instrument close to the fuse holder. Do not use other fuses than specified.
1 Switch off the instrument.
2 Unplug the main power cord from the power outlet as well as from the
instrument. The fuse holder is located below the main power connector on the
rear panel of the instrument.
3 Pull out the fuse holder from the housing and exchange fuses.

