37091/04 – ch20 (Issued: 2020-06)
CliniMACS® Plus System User Manual (Canadian edition)
8 – STEP
3: CliniMACS® Tubing Set and CliniMACS Tubing Set LS
Recheck all tubing and attachments
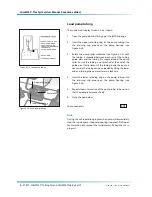
The window will display Screen 4-3.7 as shown.
Before beginning the run, recheck all tubing and attachments.
Note
■
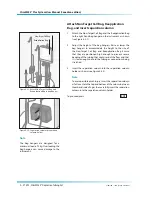
Check all valves for proper tubing insertion. Make sure that
the tubing is spaced uniformly, and that there are no kinks or
stretched areas in the tubing. Pay particular attention to the
pre-column area, as well as the area between the pump and
valves nos. 7 and 8 (see Figure 4-3.7), and between valves
nos. 4 and 5 (see Figure 4-3.5).
■
If the tubing has to be adjusted after a valve has been closed,
do not pull the tubing without pressing the valve button to
open the valve. If a tubing has been adjusted, it is absolutely
necessary to press the corresponding valves firmly two times.
To proceed, press
ENT
Seating of valves
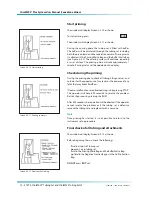
The window will display Screen 4-3.8 as shown.
In order to ensure the proper fit of tubing in the valves, the
instrument will operate all of the valves in sequence, twice.
Watch and listen to make sure all valves are working properly.
If any valve does not operate correctly, see troubleshooting
(chapter 5). This step can be repeated by using the “Undo” key
followed by the “Enter” key (see Figure 1.4).
The magnet drive will also be tested during this check sequence.
Screen 4-3.7: Recheck all tubing and
attachments
Figure 4-3.7: Tubing in valves
Critical area between
valve nos. 7 and 8
Screen 4-3.8: Seating of valves


