37091/04 – ch20 (Issued: 2020-06)
STEP
3: CliniMACS® Tubing Set and CliniMACS Tubing Set LS – 11
STEP
3: CliniMACS® Tubing Set and CliniMACS Tubing Set LS
Integrity test
For additional safety, an integrity test must be performed to
test the tubing set for leaks. The test sequence consists of two
automated sequences, which allow both the upper and the
lower parts of the tubing set to be over pressurized and tested
separately.
Integrity test for the upper part of the tubing set
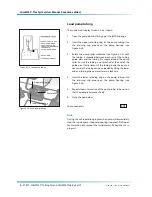
1. When the operator performs “Final check of all tubing and
attachments” the window displays Screen 4-3.12.
2. After performing the “Final check of all tubing and
attachments”,
DO NOT
press
‘ENT’
.
3. To enter the integrity test for the upper part,
press
9
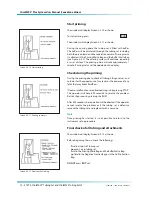
4. The window will display Screen 4-3.13 as shown.
5. To start the test sequence, press
RUN
To return to Screen 4-3.12, press
6. Once the ‘RUN’ button has been pressed, the instrument
starts the automated test sequence for the upper part of
the tubing set.
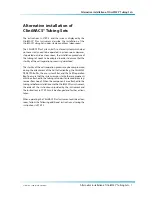
The window will display Screen 4-3.14 as shown.
Overpressure will be created and held for two minutes.
During this time the operator should watch the connections
above and under the pre-column and separation column,
and the upper pump tube connection.
At each point the test sequence can be finished by pressing
‘ENT’.
7. After 2 minutes the pressure is automatically released, and
the window displays Screen 4-3.12.
Using tissue the operator should check to determine if any
leaks have occurred during the test sequence. If leakage is
observed at any connection of the tubing set, the tubing
set must be removed and be replaced by a new one.
Contact Miltenyi Biotec Technical Support for instructions
regarding the return of the defective tubing set.
8. If no leaks are observed, continue with the integrity test of
the lower part of the tubing set.
Screen 4-3.12: Final check of tubing
Screen 4-3.13: Start integrity test for upper part
Screen 4-3.14: Integrity test for upper part in
process


