2-22
INSTALLATION OF MAGAZINE
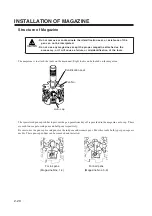
Installation of magazine
• Do not directly load the tools onto the carriage, or the carriage may be
damaged.
• Do not mount the magazine when the UNIT operates any action.
• Do not put your hand into the hole of the magazine holder during the UNIT
operation because it is dangerous.
The magazine installation is possible with either the power ON or OFF.
he explanation herein shall be given in the case of the power ON.
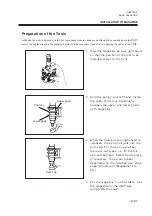
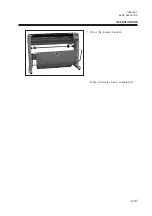
1
Make sure that the UNIT stop operat-
ing. Holding the magazine shaft,
steadily insert into the magazine
holder of the plotter.
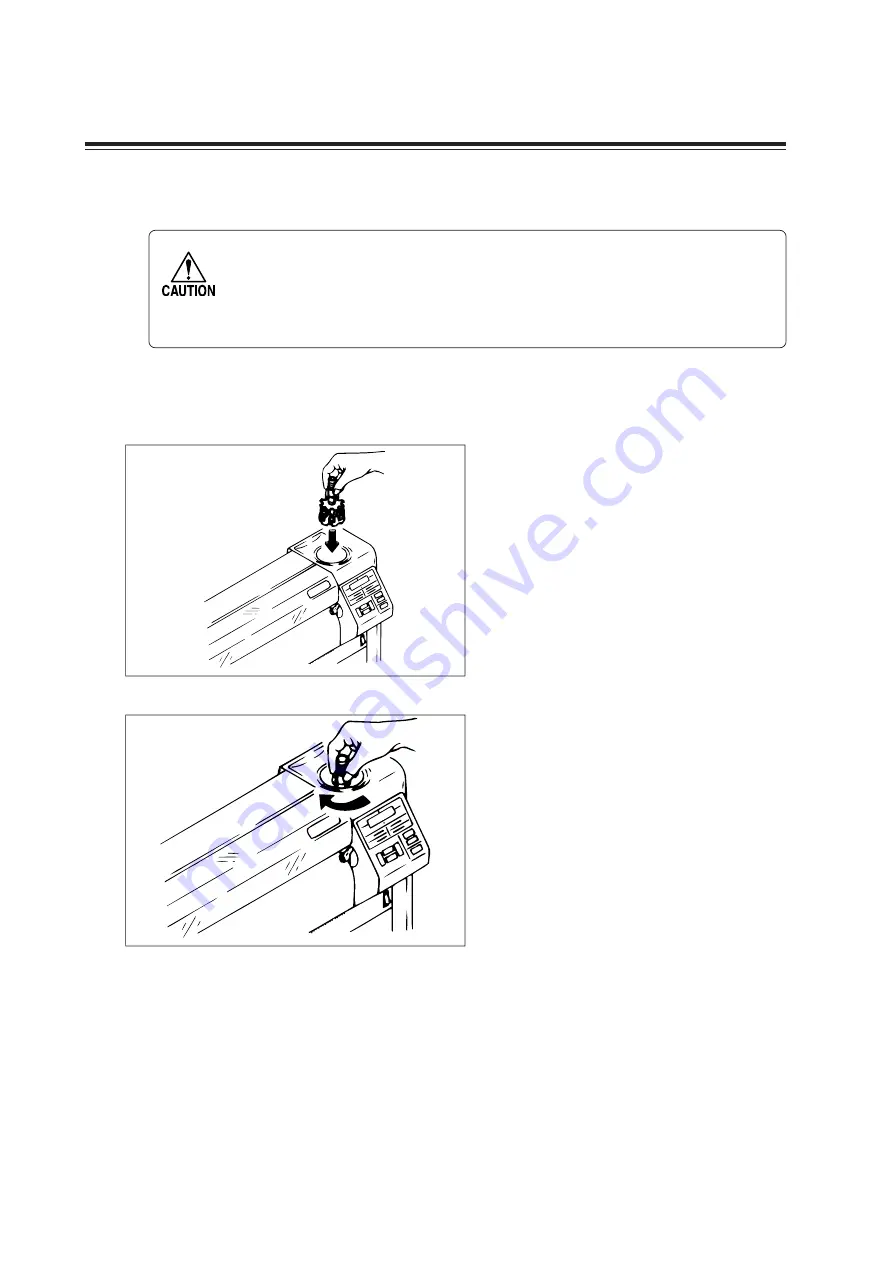
2
Lightly turn the magazine until bot-
toming. A click of a latch comes out,
and the magazine is rotated.
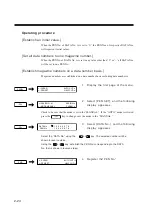
When a magazine is loaded on the
machine, the message
“ CHANGE
CUTTER BLADE?” will appear on the
display. Select
“ YES” or “ NO.”
YES: The pressures for the auto-cut
and pattern cut will change to
the default values
NO: The pressures will remain the
latest updated values.
3
When the rotation is finished, the
magazine stops at the home position,
and the display returns to the status
before the magazine installation.
Summary of Contents for cg-100AP
Page 16: ...xiv ...
Page 70: ...1 54 ...
Page 108: ...2 38 ...
Page 145: ...CHAPTER 4 SELF DIAGNOSIS FUNCTION 4 9 DEMONSTRATION PATTERN 1 2 Demonstration Pattern 1 ...
Page 146: ...4 10 Demonstration Pattern 2 ...
Page 173: ...CHAPTER 6 APPENDIX 6 13 Table of 82 special character codes supported ...
Page 179: ...D200310MAC 2 00 09061999 ...
Page 180: ... MIMAKI ENGINEERING CO LTD 1999 6 Printed in japan ...

