Chapter 3 Cutting Data with Register Marks
97
3.5 ID Cut Process
• For more information, refer to the ID Cut Guide.
https://mimaki.com/download/software.html
For information on the ID cut register mark scanning range, refer to
"This machine can detect register
marks in the range shown in the above figure."(P. 83)
1.
Create data with ID Cut.
2.
Print printing data with ID Cut.
3.
Prepare for cutting.
(Steps 1 to 8)
4.
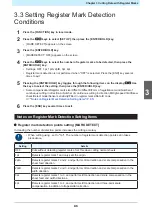
Register the information for the printed register marks.
"Setting Register Mark Detection Conditions"(P. 85)
5.
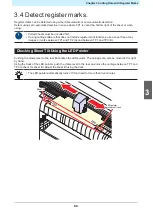
Detect register marks.
"Detect register marks."(P. 89)
6.
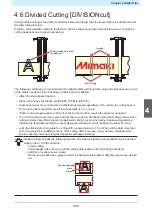
Cut the data.
7.
Separate sheets.
"Separating Sheets (Manual Cutting)"(P. 75)
3
Summary of Contents for CG-100AR
Page 39: ...Chapter 1 Before Using This Machine 39 2 Shut down the computer connected to the machine 1 ...
Page 76: ...Chapter 2 Cutting 76 ...
Page 98: ...Chapter 3 Cutting Data with Register Marks 98 ...
Page 131: ...Chapter 4 Helpful Tips 131 4 Press the END key several times to exit 4 ...
Page 132: ...Chapter 4 Helpful Tips 132 ...
Page 133: ...Chapter 5 Settings This chapter Describes the individual settings FUNCTION 134 SET UP 135 ...
Page 150: ...Chapter 6 Maintenance 150 ...
Page 158: ...Chapter 7 Options 158 ...
Page 178: ...Chapter 9 Appendix 178 ...
Page 182: ...MEMO ...


