16
Test cutting
Before starting to cut.
Before starting to cut, check the following points.
• Tool is attached correctly. Screw of the tool holder is firmly tightened.
• There is a sheet, and sheet lever is pulled down toward you. Pinch roller is down.
• Origin point setting (
-
-->P.15).
• Communication interface setting (
-
-->P.8).
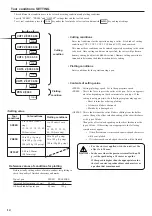
First, test cut to see the result of cutting. Repeat setting of cut conditions (--->P.14) and test cut until optimum cutting conditions are found.
There are two patterns in test cutting.
•Test cutting square cut
•Sample cut
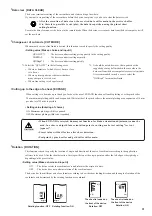
Test cutting [SQUARE]
In the case where you have changed the type of sheet or tool and
cutting conditions have been changed correspondingly, the test
cutting function is used to execute test cutting to check that the
cutting conditions such as SPEED, PRESS and OFFSET are
appropriate.
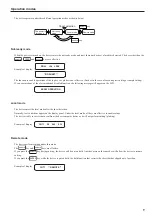
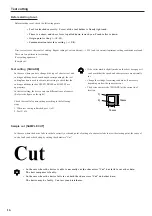
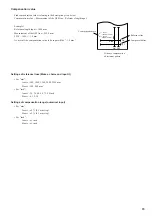
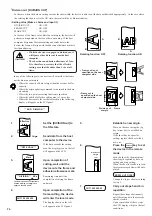
In the test cutting, the device cuts two different types of squares.
(Refer to the figure on the right.)
Check the result of square cutting according to the following
steps.
1. When test cutting is finished, peel 1) off.
2. Peel 2) off.
• If the cutter mark is slightly made on the sheet base paper, it
can be said that the speed and cutter pressure are optimally
set.
• Change the settings for cutting conditions, if necessary,
depending on how the squares are cut.
• The device executes the [SQUARE] at the current tool
location.
15mm
1)
2)
10mm
Sample cut [SAMPLE CUT]
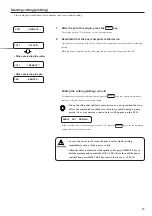
In the case where the device fails to cut data correctly or the end point of cutting of a character fails to meet the starting point, the cause of
such a fault can be checked up by cutting the characters “Cut.”
• In the case where the device is able to normally cut the characters “Cut” but fails to cut other data:
The host computer is faulty.
• In the case where the device fails to cut both the characters “Cut” and other data:
The device may be faulty. Contact your distributor.


