- 2.23 -
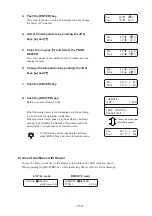
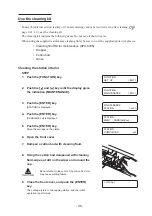
STEP
1.
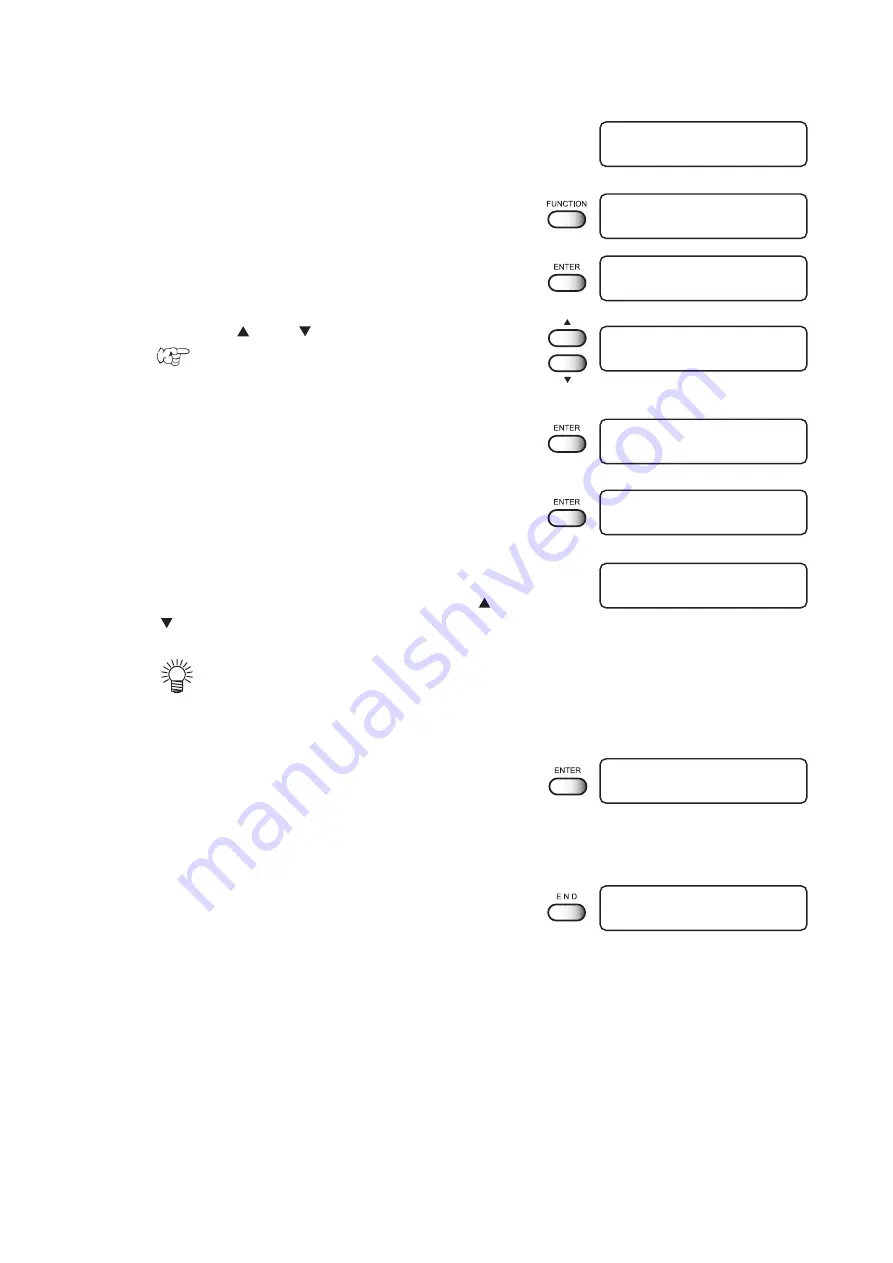
Put the device into the LOCAL mode.
2.
Push the [FUNCTION] key.
3.
Push the [ENTER] key.
4.
Push the [ ] and [ ] key to select a type.
page 4.4
5.
Push the [ENTER ] key.
6.
Push the [ENTER] key.
7.
Enter a correction value from the output pat-
tern.
Enter the correction value by pushing the JOG keys [ ] and
[ ].
• When [ADJUST] is changed to 30, the pattern
moves by about 0.1 mm. Determine the correc-
tion value referencing this amount of movement.
8.
Push the [ENTER] key.
Register the correction value.
Repeat steps 6 to 8 until normal plotting result is obtained.
9.
Push the [END] key three times, and the menu
returns to the LOCAL mode.
< LOCAL >
width : 1272 mm
FUNCTION
SET UP
< ENT >
SET UP
SELECT
: TYPE. 1
SET UP
SELECT
: TYPE. 1
TYPE. 1
MEDIA COMP.
< ent >
TYPE. 1
PRINT START
: ent
TYPE. 1
ADJUST
= 20
TYPE. 1
PRINT START
: ent
< LOCAL >
width : 1272 mm
Summary of Contents for JV3 S SERIES
Page 2: ......
Page 62: ... 2 30 ...
Page 84: ... 4 14 ...
Page 108: ... 5 24 ...
Page 118: ... 6 10 ...
Page 124: ... A 6 ...
Page 129: ......
Page 130: ...PrintedinJapan MIMAKI ENGINEERING Co Ltd 2004 ...

