© 2014 MIMAKI ENGINEERING CO.,LTD.
4.3
P.12
4.3 Mounting the Drying heater Assy
R.1.2
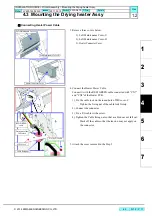
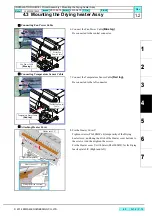
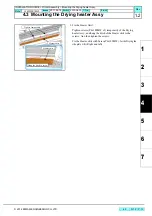
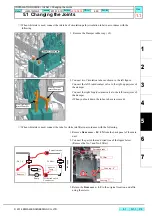
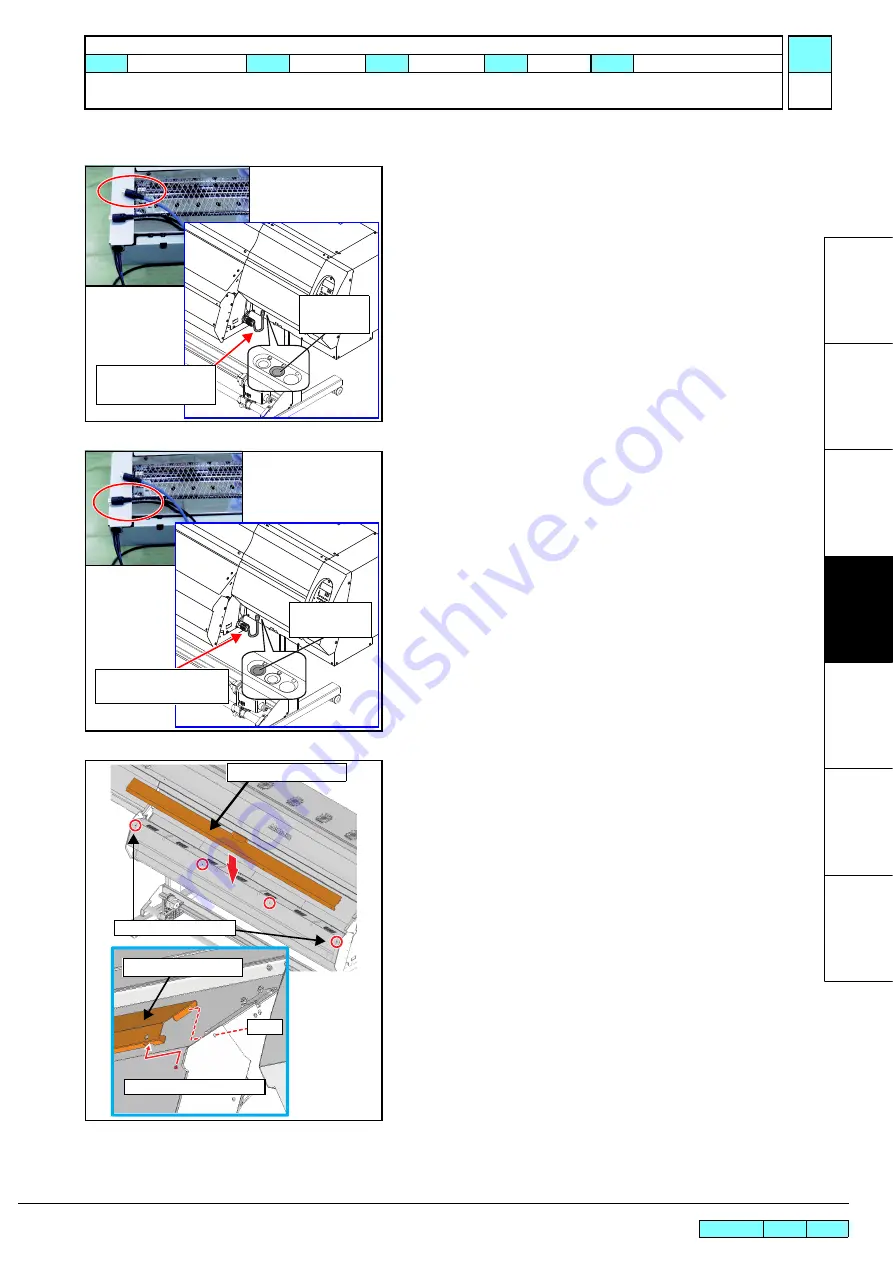
Connecting Fan Power Cable
6. Connect the Fan Power Cable
(Blue tag)
.
Be connected to the central connector.
Connecting Temperature Sensor Cable
7. Connect the Temperature Sensor Cable
(Red tag)
.
Be connected to the left connector
Attaching Heater Cover
8. Fix the Heater Cover U.
Tighten screws (P3x8SMW x4) temporarily of the Drying
heater Assy., and hung the ditch of the Heater cover bottom to
the screws. And then tighten the screws.
Fix the Heater cover U with Screw(P4x10SMW), for the Drying
fan side plate L/R. (Right and left)
For the Fan
Power Cable
Fan Power Cable
(Blue tag)
Temperature Sensor Cable
(Red tag)
For the Fan Power
Cable
Heater cover U
Heater cover U
Tighten temporarily
Screw
Hung the ditch to screw
INSTALLATION GUIDE > Printer Assembly > Mounting the Drying heater Assy
Model
JV400-130/160LX
Issued
2011.02.15 Revised 2013.04.15 F/W ver.
Remark
1.2
Summary of Contents for JV400-130LX
Page 49: ......
Page 50: ...D500698 22 30042014 2013 MIMAKI ENGINEERING CO LTD KF FW 2 50...

