Drawing an image from source data
45
Drawing an image from source data
Starting the drawing operation
1
Set the work for adjustment.
• Referring to the P.31 “Set a work”, set a work.
• Measure the size of the work to draw beforehand, and prepare the drawing data that perfectly matches the cir-
cumference and height of the work. (
P.42 “Create data to be drawn”)
2
Press the
key in the local mode of printer.
• The machine goes in the remote mode and data from the computer can be received.
• The table height is displayed.
3
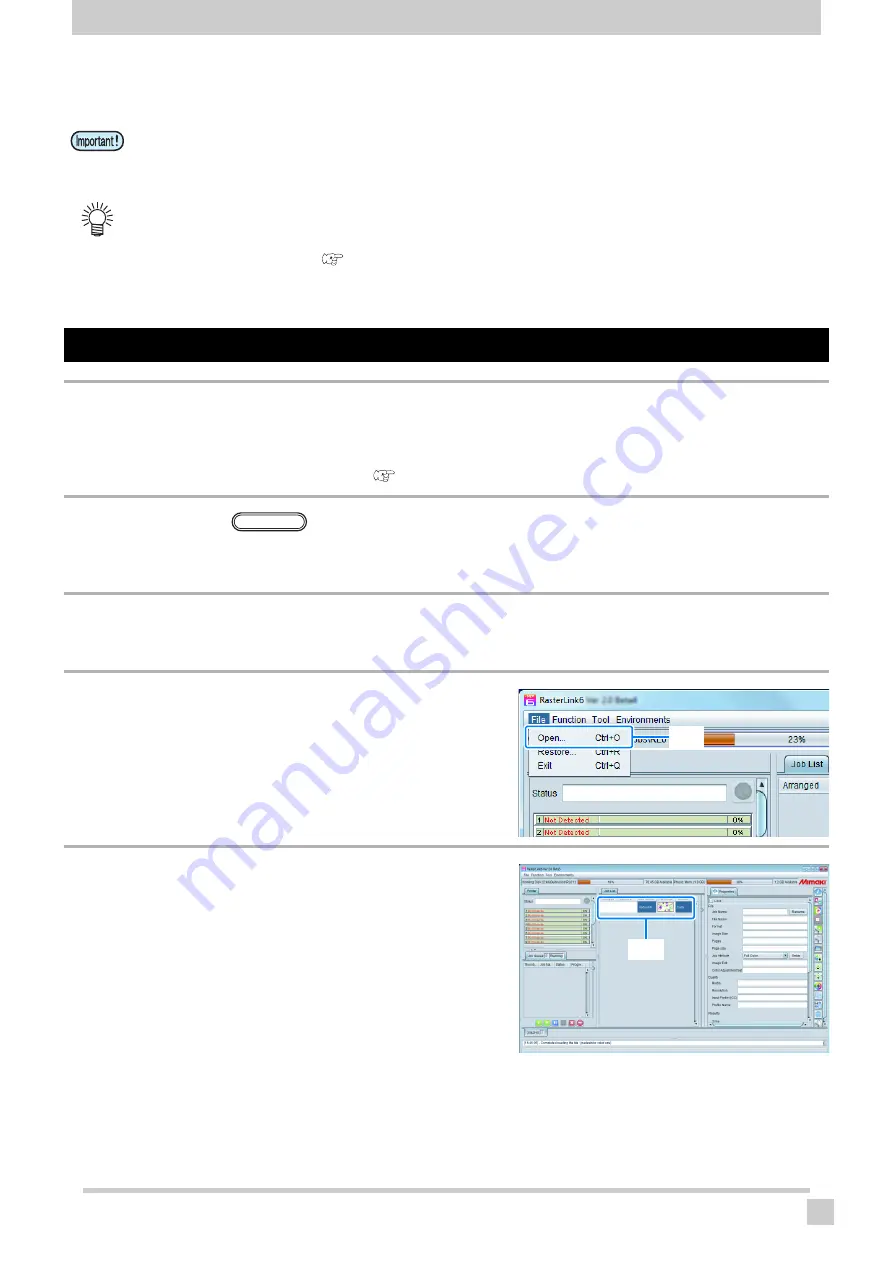
Spool the data for drawing with RasterLink6.
• Select the [File]-[Open] menu.
4
Select the file to draw, and then click
[Open].
• The file is read and displayed on the list of the jobs.
5
Select the job to draw.
• When you draw the work with a light mass or unevenness, the data may not be drawn accurately as it may
slide due to the low friction of the work and rollers and so on.
We recommend that you test draw with a sample work before drawing the actual work.
• Read this manual thoroughly, as well as the reference guide for RasterLink6.
You can adjust the size of the data for drawing, by creating the job for adjusting the print size based
on the work in RasterLink6 (Create Circumference measure Job).
• With RasterLink6, a job is automatically created based on the work diameter that is entered to check the
size to draw on the work. (
REMOTE
Click
Click


