4-13
4
2
When nozzle missing
Cannot Be Solved
When nozzle missing cannot be solved even after the
head cleaning (
P.2-19) has been done, perform the
following three functions:
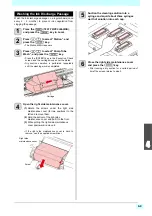
Washing the Head Nozzle
Perform cleaning of the nozzles in the heads to prevent
them being clogged with coagulated ink.
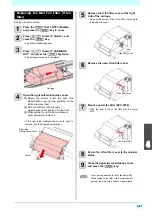
1
Press the
(TEST PRINT/CLEANING)
,
and press the
key in Local.
2
Press
to select “Station”, and
press the
key.
• The Station MENU appears.
3
Press
to select “Nozzle Wash”,
and press the
key.
• Press the [ENTER] key in the Execution Check
screen, and the carriage moves over the platen.
4
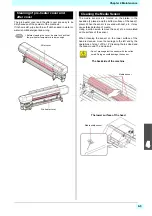
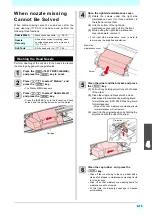
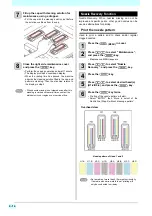
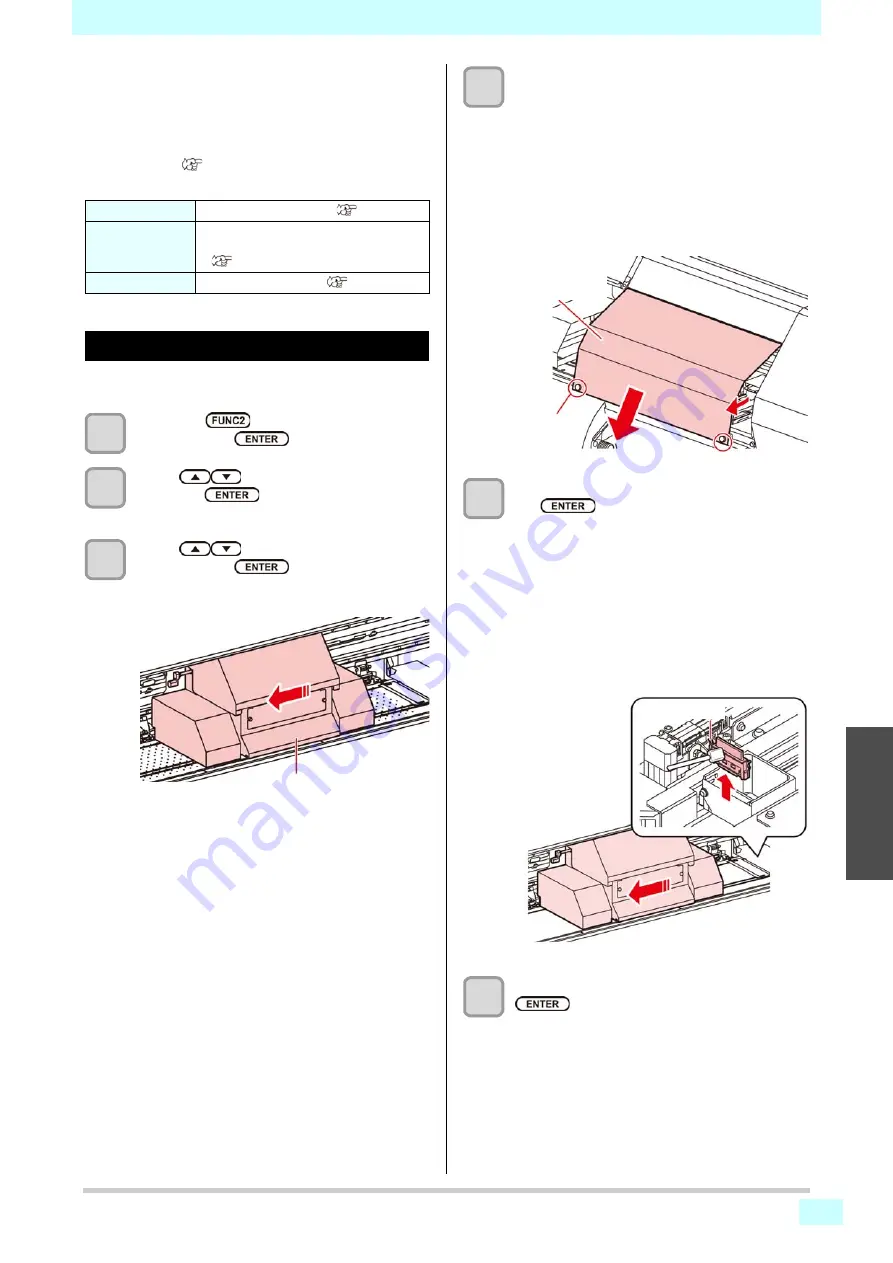
Open the right side maintenance cover.
(1)
Rotate the screws under the right side
maintenance cover (for three positions) to
the left and remove them.
(2)
Hold the bottom of the right side
maintenance cover and pull it to the front.
(3)
While pulling the right side maintenance
cover downward, remove it.
• If the right side maintenance cover is hard to
remove, use the supplied screwdriver.
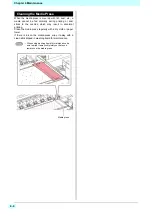
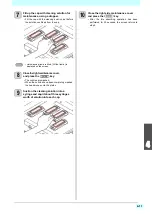
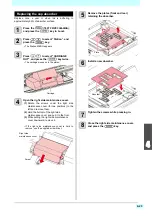
5
Clean the wiper and the bracket, and press
the
key.
(1)
Pull out it by holding projections at both ends
of the wiper.
(2)
Clean the wiper and bracket with a clean
stick dipped in maintenance washing liquid
for maintenance. (SPC-0568: Washing liquid
for maintenance)
•
Wipe off so
that maintenance washing liquid
for maintenance will not remain.
(3)
Insert it in the original position by holding the
projections at both ends of the wiper.
6
Clean the cap rubber , and press the
key.
• Wipe off the ink sticking to the cap rubber with a
clean stick dipped in maintenance washing liquid
for maintenance.
• Wipe off so that maintenance washing liquid for
maintenance will not remain.
• At this time, the discharge passage is cleaned
automatically.
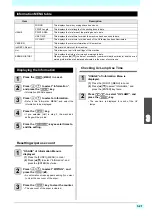
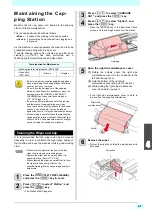
Nozzle Wash
• Wash the head nozzle. (
Nozzle
Recovery
• Alternative nozzles for printing, when
nozzles missing can not be improved.
(
Sub Tank
• Fill the head with ink. (
Carriage
Right side
maintenance cover
Screw
Projection
Summary of Contents for SIJ-320UV
Page 1: ...MIMAKI ENGINEERING CO LTD URL http mimaki com D202809 13 Original instructions ...
Page 14: ...xiii Warning labels ...
Page 28: ...1 14 Chapter 1 Before Use ...
Page 98: ...4 26 ...
Page 116: ...5 18 Chapter 5 Troubleshooting ...
Page 122: ...Chapter 6 Appendix 6 6 ...

