background image

- 4 -

When the image quality is not good

If you use the clear ink according to the procedures in this Guide, the settings will be made so that good-quality
images are obtained, with the specified quality feel. Sometimes however, the image quality may be poor due to
the media material or other factor. In that case, change the setting of 1-4 of the following procedures, please do a
test print.

1.

Turn on the printer’s power.

• Wait until <Local> is displayed on the panel.

2.

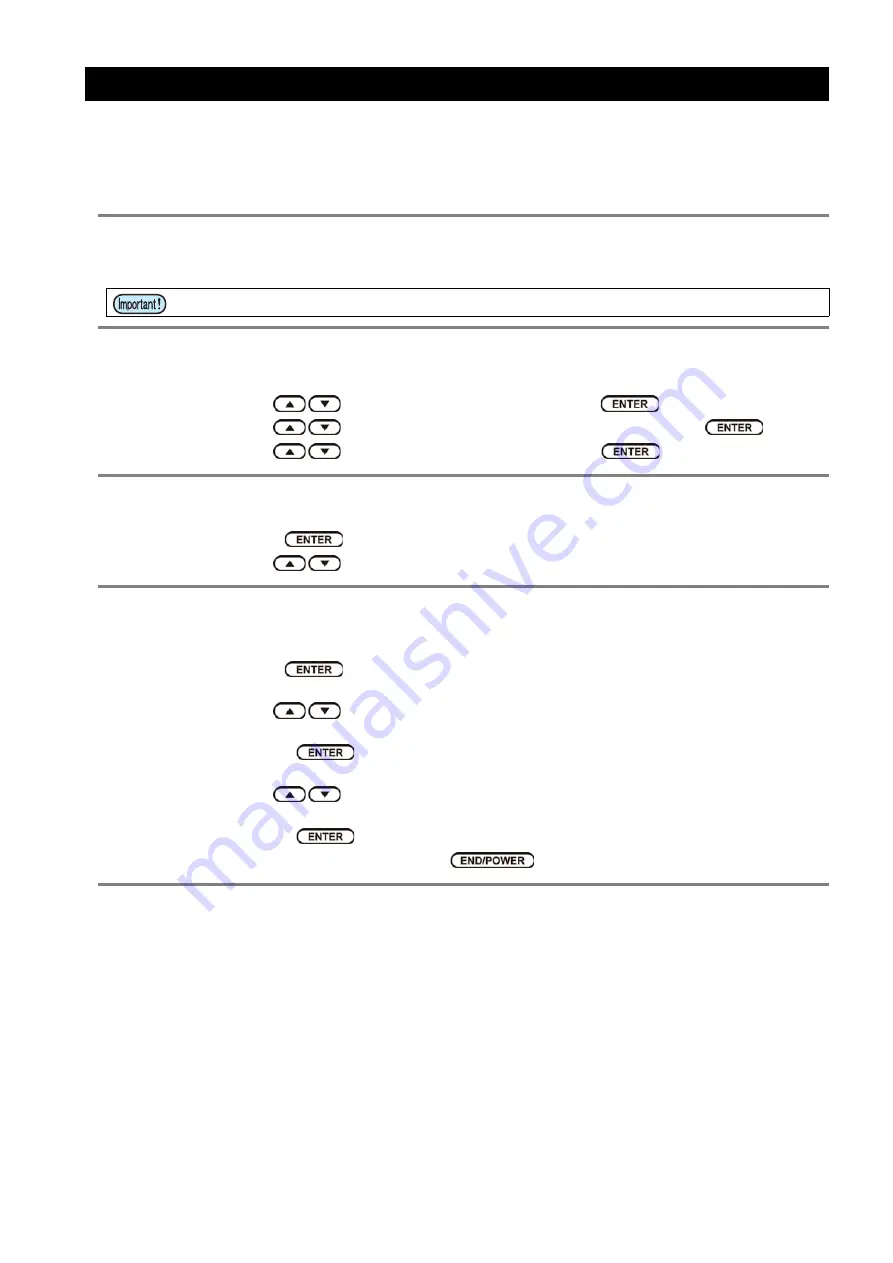
Select [MAPS4] on the panel, as follows:

(1)

With <Local> displayed, press the [FUNCTION] key. 

(2)

Use the 

 key to select [SETUP], then press the 

 key. 

(3)

Use the 

 key to select [SETUP 1] to [SETUP 4], then press the 

 key.

(4)

Use the 

 key to select [MAPS4], then press the 

 key. 

3.

Select “MANUAL” for 

MAPS4

, as follows:

(1)

Press the 

 key.

(2)

Use the 

 key to select “MANUAL”.

4.

After setting to “MANUAL”, make the settings for the ink colors, as fol-
lows.

(1)

Press the 

 key.

(2)

Make the setting for [COLOR], as follows.
Use the 

 key to change level. (0 to 100%)

Changing this value will change the color image quality.
Then press 

.

(3)

Make the setting for [SPOT], as follows.
Use the 

 key to change level.

Changing this value will change the spot color image quality.
Then press 

.

(4)

Return to <Local>, by pressing the 

 key several times. 

• If the power is already on, have the panel display <Local>.

Summary of Contents for UCJV300

Page 1: ...backup or to load on the memory for the purpose other than executing it With the exception of what is provided for in the warranty provisions of MIMAKI ENGINEERING CO LTD we do not assume any liabilit...

Page 2: ...e clear ink printing method 7 A Printing the clear ink over the whole of the color image 8 B Printing the clear ink onto the valid pixels of the color image 9 C Printing a special clear ink image 10 2...

Page 3: ...e key 3 Use the key to select SETUP 1 to SETUP 4 then press the key 4 Use the key to select UV MODE then press the key 5 Use the key to select ON then press the key 3 Select MAPS4 on the panel as foll...

Page 4: ...ION key 2 Use the key to select SETUP then press the key 3 Use the key to select SETUP 1 to SETUP 4 then press the key 4 Use the key to select MAPS4 then press the key 3 Select MANUAL for MAPS4 as fol...

Page 5: ...k image you must create the special clear ink image by means of design software such as Illustrator Recommended settings for printing a clear ink To obtain a better effect of clear ink print clear ink...

Page 6: ...nk use then composite it with the color image Input the created special image and the color image into RasterLink6Plus Replace one color with the clear ink using mono color replacement Composite the s...

Page 7: ...three ways shown below Print it over the whole of the color image Go to A Printing the clear ink over the whole of the color image Print it onto the valid pixels of the color image Go to B Printing t...

Page 8: ...1 In the Job List select the job that will be the basis for the plate 2 Click the Special plate icon from the function icon 3 Set as follows and click Create 1 Ink Select Clear 2 Clear Set to 100 2 p...

Page 9: ...ge of P 7 1 In the Job List select the job that will be the basis for the plate 2 Click the Special plate icon from the function icon 3 Set as follows and click Create 1 Ink Select Clear 2 Clear Set t...

Page 10: ...ode CMYK Colors used One color only cyan or magenta or yellow or black Set 100 density for the color For the other colors set 0 In this procedure black 100 is used as an example 2 Save the created ima...

Page 11: ...perties icon from the function icon 3 Select Mono Color in the Job Attri bute pull down menu 4 Select the Mono Color tab and make the following settings 1 Source color Black 2 Ink Clear 2 places 5 Cli...

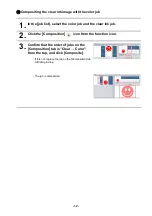
Page 12: ...the color job and the clear ink job 2 Click the Composition icon from the function icon 3 Confirm that the order of jobs on the Composition tab is Clear Color from the top and click Composite If it is...

Page 13: ...ink s effect set the UV mode Depending on the setting of UV mode the effect of clear ink can be changed Gloss feel effect Glossy Print Go to a Setting Glossy Print Matte feel effect Matte Print Go to...

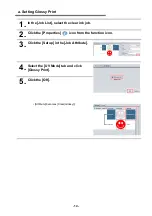
Page 14: ...1 In the Job List select the clear ink job 2 Click the Properties icon from the function icon 3 Click the Setup in the Job Attribute 4 Select the UV Mode tab and click Glossy Print 5 Click the OK Attr...

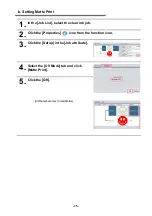
Page 15: ...1 In the Job List select the clear ink job 2 Click the Properties icon from the function icon 3 Click the Setup in the Job attribute 4 Select the UV Mode tab and click Matte Print 5 Click the OK Attr...

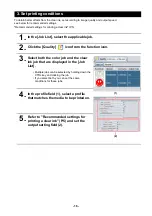
Page 16: ...ck the Quality icon from the function icon 3 Select both the color job and the clear ink job that are displayed in the Job List Multiple jobs can be selected by holding down the CTRL key and clicking...

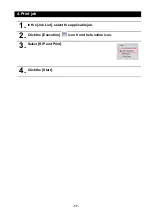
Page 17: ...17 4 Print job 1 In the Job List select the applicable job 2 Click the Execution icon from the function icon 3 Select RIP and Print 4 Click the Start...

Page 18: ...D203365 10 15102018 MIMAKI ENGINEERING CO LTD 2018 HK...

Reviews: