- 5-4 -
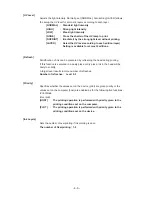
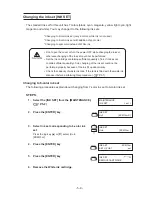
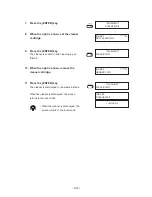
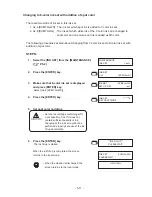
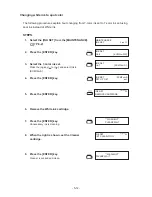
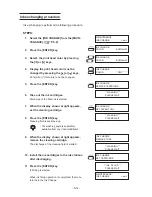
Always perform Print Adjust (dot position correction) whenever the head height is changed.
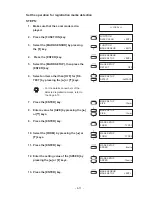
STEPS:
1.
Set a sheet of paper, use 297mm x 210mm
or larger size with the long side set hori-
zontally, and set the Origin.
2.
Select the [PRINT ADJ] from the [MAINTE-
NANCE]. (
P.5-2)
3.
Press the [ENTER] key.
Gap check is performed when the head gap
adjustment has not been checked. (
P.2-13)
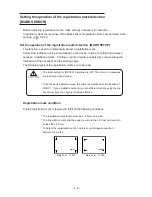
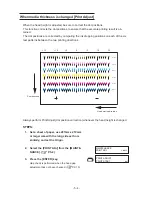
When media thickness is changed [Print Adjust]
When the head height is adjusted, be sure to correct the dot positions.
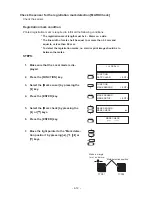
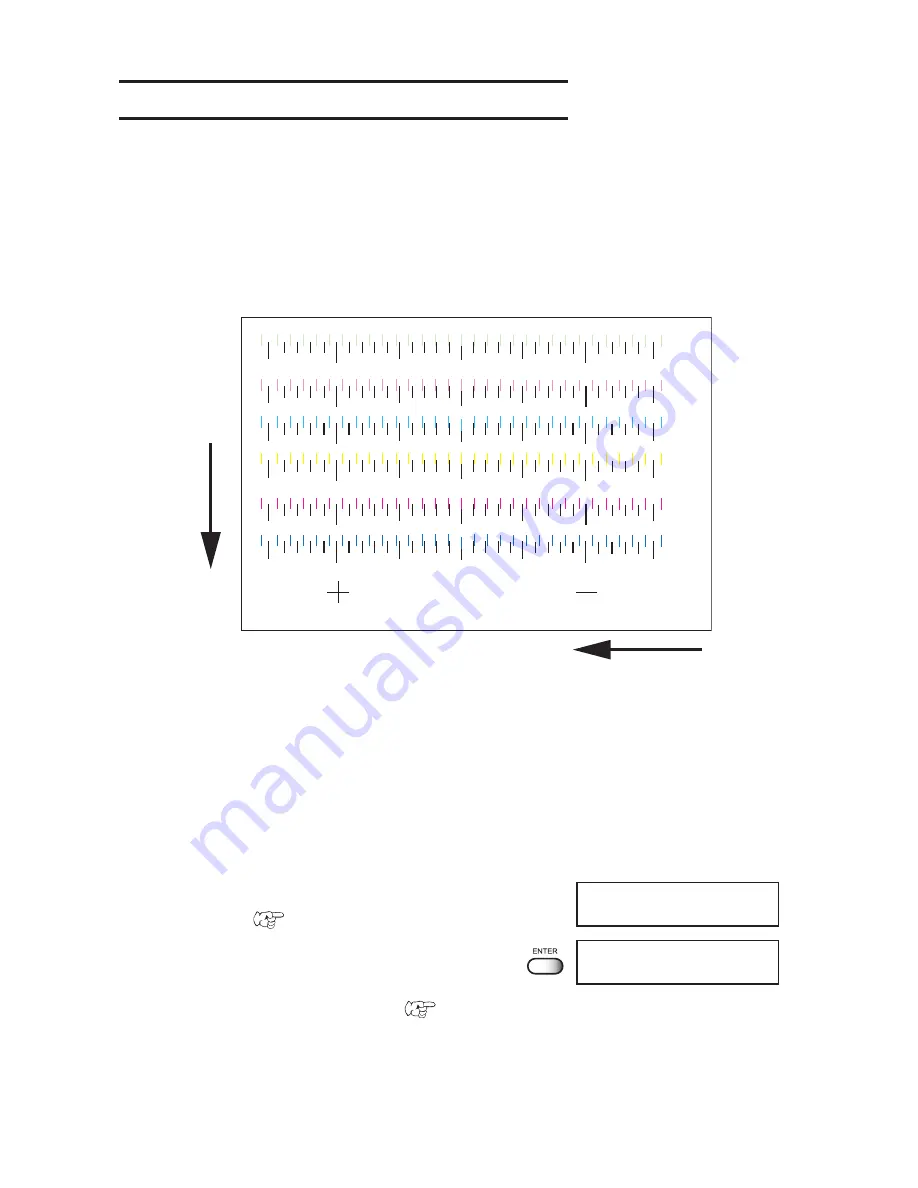
This function corrects the dot positions to ensure that the accurate printing result is ob-
tained.
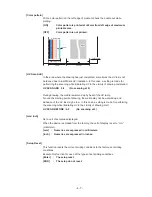
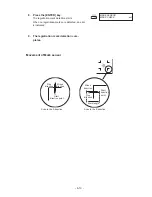
The dot positions are corrected by comparing the ink dropping positions on each of the six
test patterns between the two printing directions.
MAINTENANCE
PRINT ADJ
< ent >
PRINT ADJUST
PRINT START
: ent
0
+5
-5
+10
+15
-15
-10
Pattern 1
Pattern 2
Pattern 3
Pattern 4
Pattern 5
Pattern 6
Print direction
Head moving direction
Summary of Contents for UJF-605C
Page 2: ......
Page 68: ...2 30...
Page 88: ...3 20...
Page 104: ...4 16...
Page 148: ...A 6...
Page 153: ......
Page 154: ...Printed in Japan MIMAKI ENGINEERING CO LTD 2012 IT FW 3 2...

