Mimosa Backhaul and B24 Help Content
Mimosa Backhaul
Mounting & Grounding
Copyright © 2018 Mimosa
Page Page 5
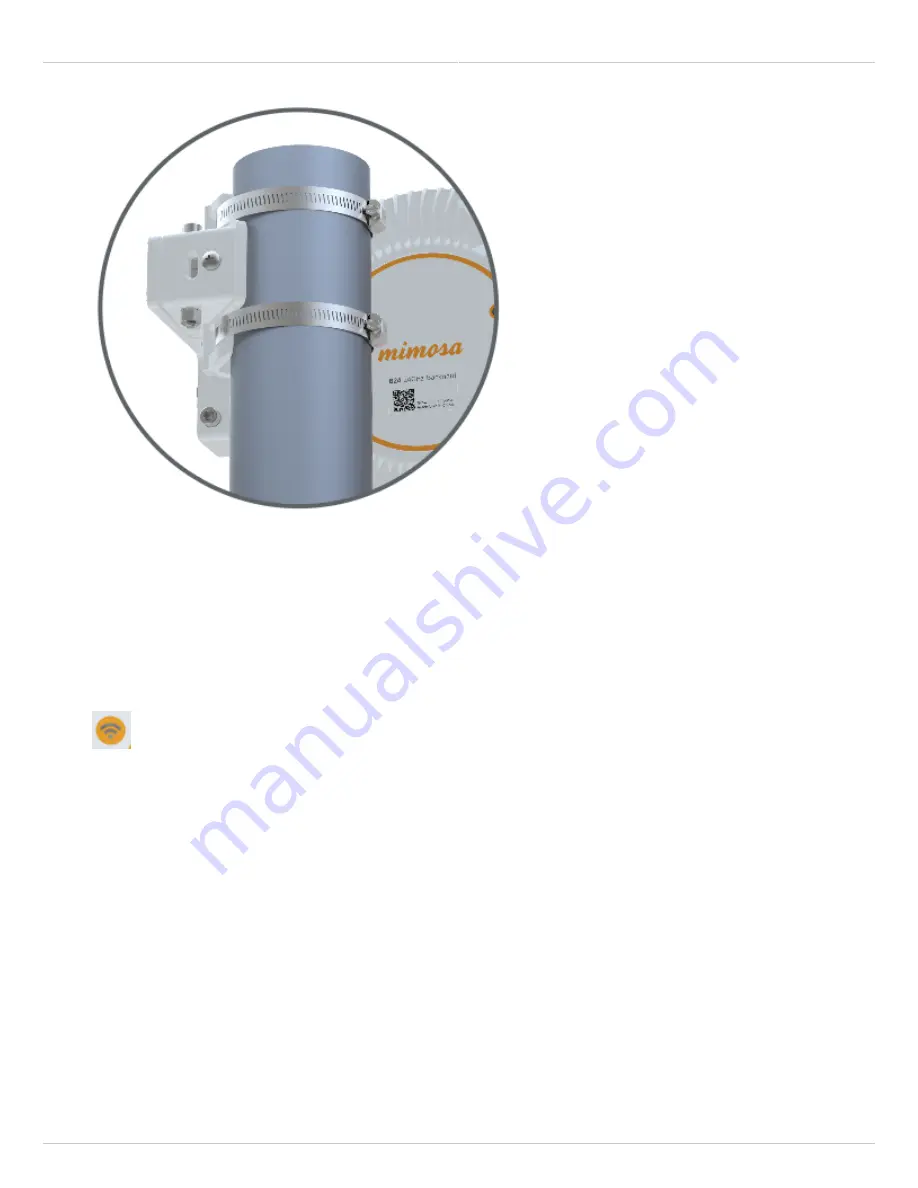
Before tightening your hose clamps down all the way, go ahead and point your B24 toward the other end of
5.
the link (coarse alignment). Once you have your radios pointed, go ahead and tighten down the hose clamps.
If you have planned this link out in the Mimosa Design Tool, you will know the -+ degree of the elevation. Go
6.
ahead and set your mount to around the correct angle. Keep in mind that each tick mark for elevation is 5
degrees.
Power up the B24 radio so that you can connect to the radio GUI through 2.4GHz Wi-Fi or Ethernet. Once the
7.
radios are powered up, you should be able to tell if the radios are linked up or not by looking at the LED light
on the back. If you have a blue flashing light, your link is connected.
Regardless if your link is connected or not, log into the radio and access the radio GUI. On the Dashboard
8.
page, you will see the Signal Meter. If connected, you’ll have a signal level listed. Please make sure you are
only adjusting one radio at a time. Also make sure you are not adjusting azimuth and elevation at the same
time. You want to complete one before starting the other.
Now that the radio is powered up, and you’re logged into the radio, you can start the fine adjustment
9.
process. Loosen up the hex head screw labeled “AZ LOCK” using your #5 hex wrench and your 10mm
wrench. Failure to loosen this screw will prevent you from adjusting the horizontal/azimuth on your B24
mount.
Now take your hex wrench and insert it into the hex screw labeled “FINE AZ”. Turning clockwise will move
10.
your radio to the left, while turning counter-clockwise will move your radio to the right. Pick a direction and
start turning. Watch the signal meter to see if your signal is getting better or worse.


