34
35
5.3 Editing Transitions
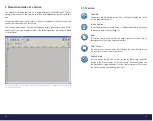
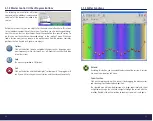
There will always be a transition between two frequency markers. Basically, the
software will try to smoothly interpolate the differences in frequency and color. These
transitions are displayed in the form of lines. Click on this line and the editing mode will
be activated. For your easy orientation, the transition will then be portrayed blinking,
just as with a frequency marker.
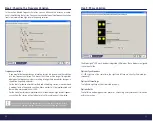
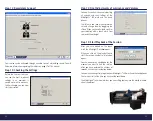
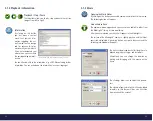
After clicking on the line, the following
window will appear. We will now explain
all of the included functions:
5.3.1 Visual Transition
Transitions between frequency markers can be interpolated with all colors and the
primary colors red, green and blue. You can use the preview function to try the different
styles and chose the one that suits you best.
Copying Transitions
You can save your adjustments by clicking on »copy«. The parameters will be pasted to
another transition by clicking on »paste«. All adjustments that you have made will be
copied.
5.3.2 Function / Waveforms
The integrated LED-lights can perform the visual stimulation through three different
waveforms. The following waveforms can be selected in the window »function«:
Sinus
Rectangle
Triangle
5.3.3 Symmetry
The symmetry (weight) of a primary color to its secondary color can be adjusted with a
slider. The emphasis of which color is displayed at what point in time can be changed
for every single transition between frequency markers.
Just move the slider to the desired composition of the color spectrum between frequency
markers.
5.3.4 Phase
This slider can be used to generate time-shifted visual stimulation for the left and the
right side. A phase angle of 0 stands for synchronous stimulation of the left and the
right side, while 180 stands for exactly alternating stimulation. The values in between
are intermediate time-shifts between these two extremes. See also page 21 (phase
variation).

